ctrl + alt + light
ctrl + alt + light
Discipline
Digital fabrication
Physical computing
Digital fabrication
Physical computing
Tools
Autodesk Fusion
Arduino
Adobe Illustrator
Autodesk Fusion
Arduino
Adobe Illustrator
Timeline
Oct - Dec 2024
Oct - Dec 2024
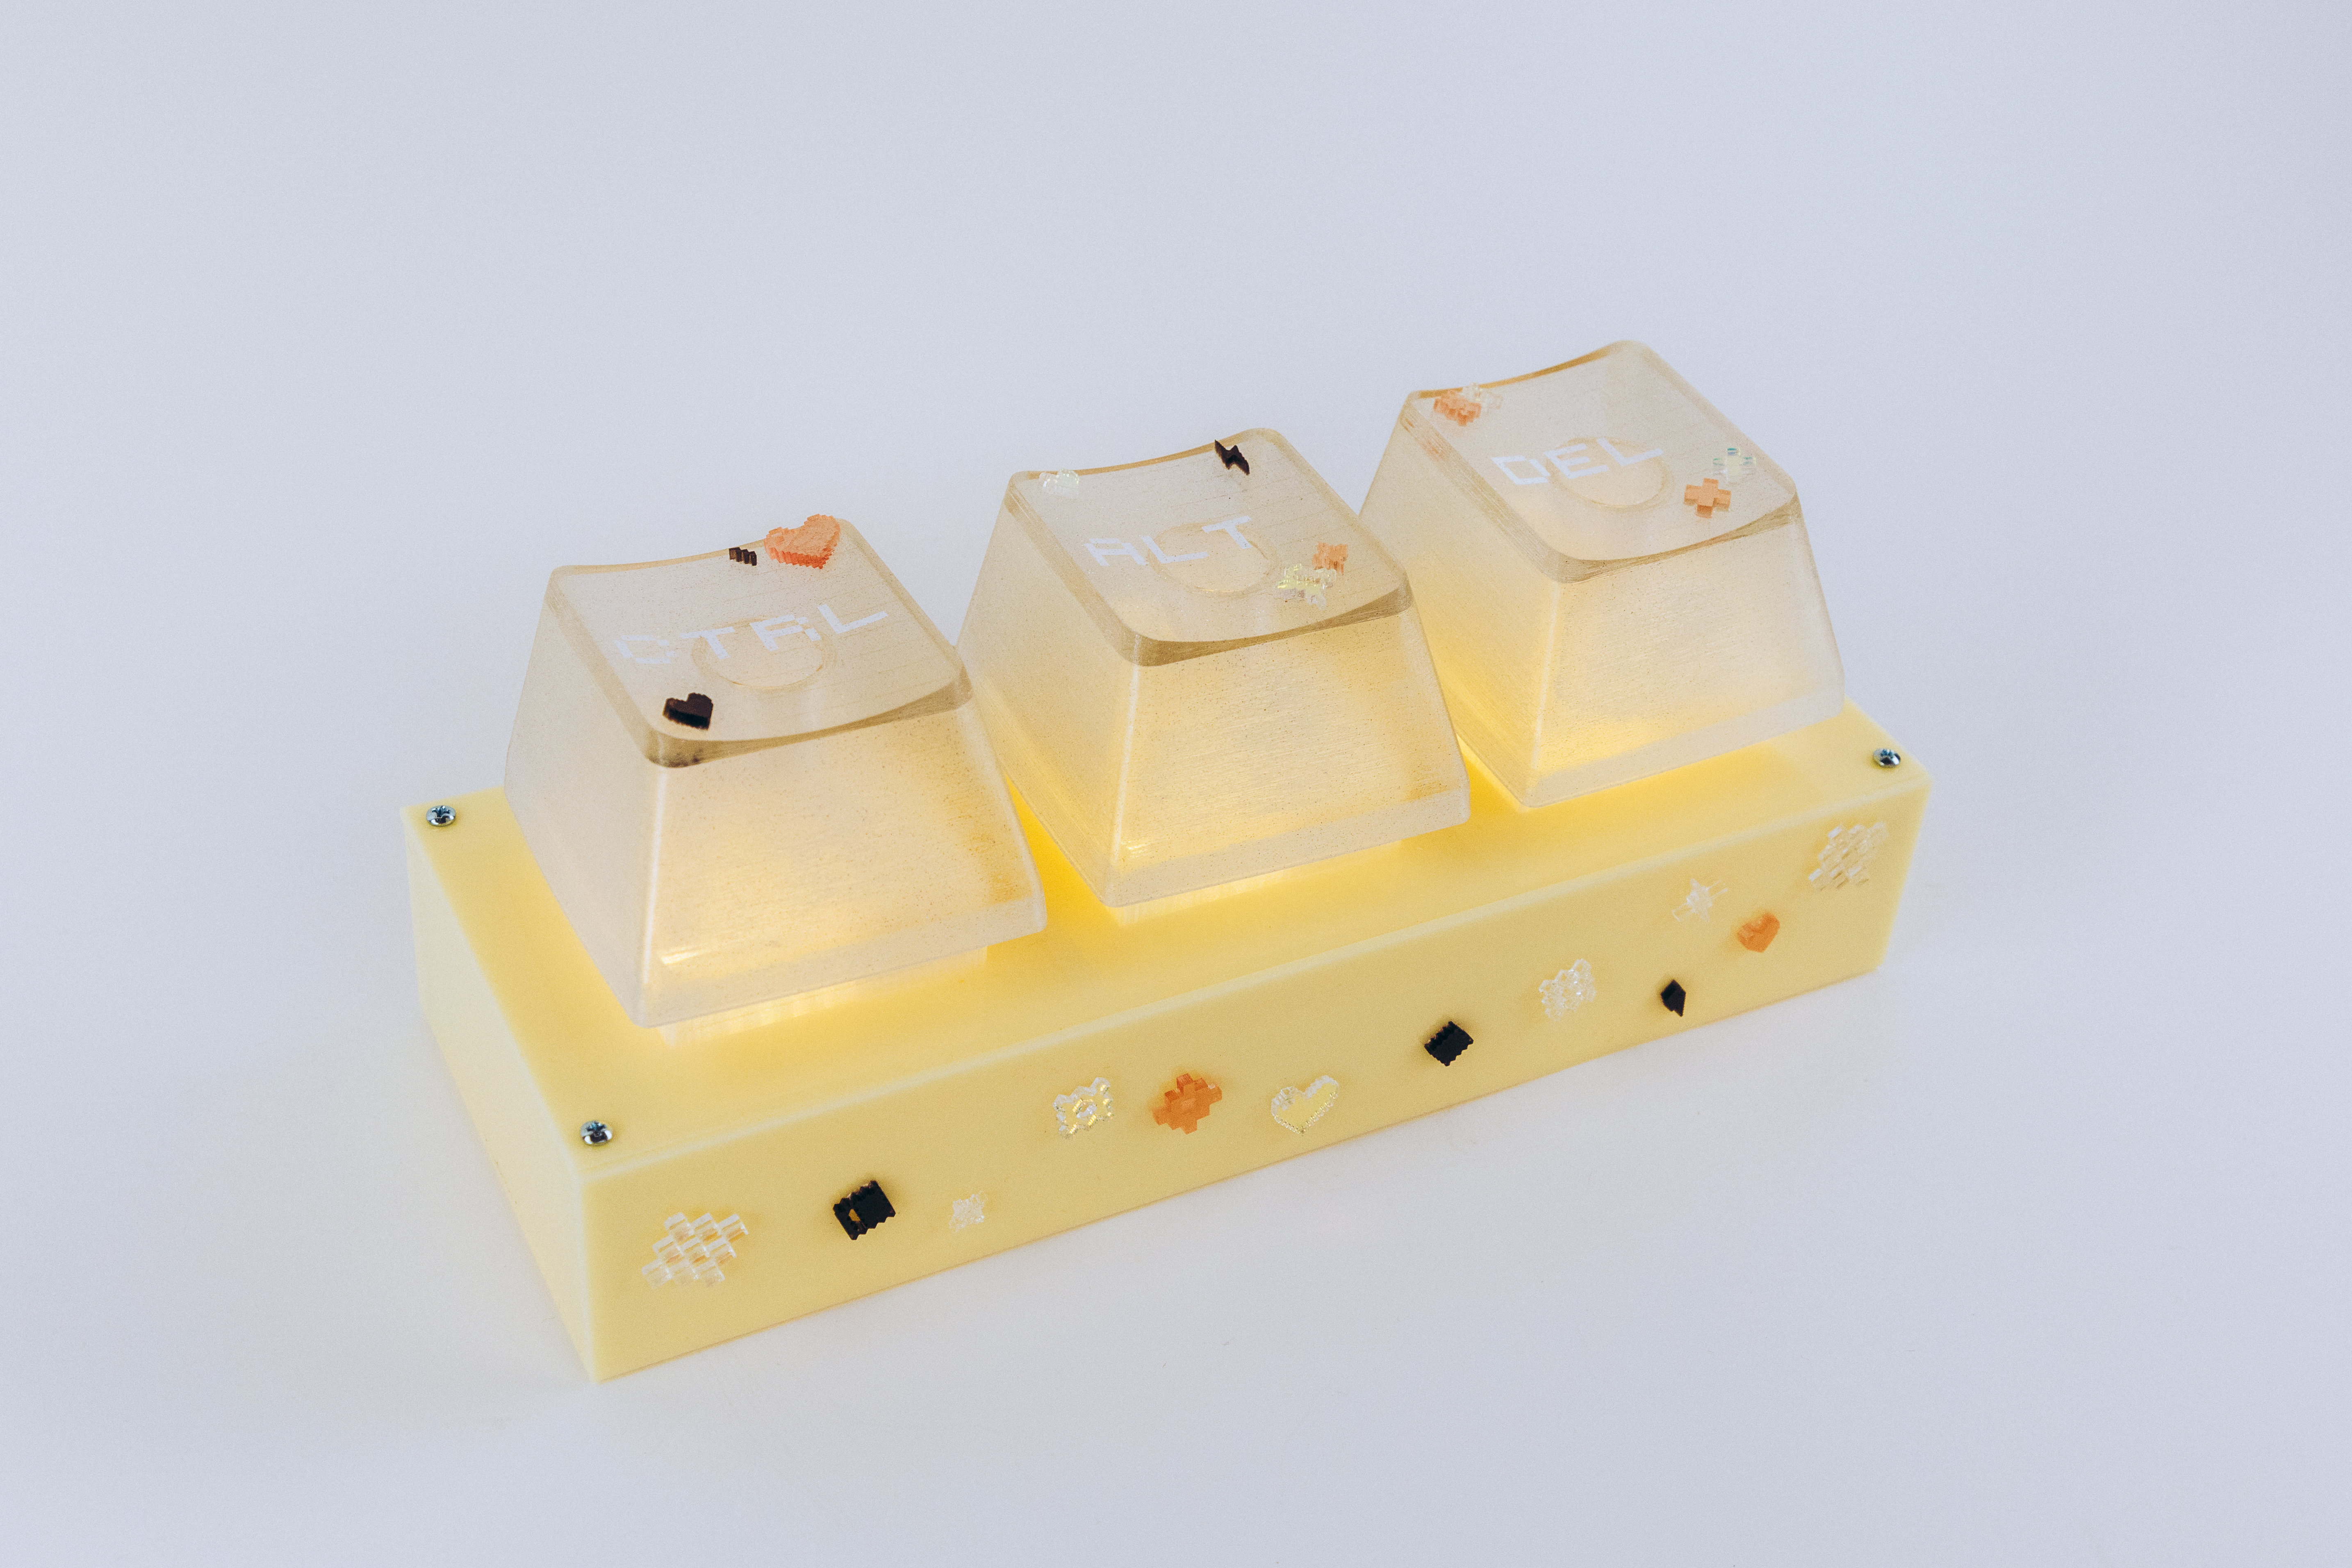
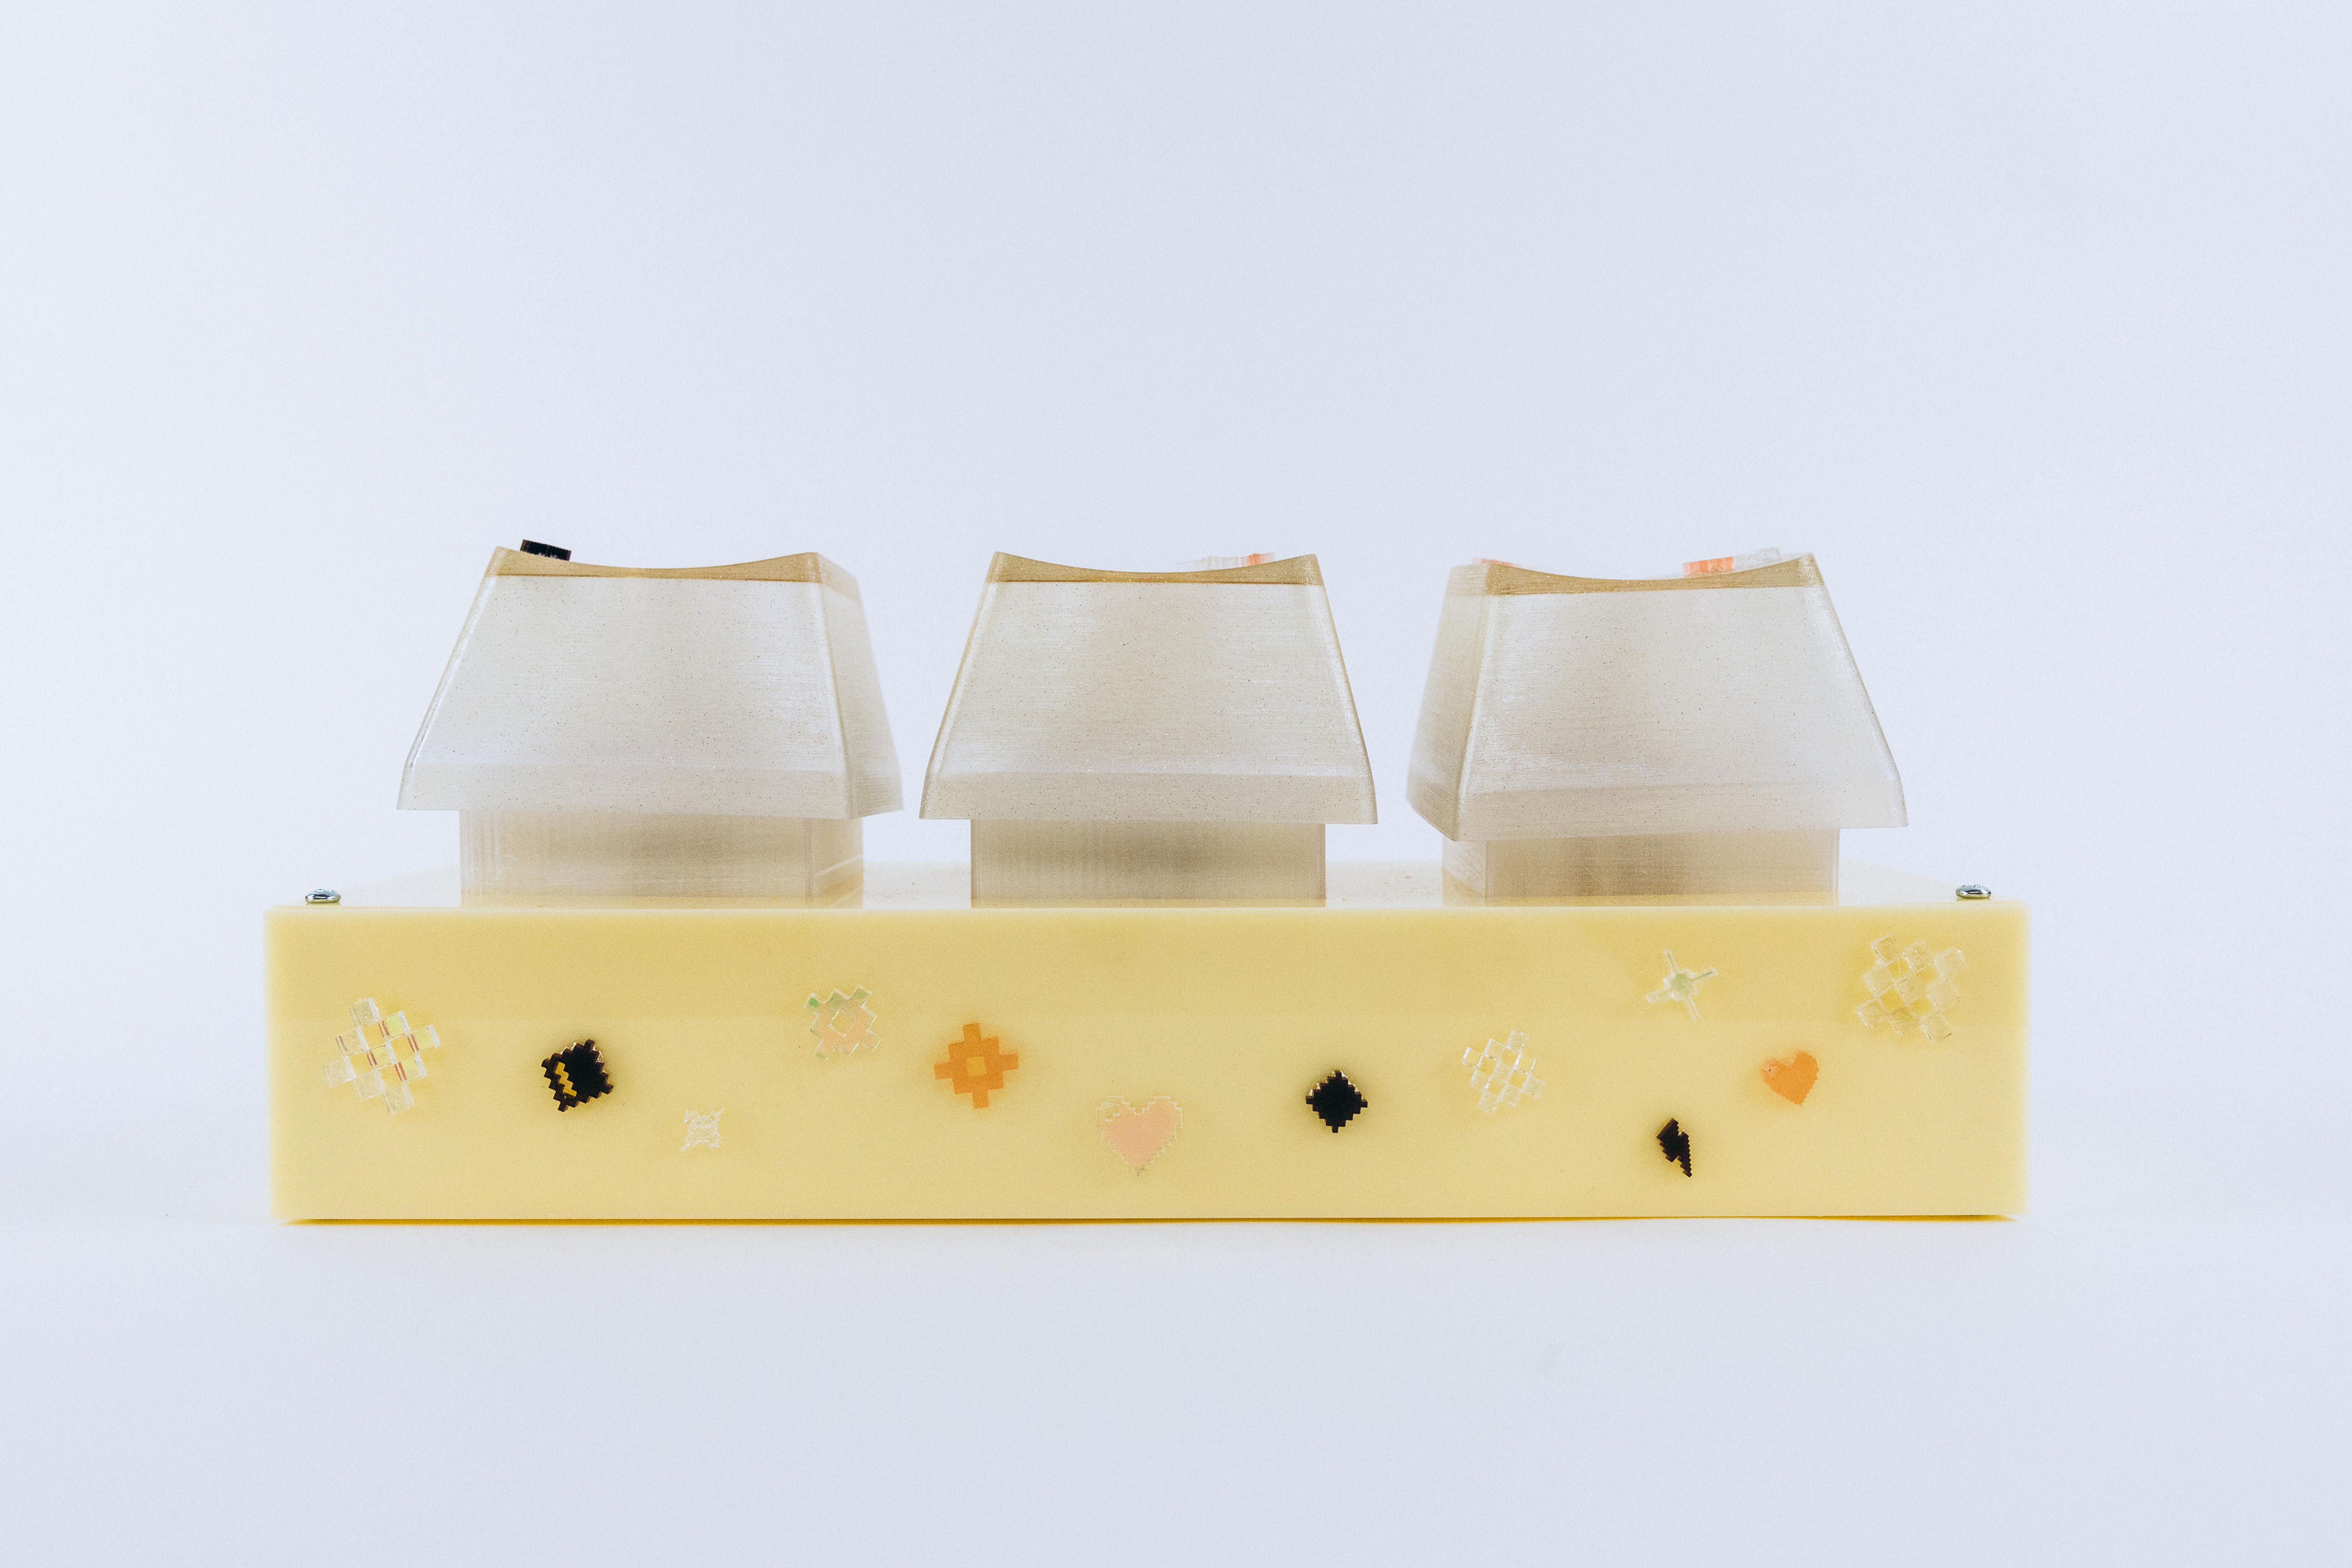
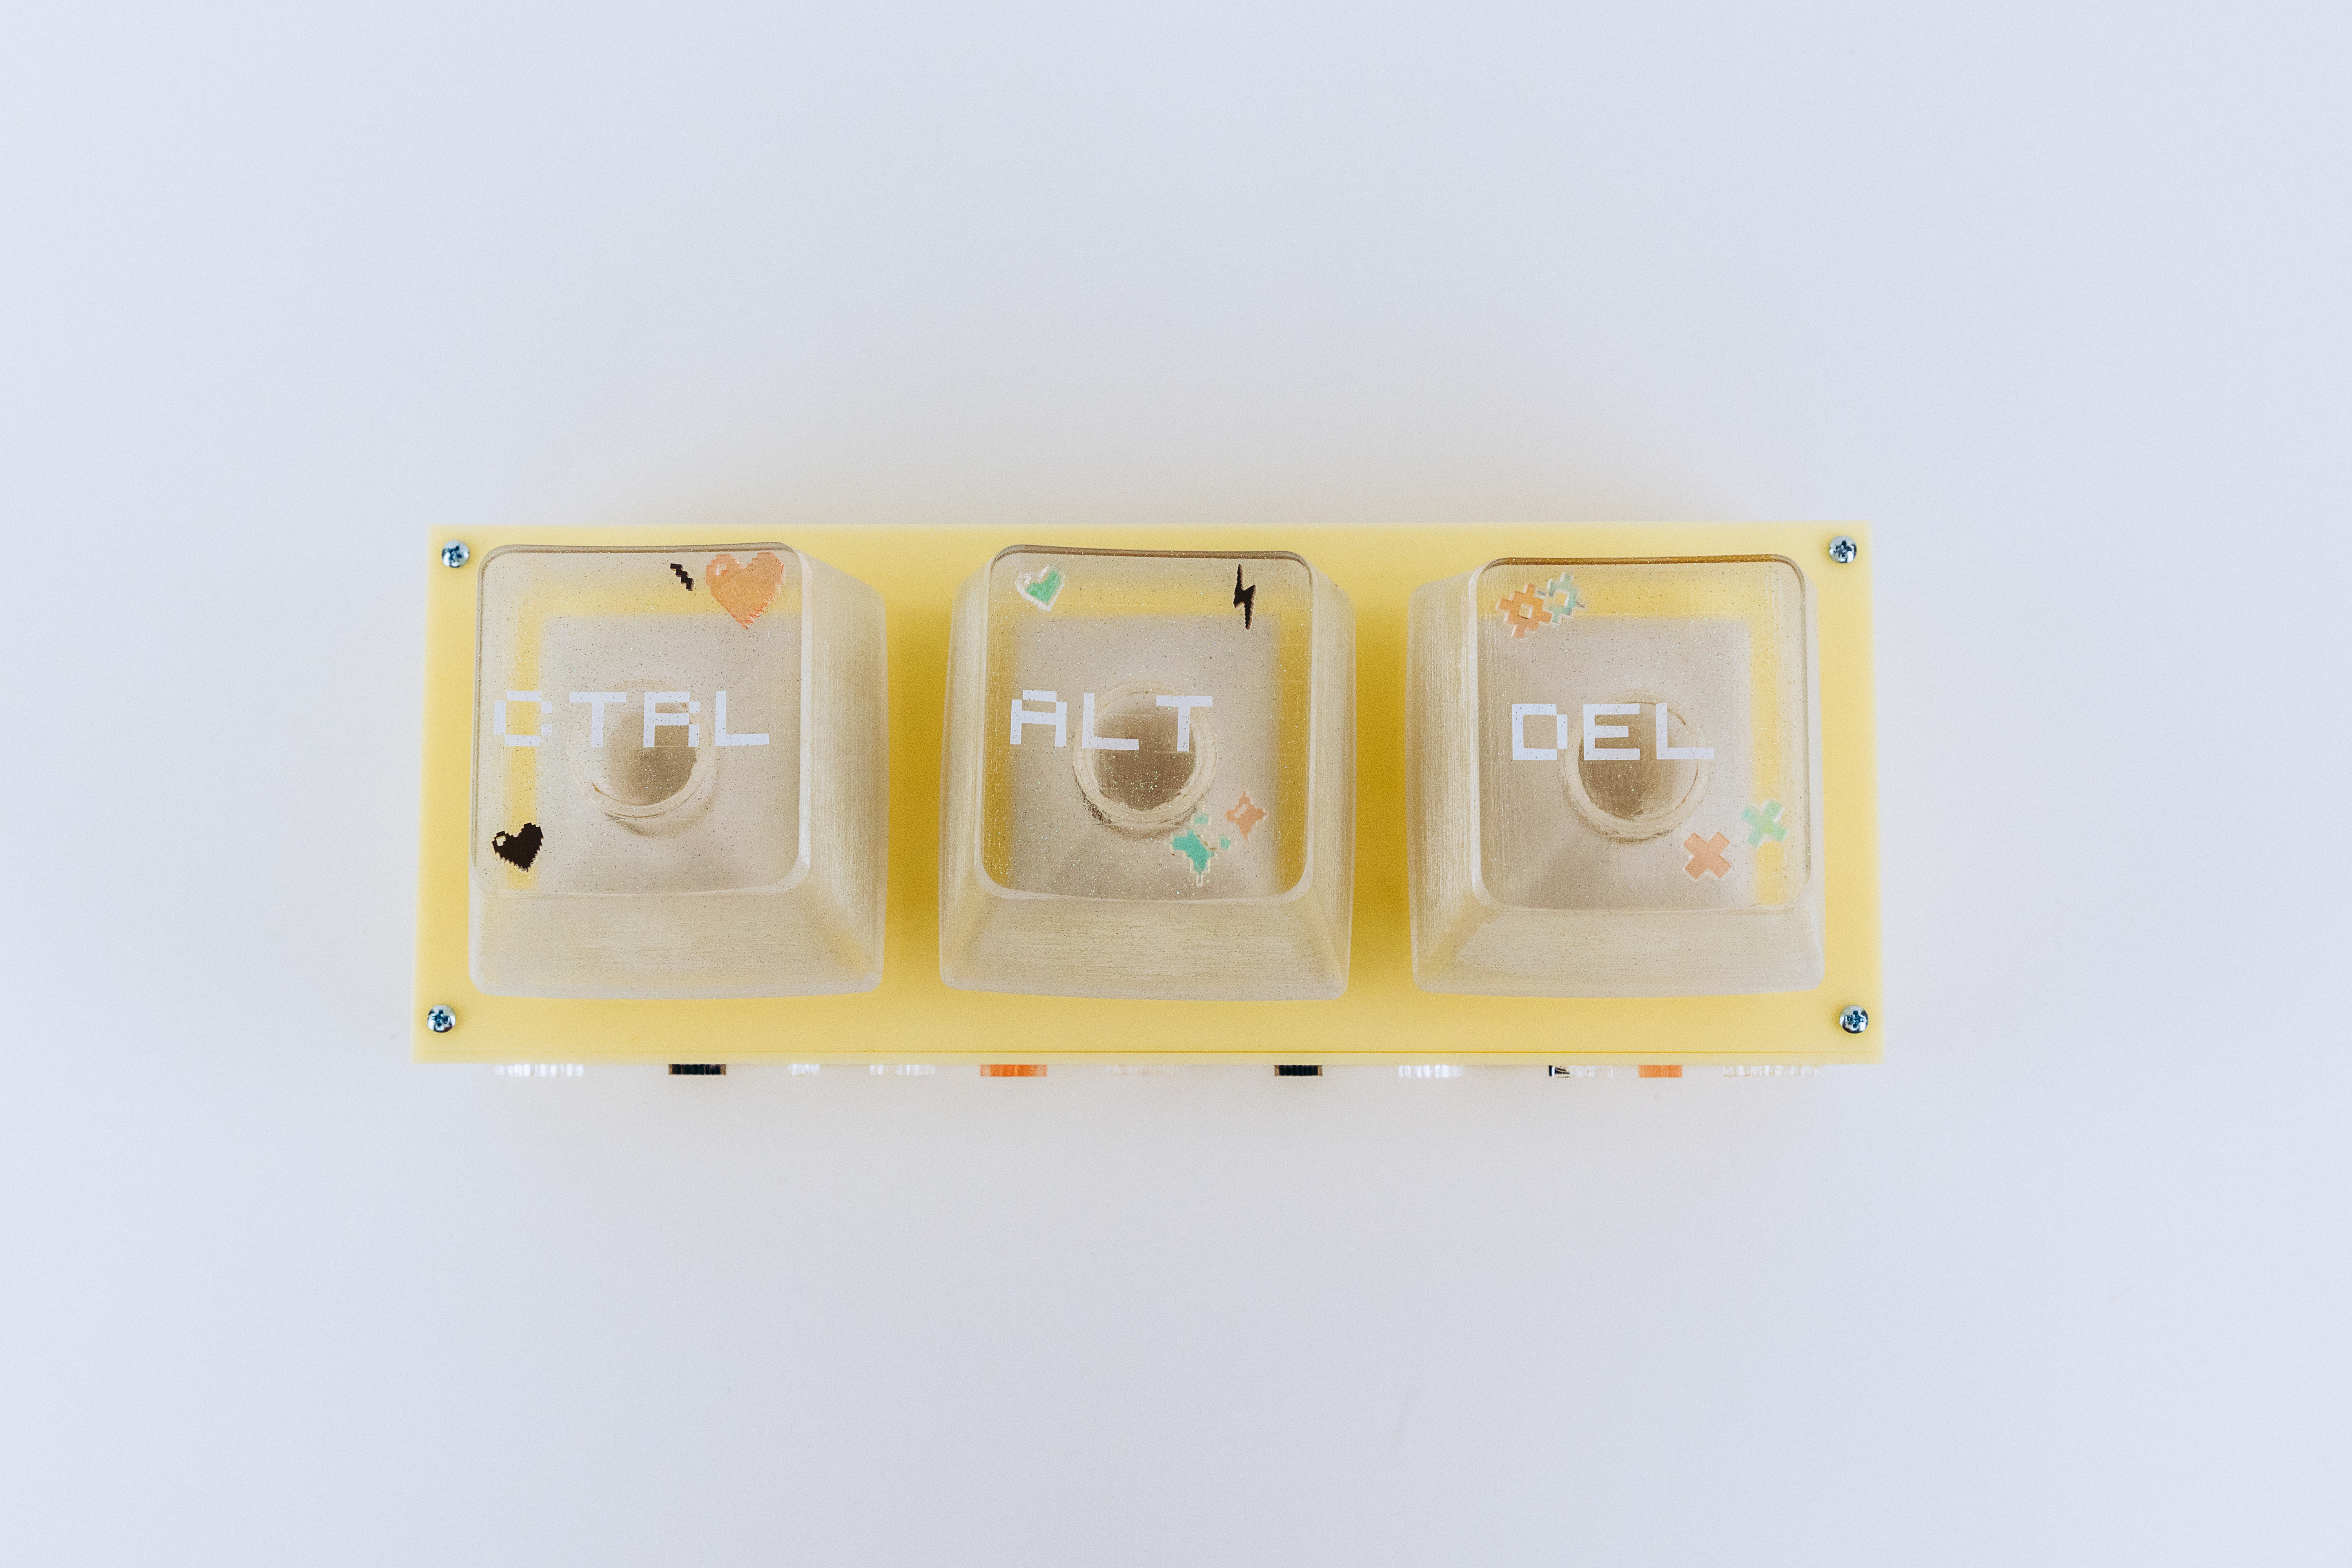
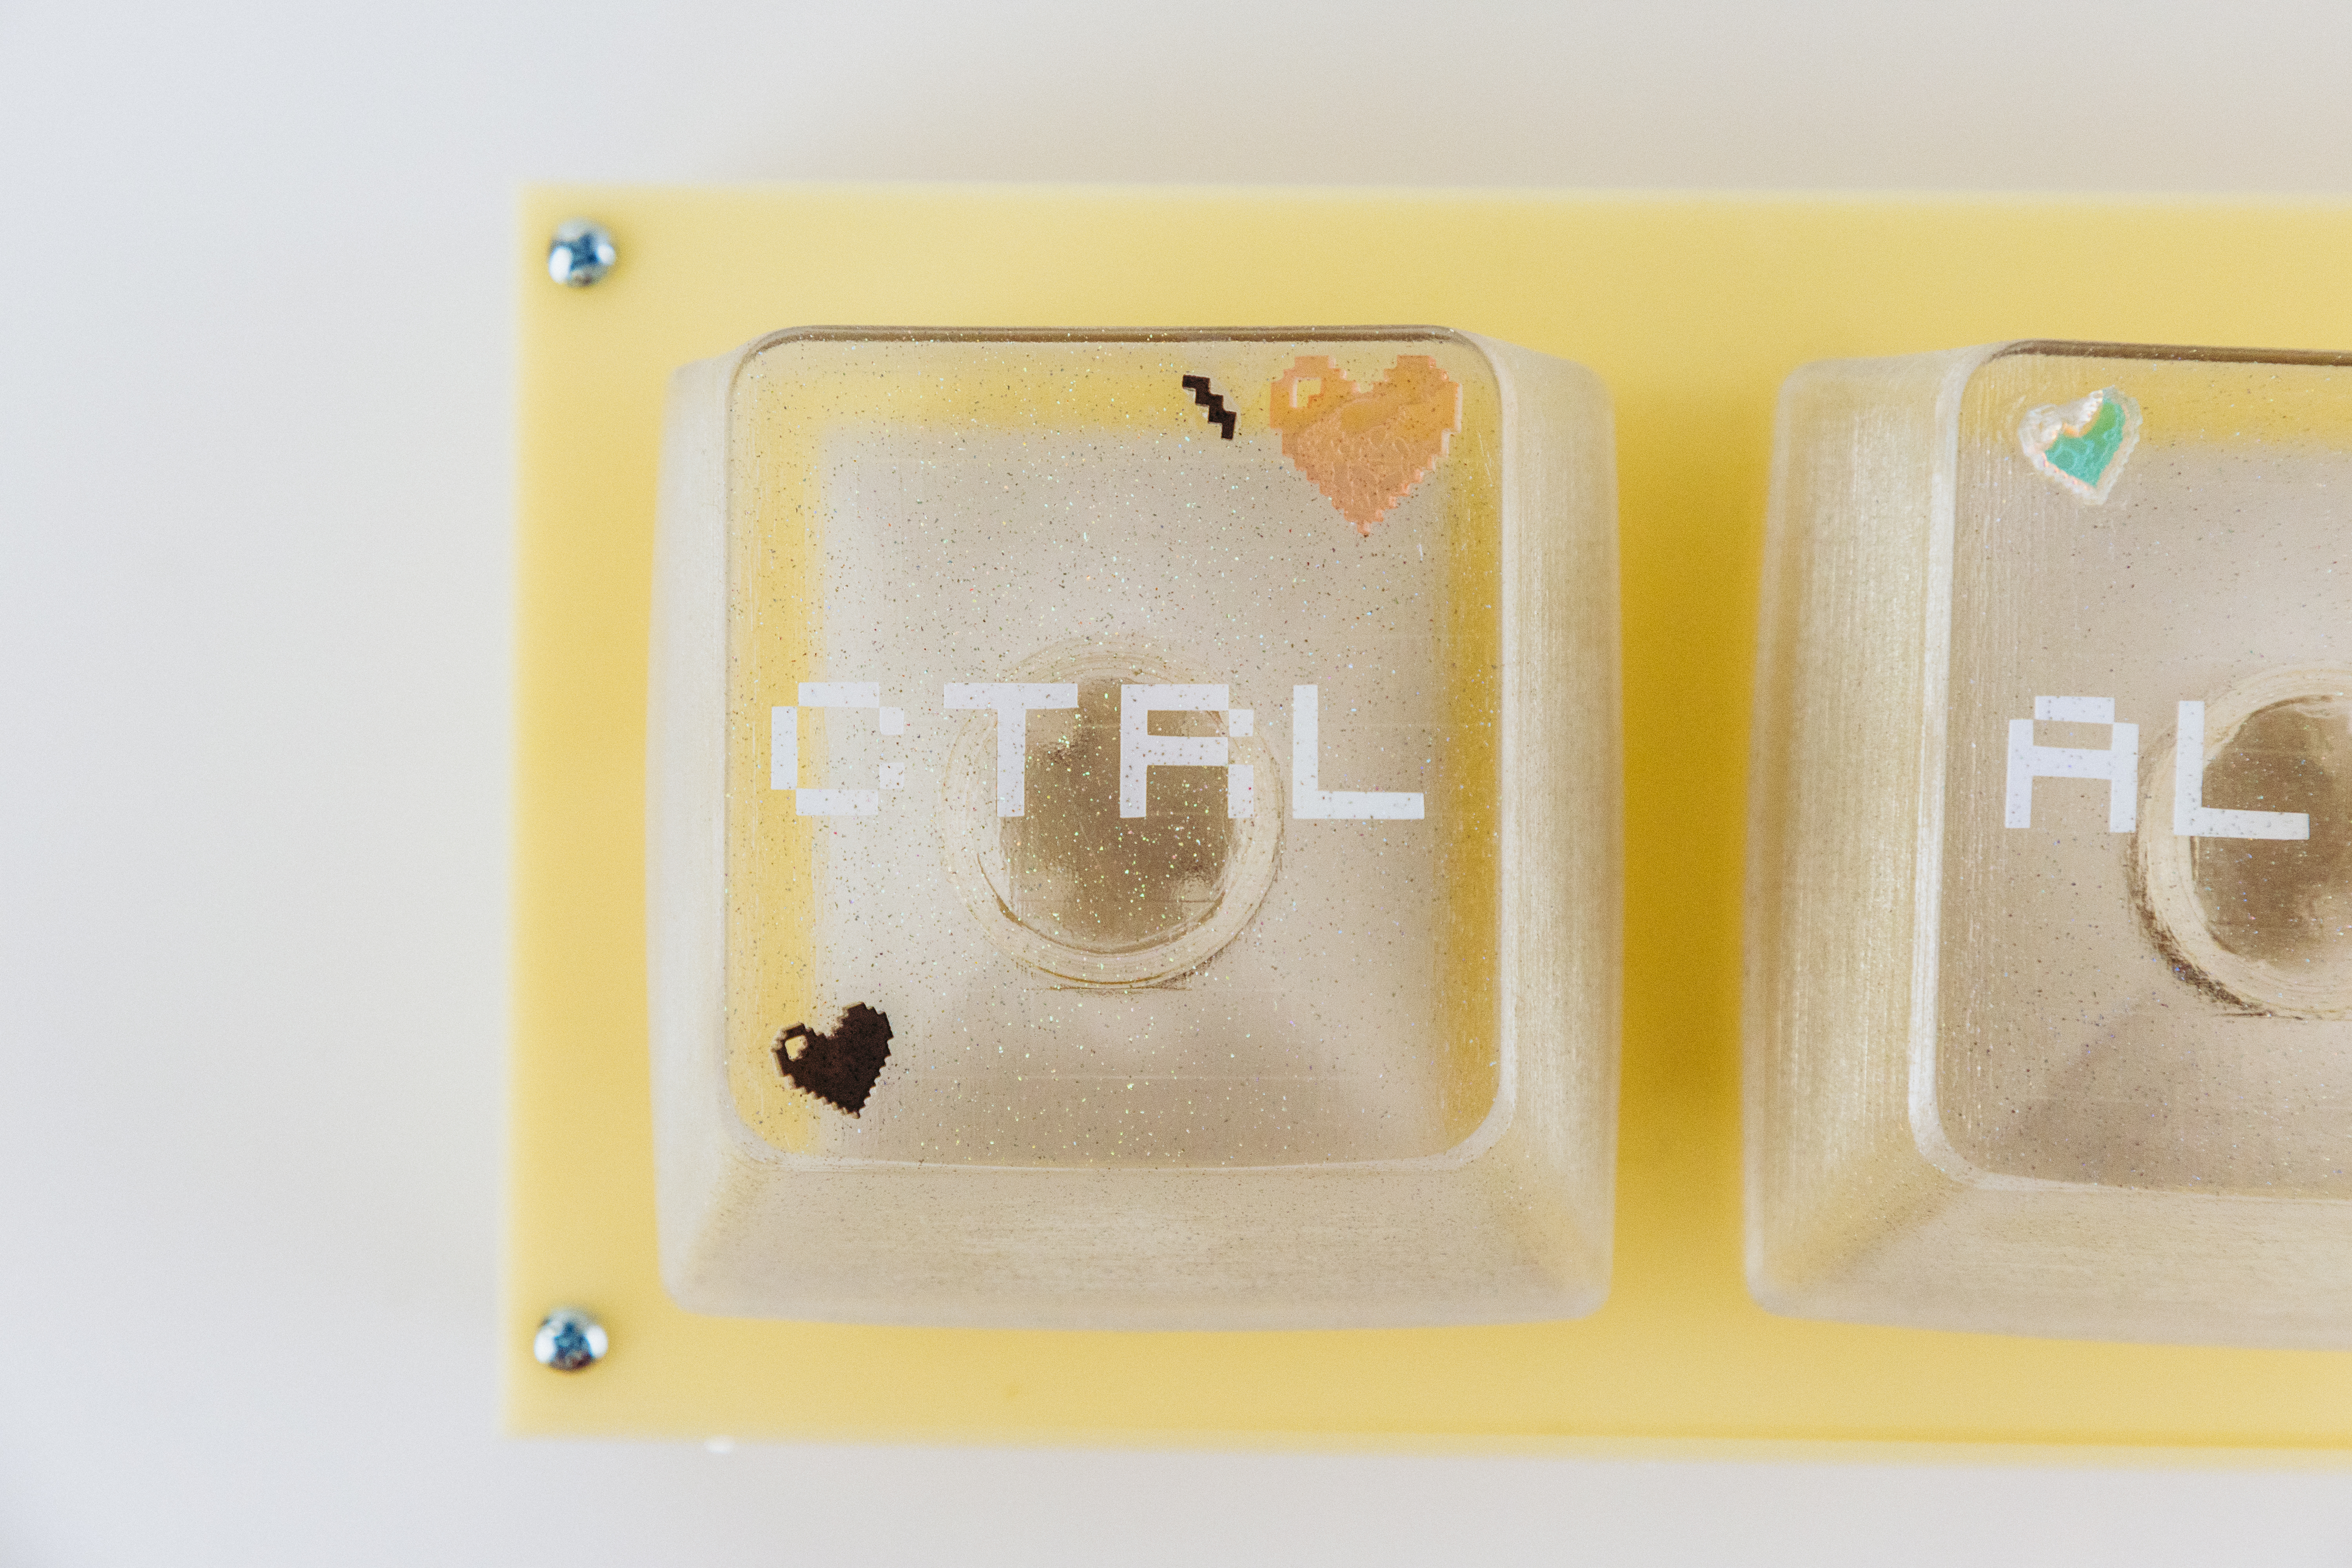
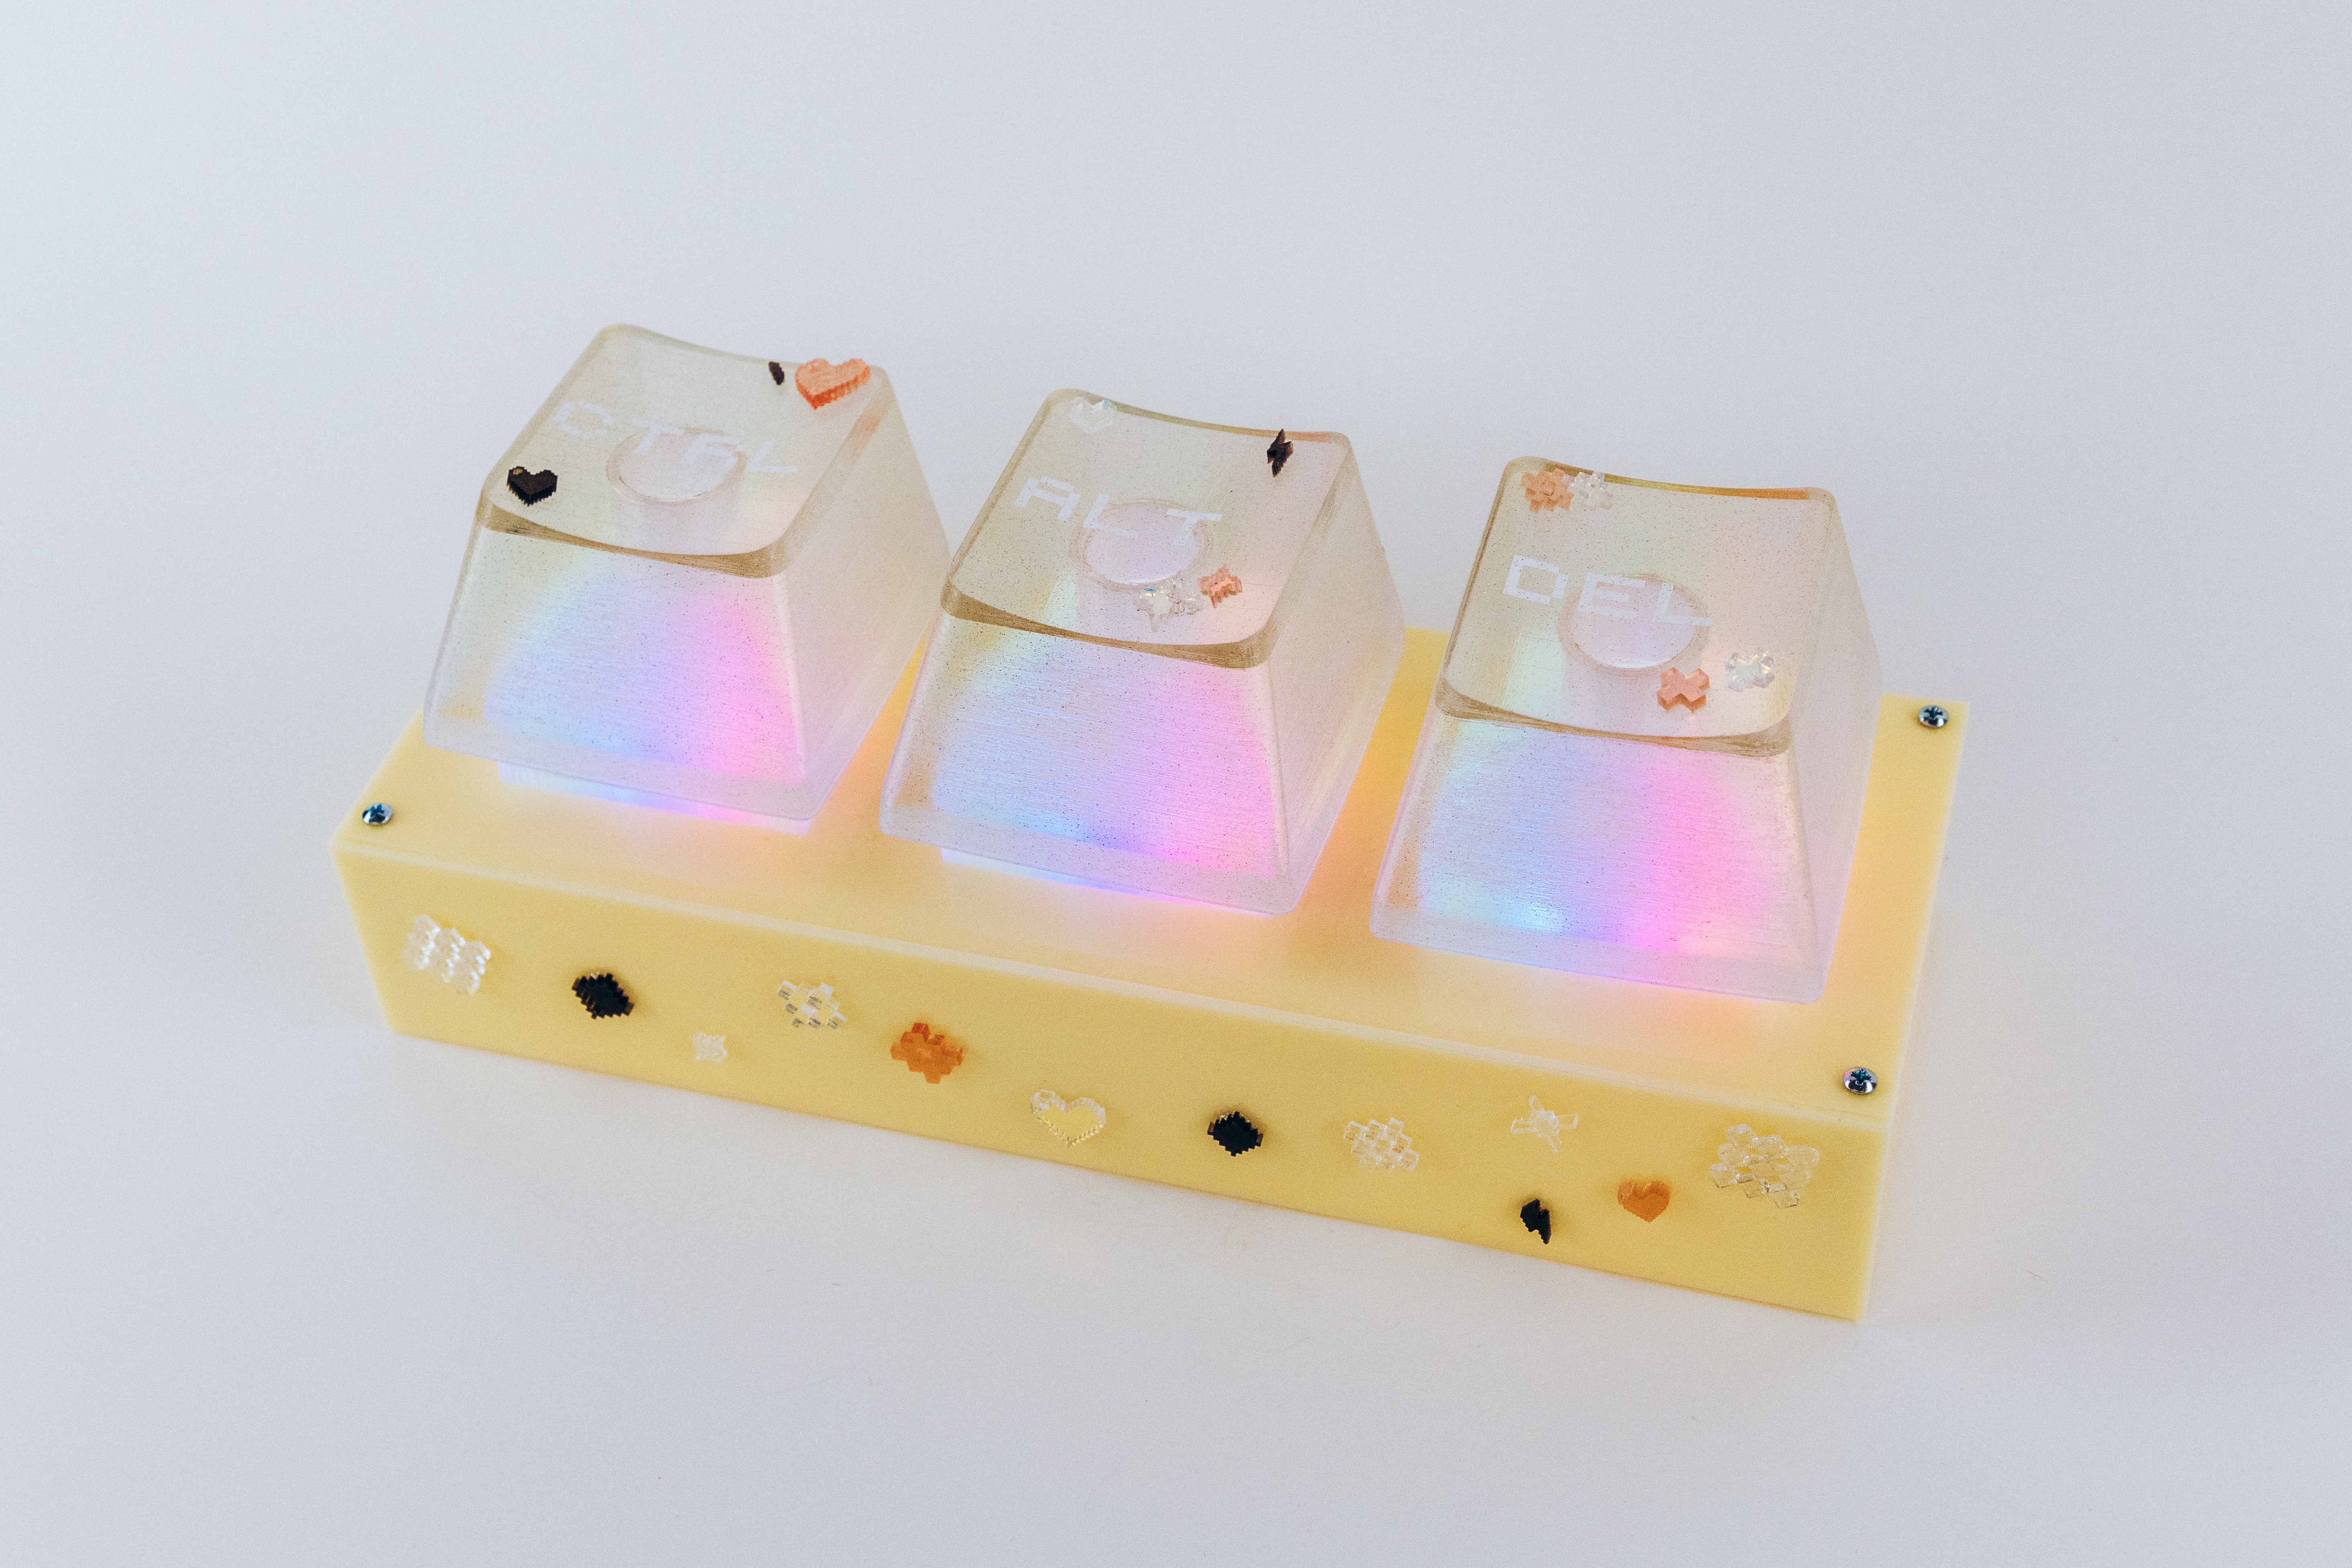
Can adding seemingly trivial details to mundane things transform how we perceive them and value the world? Ctrl + alt + light is a nontraditional lamp that aims to challenge our ideas about scale and our relationship to ordinary objects. It presents light in a whimsical way by using the shape of oversized keycaps from a keyboard while retaining the functionality of a lamp, suitable for everyday use.
Users can interact with it by pressing the keys to control the power and appearance of the light. The fabrication aligns with the range of custom designs created in the growing community of mechanical keyboard enthusiasts. The lamp’s pixel style and color palette also specifically draw inspiration from the earlier nostalgic days of mechanical keyboards and the Y2K aesthetic.
Process
Concept
My objective was to create a lamp in the shape of oversized keys, choosing keys that had a meaningful connection to each other.
I considered arrow keys, WASD, and Ctrl + Esc before landing on Ctrl + Alt + Del. From here, I came up with several arrangements with the goal being that these would be modular with the potential to add or remove more keys, allowing for customization.
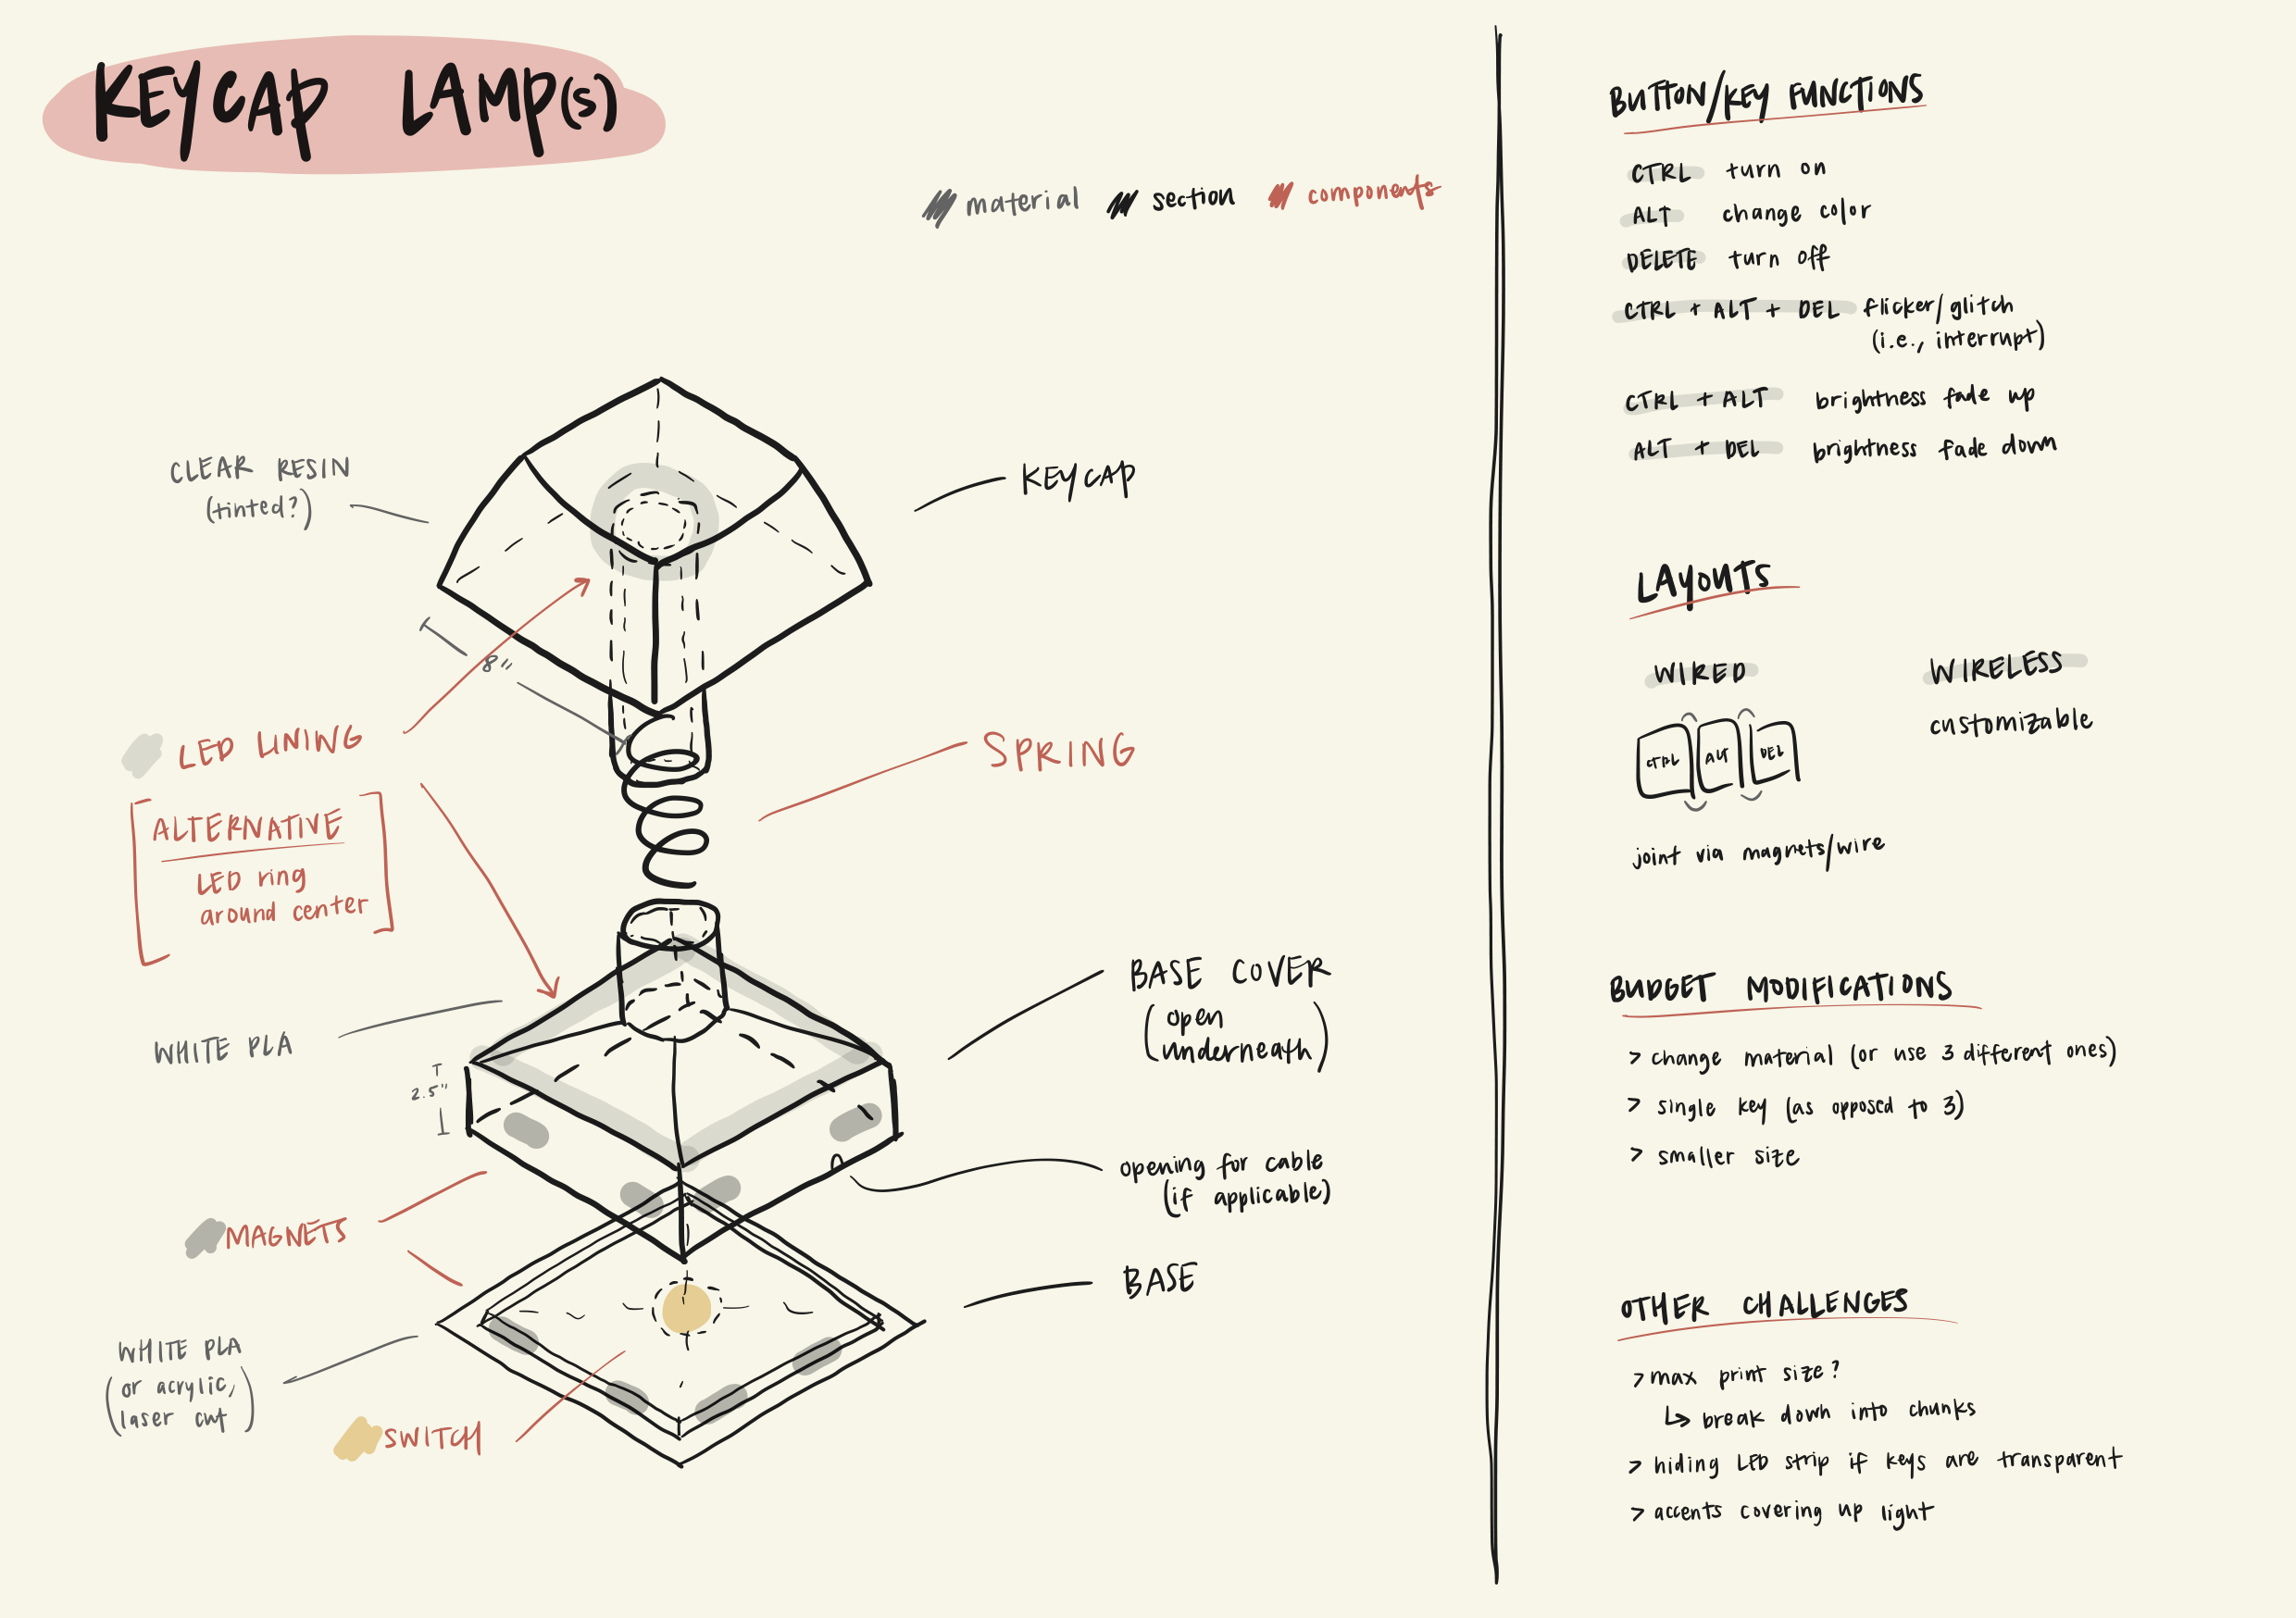
Sketch from initial brainstorming.
The output of the key presses should also make sense with their original purpose. This is what guided me in assigning their functions:
- Ctrl + Alt + Del would power off the lamp, similar to how it is used to interrupt tasks on computers.
- Ctrl turns on the lamp as if it is powering or controlling it.
- Alt changes the color as if it is alternating between colors and giving the option to modify them.
- Del changes how many of the keys are lit up as if it is “deleting” light.
Digital Fabrication
The keys and their connected parts were all designed in Autodesk Fusion and 3D printed, and the base of the lamp was created in Adobe Illustrator and laser cut.
Right away, I knew my biggest challenge would be designing the switch in a way that is efficient and viable but still durable enough for longer-term use. I sketched out different possible shapes that might work for the keycap itself and the base of the switch and went from there to come up with methods of connecting them while still leaving room for the lights. At first, I wanted to use a single large spring but quickly found out that using multiple smaller ones would give more flexibility in adjusting the tension and balance.
Considering the nature of 3D printing, I split each key into 5 parts in the design in a manner that made the lamp easier to assemble and disassemble. To get suitable measurements for every part, I did several calculations.


First, I calculated the distance needed between the top of the key and the switch to figure out the length of the connecting part that sits on top of the springs. I tested different compression springs to find one that was capable of resisting force without breaking or being too stiff, taking note of the maximum spring load and wire diameter. To get the springs to fit correctly, I made sure that the legs holding them had a smaller diameter but were still large enough that the springs would stay in place. The holes at the bottom of the key’s connecting part then had to be larger than the legs so that they could push through, but also be smaller than the springs so that it could comfortably rest on top of them and push down.

To build the lamp's base, I created multiple levels in the box and made holes for bolts and wires as well as openings for the keys.
Physical Computing
For the electrical aspect, the circuit consists of three switches and three LED rings connected to an Arduino Nano board. I experimented with various switches but ultimately chose a simple push button to avoid overcomplicating things. The LEDs are Adafruit NeoPixel rings, just slightly wider than the legs for the springs so that they fit snugly around them.
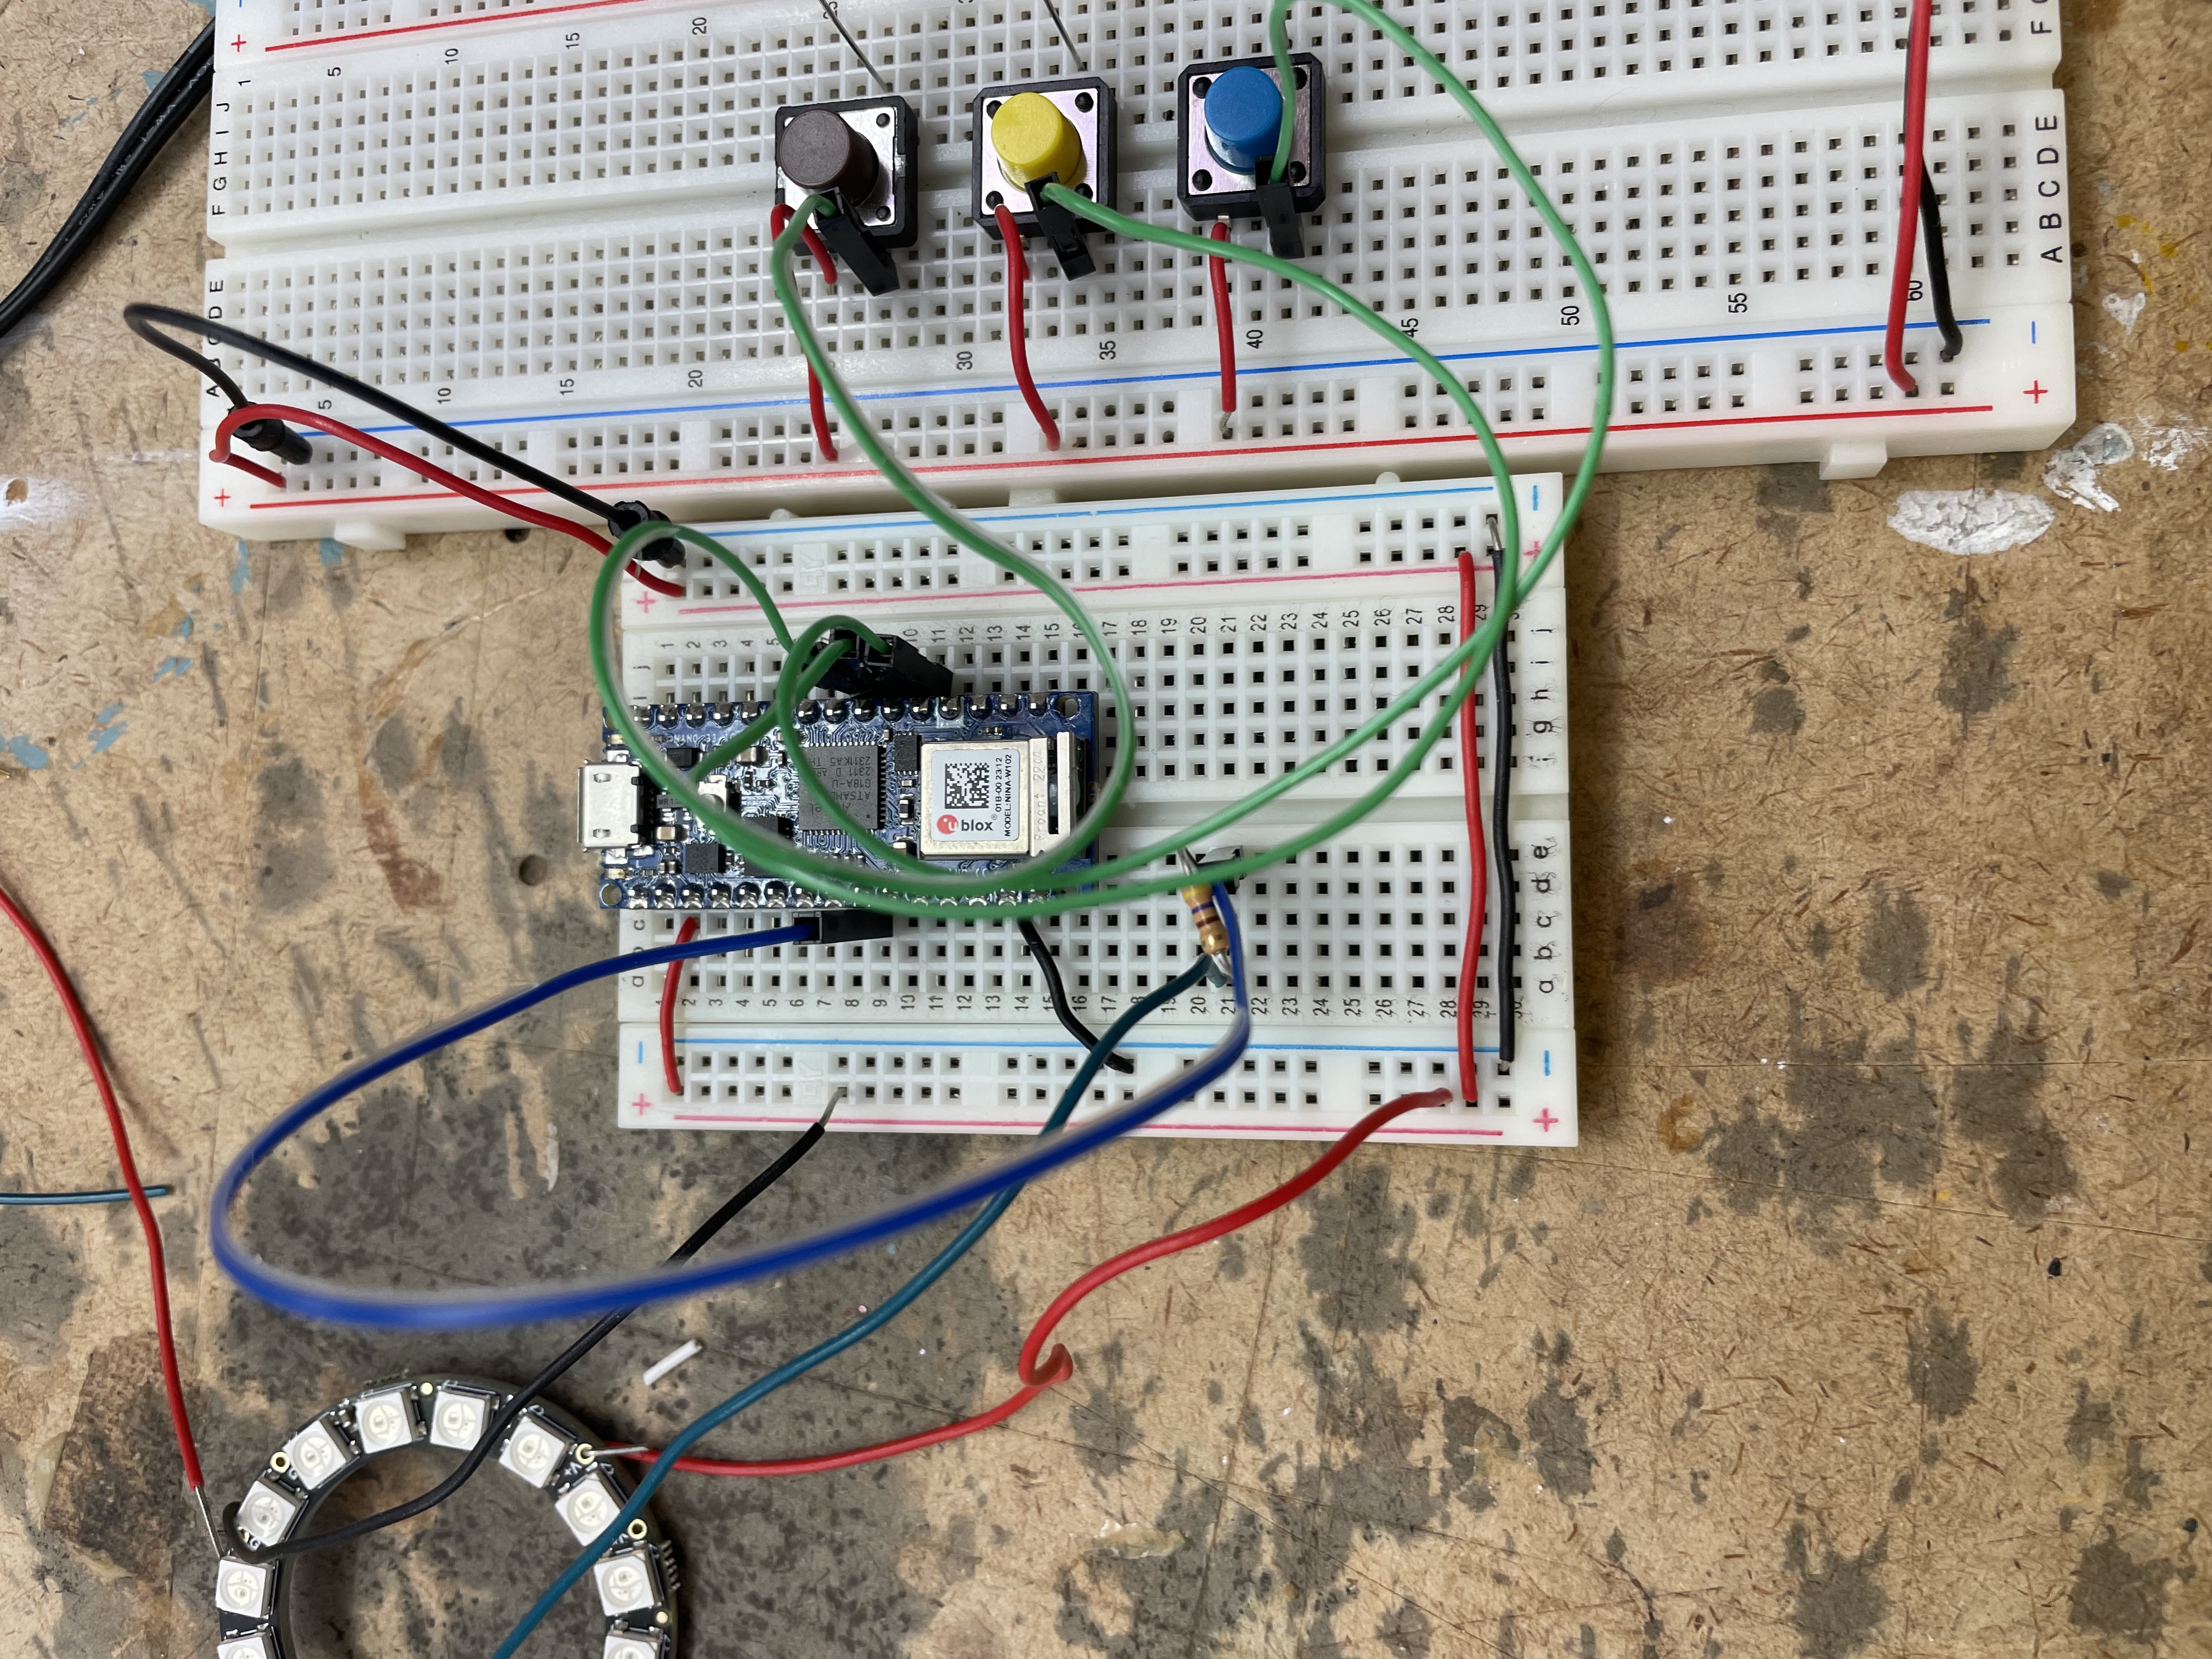
When coding, I tried different combinations for controlling the light but it was tricky to program the same key to have multiple functions. This is because it could accidentally trigger the wrong action at times. While I tried to correct this, it was difficult to make it work consistently or would come with caveats (delayed reaction, press duration, etc.), so I decided to go against it.
Assembly
Once it was time to print the parts, I used a couple of different machines. Because light is an essential part of the project, I opted to use a material that is transparent or translucent. The keycap was printed in clear resin using Stratasys’s PolyJet printers and cured with UV light. The rest was printed using the UltiMaker S series printers, with the keycap connecting parts and switch covers in transparent PLA, and the legs in white PLA.
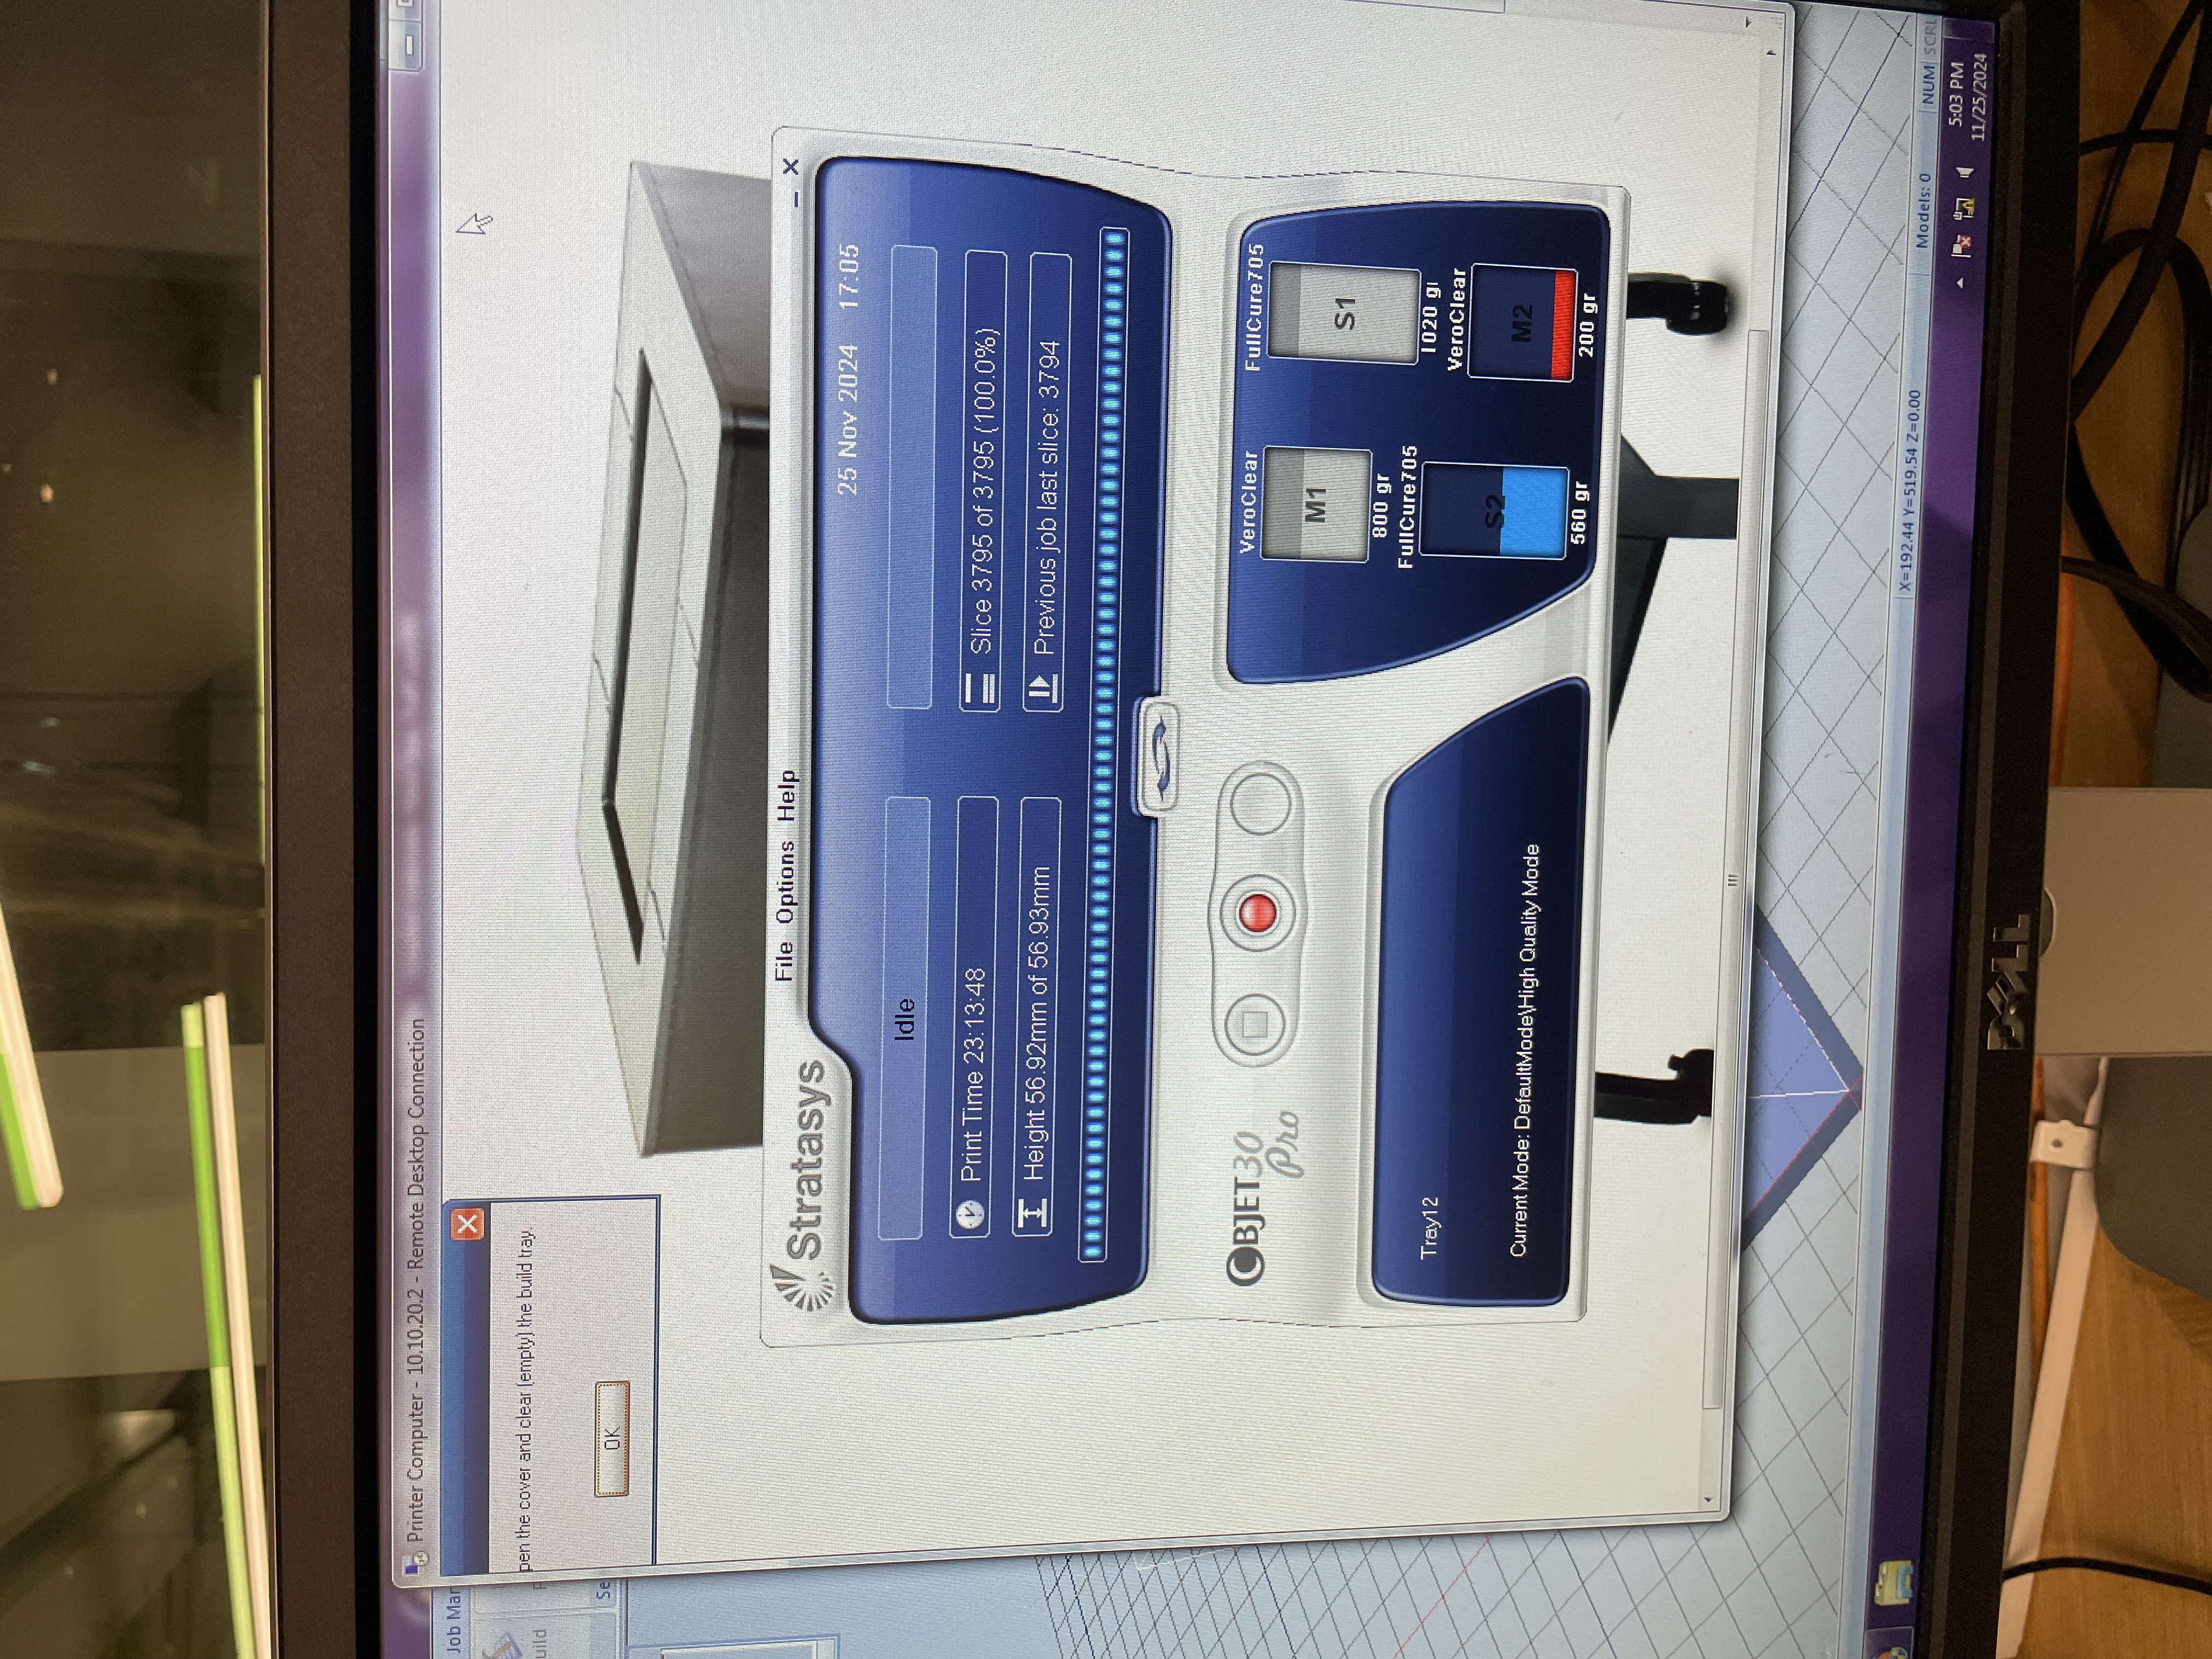
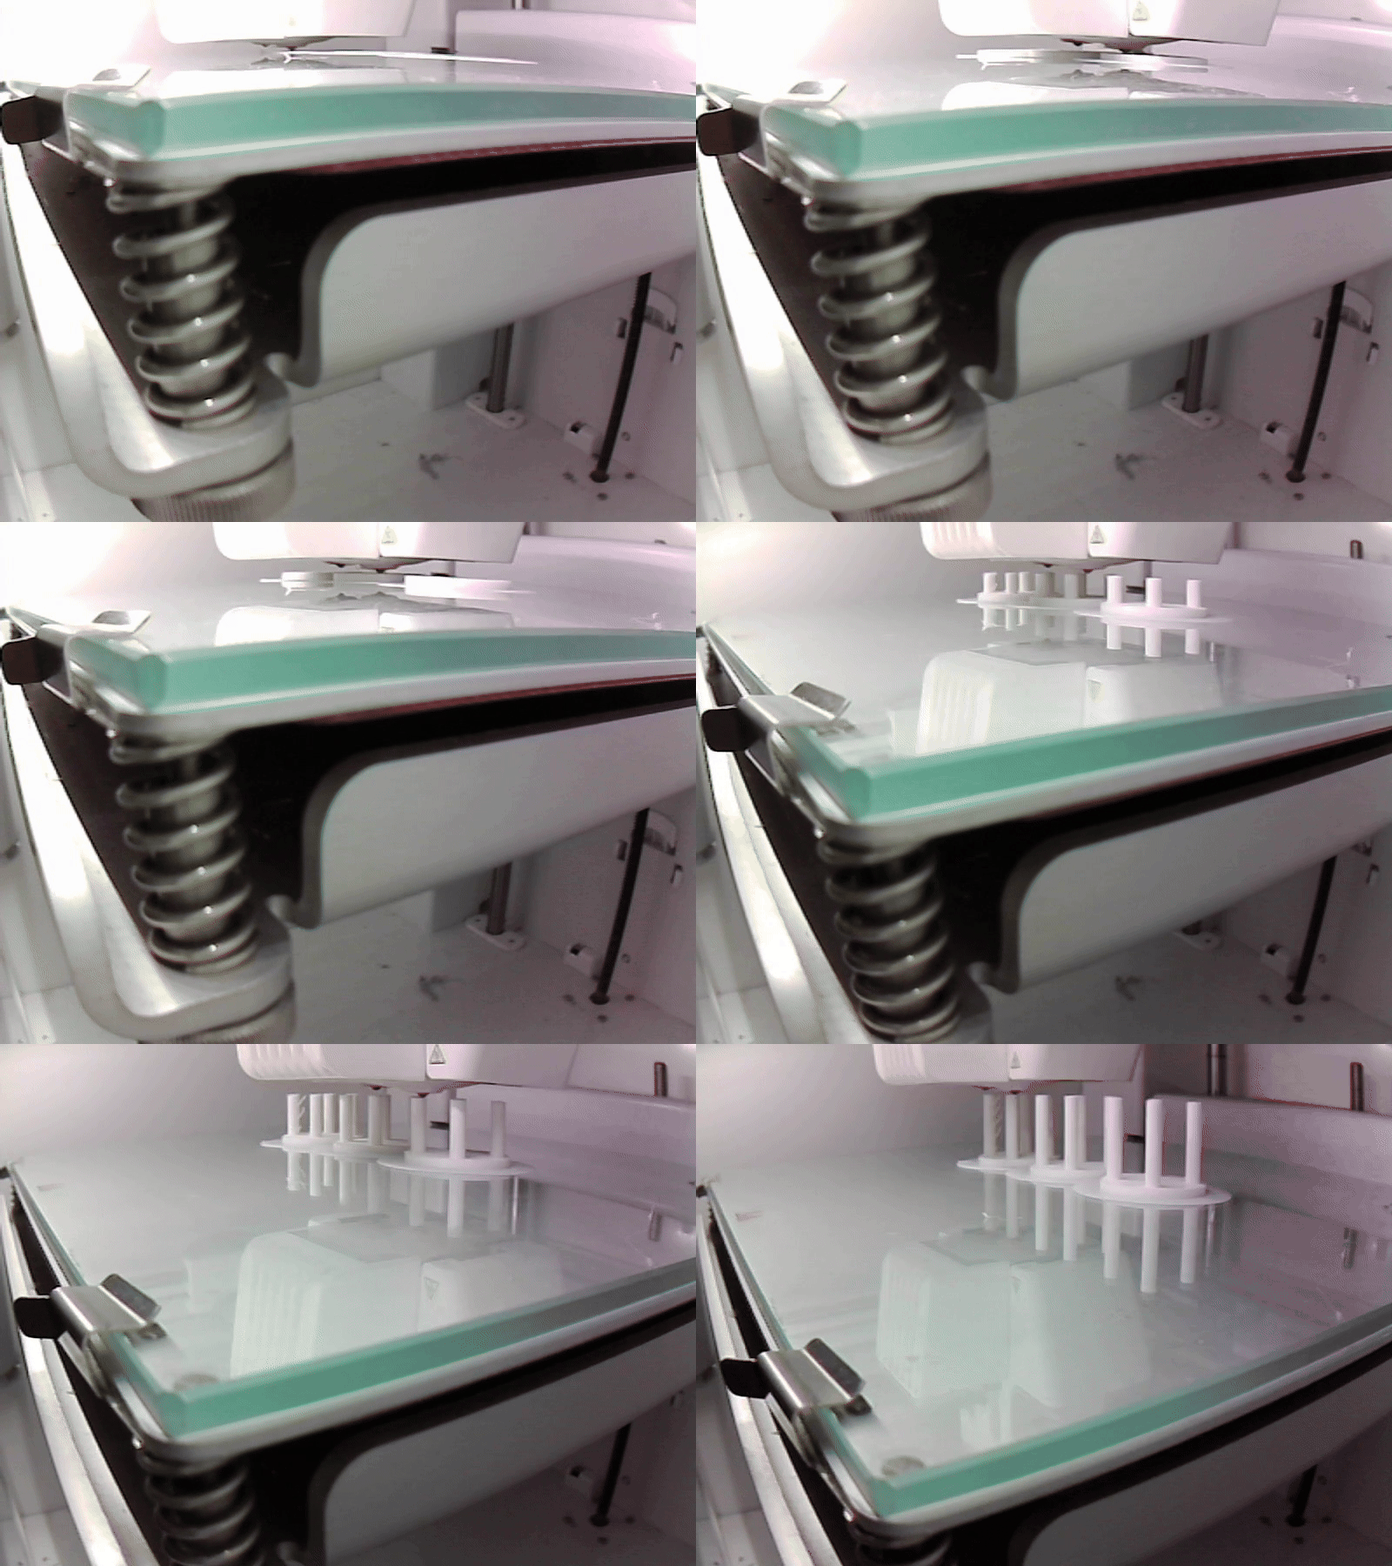
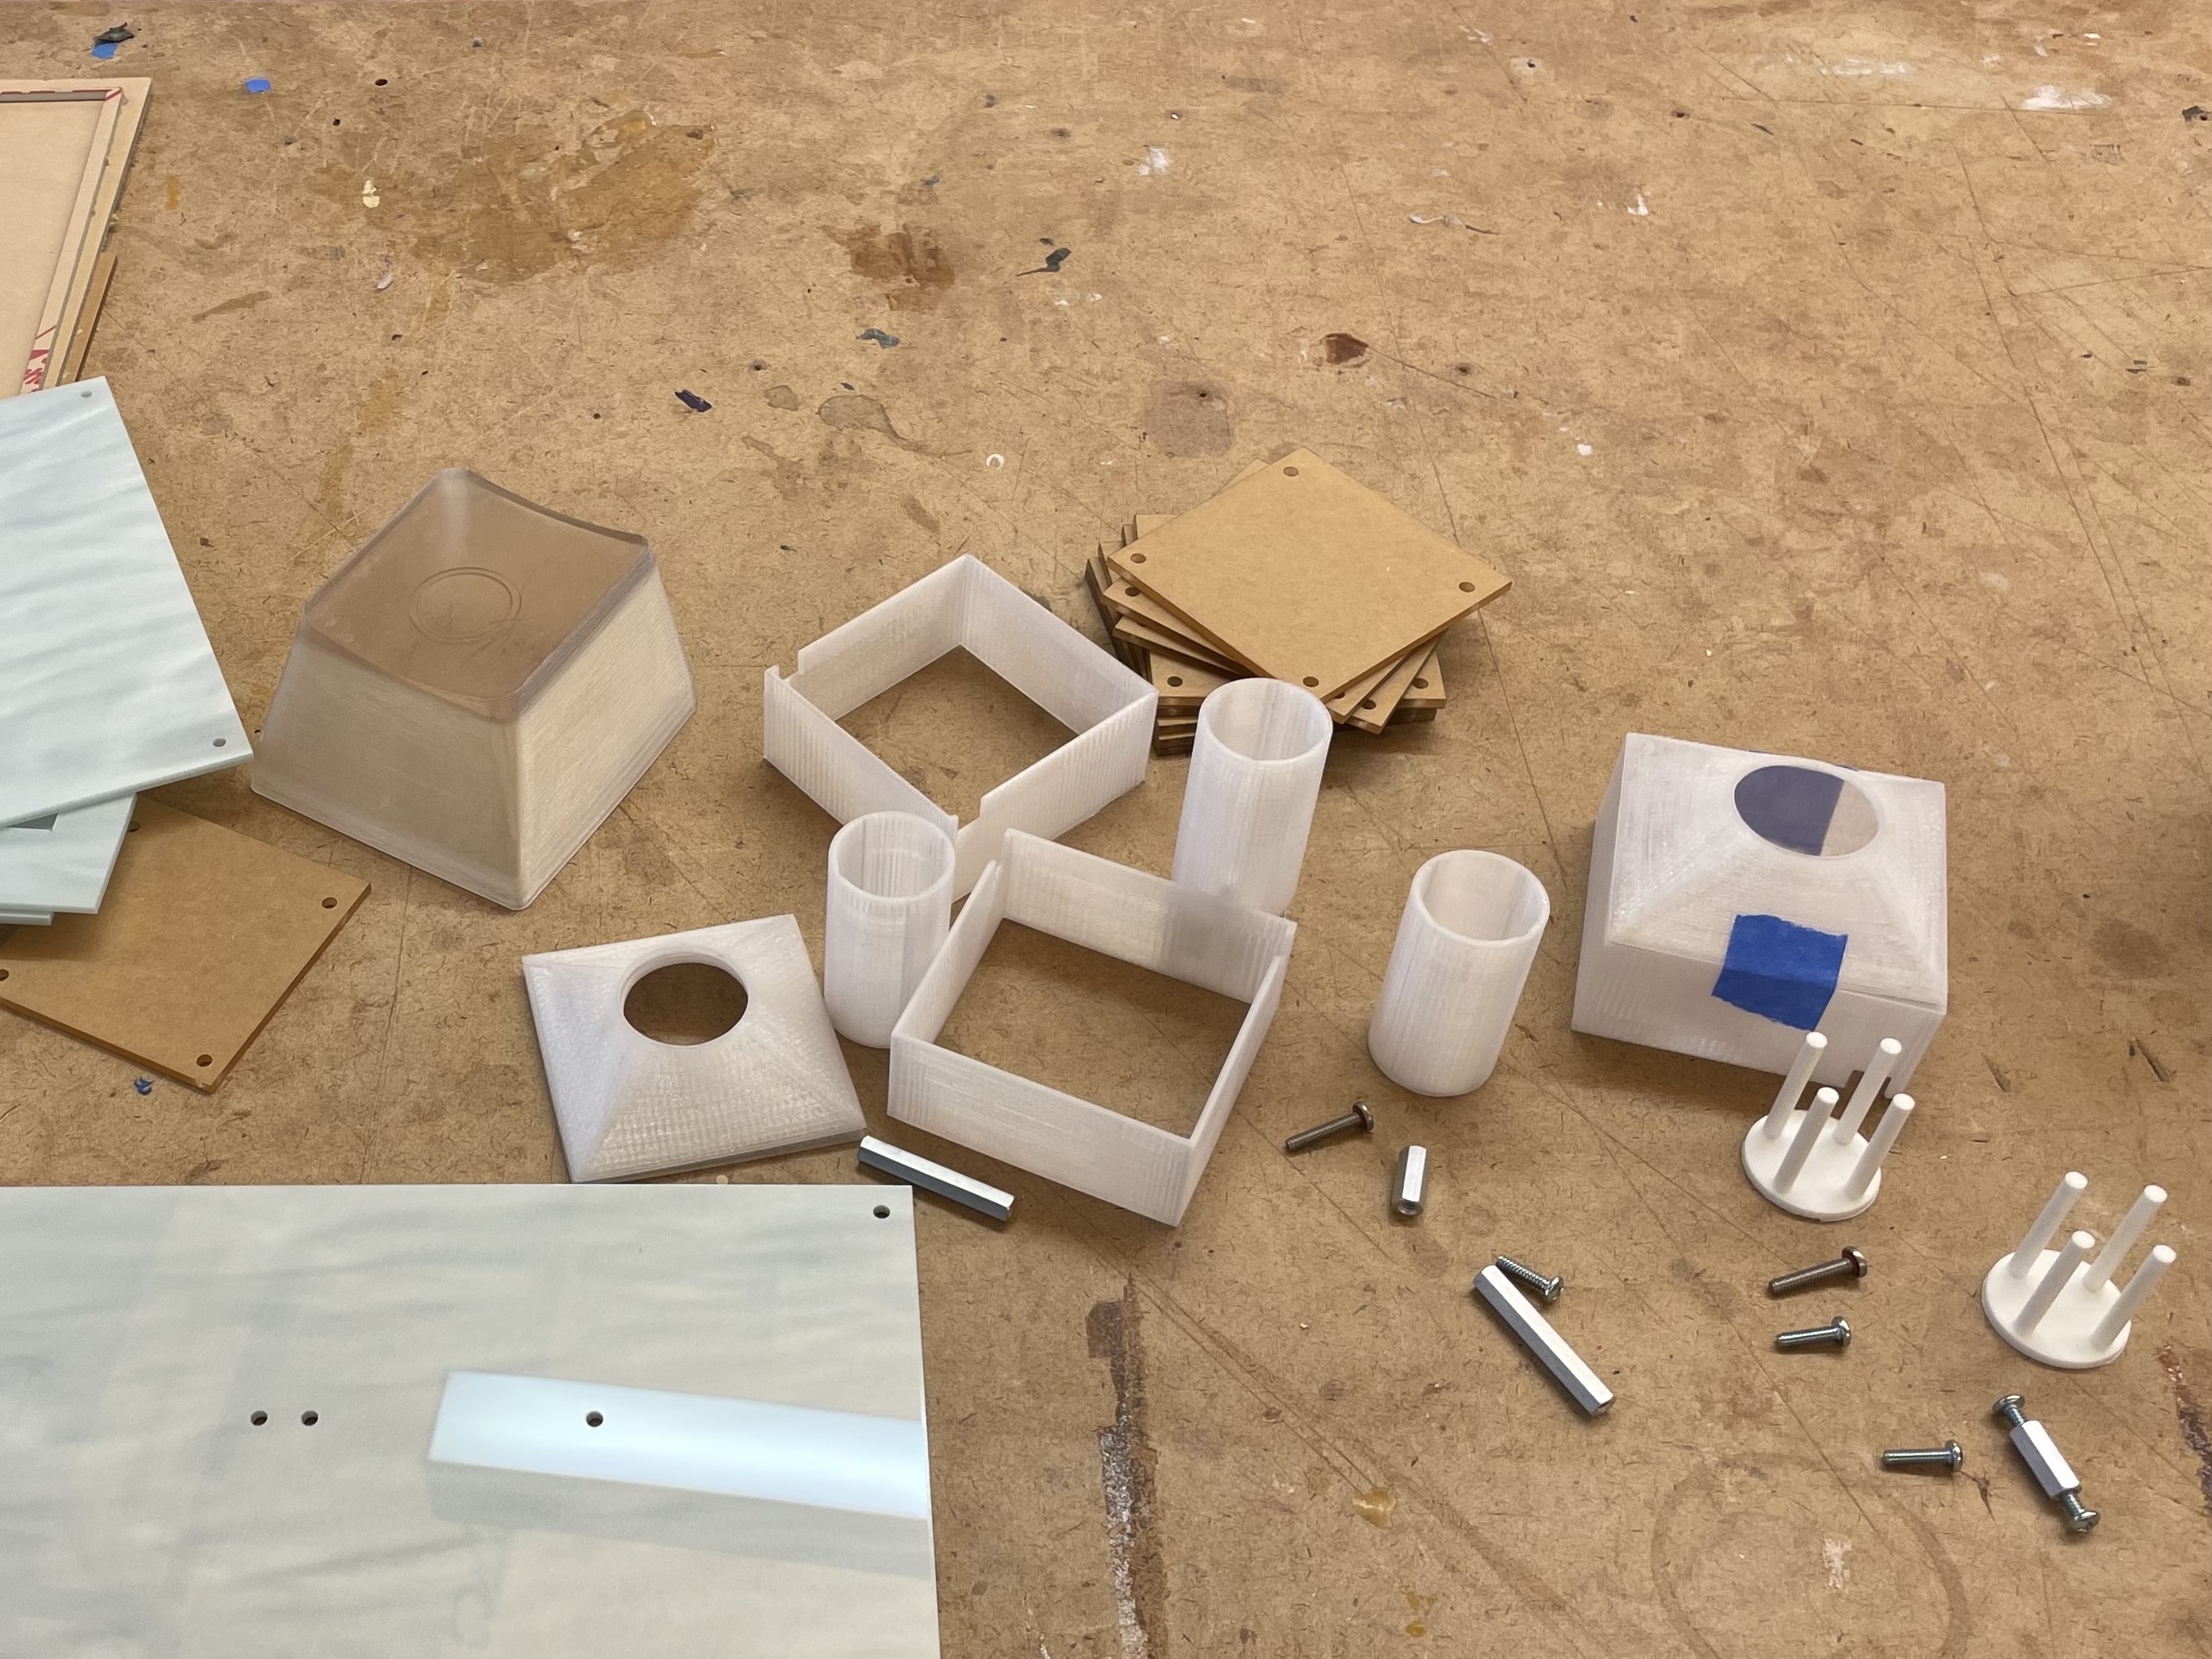
I gently sanded everything to get rid of bumpy lines and achieve a smoother finish. For the box, I laser cut into sheets of acrylic.
Now, it was time to assemble. My first problem was mistakenly placing the keys too close to each other, not providing enough support for their weight, and not leaving enough space for wiring. I made these adjustments to my box’s design and cut again on a new acrylic sheet (and changed the color).
Then, I started to layer the cut sheets to create different levels in the box for both the keys and wiring. I used the switch and key measurements to determine the level heights, making sure that the key would come close but not ever touch the box when fully pressed down. This helped me determine the size of bolts and nuts needed between each layer.
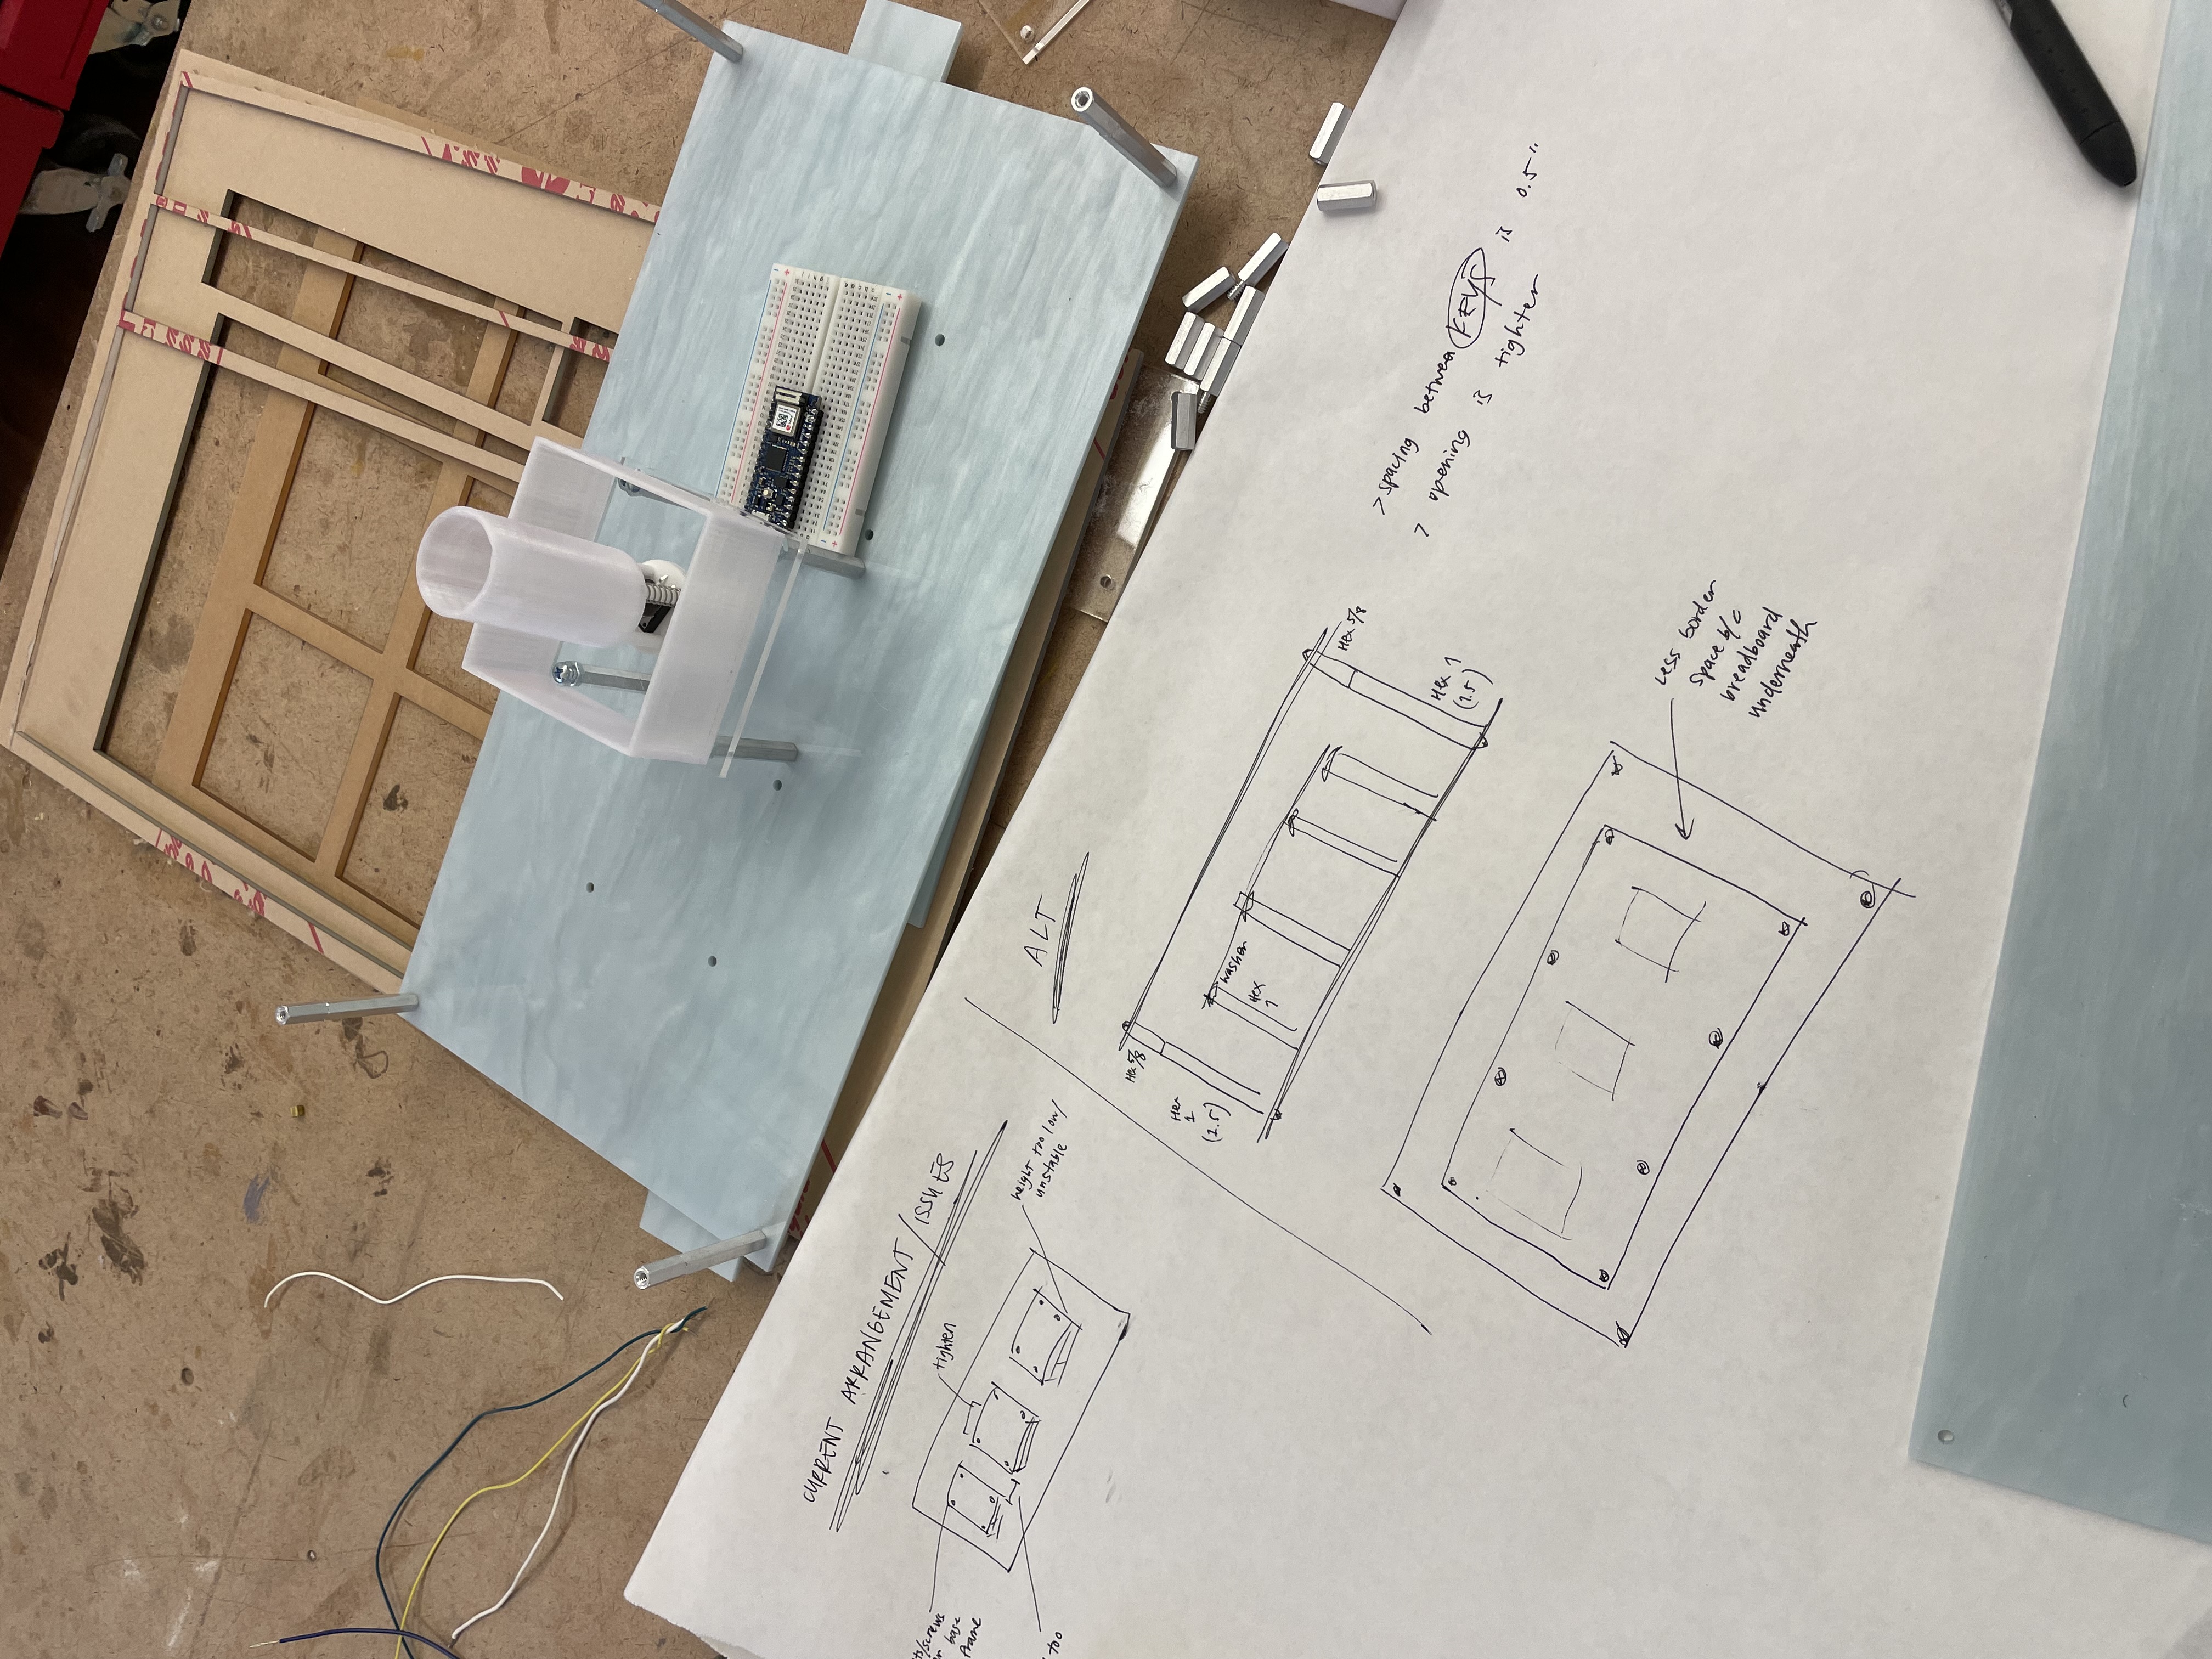
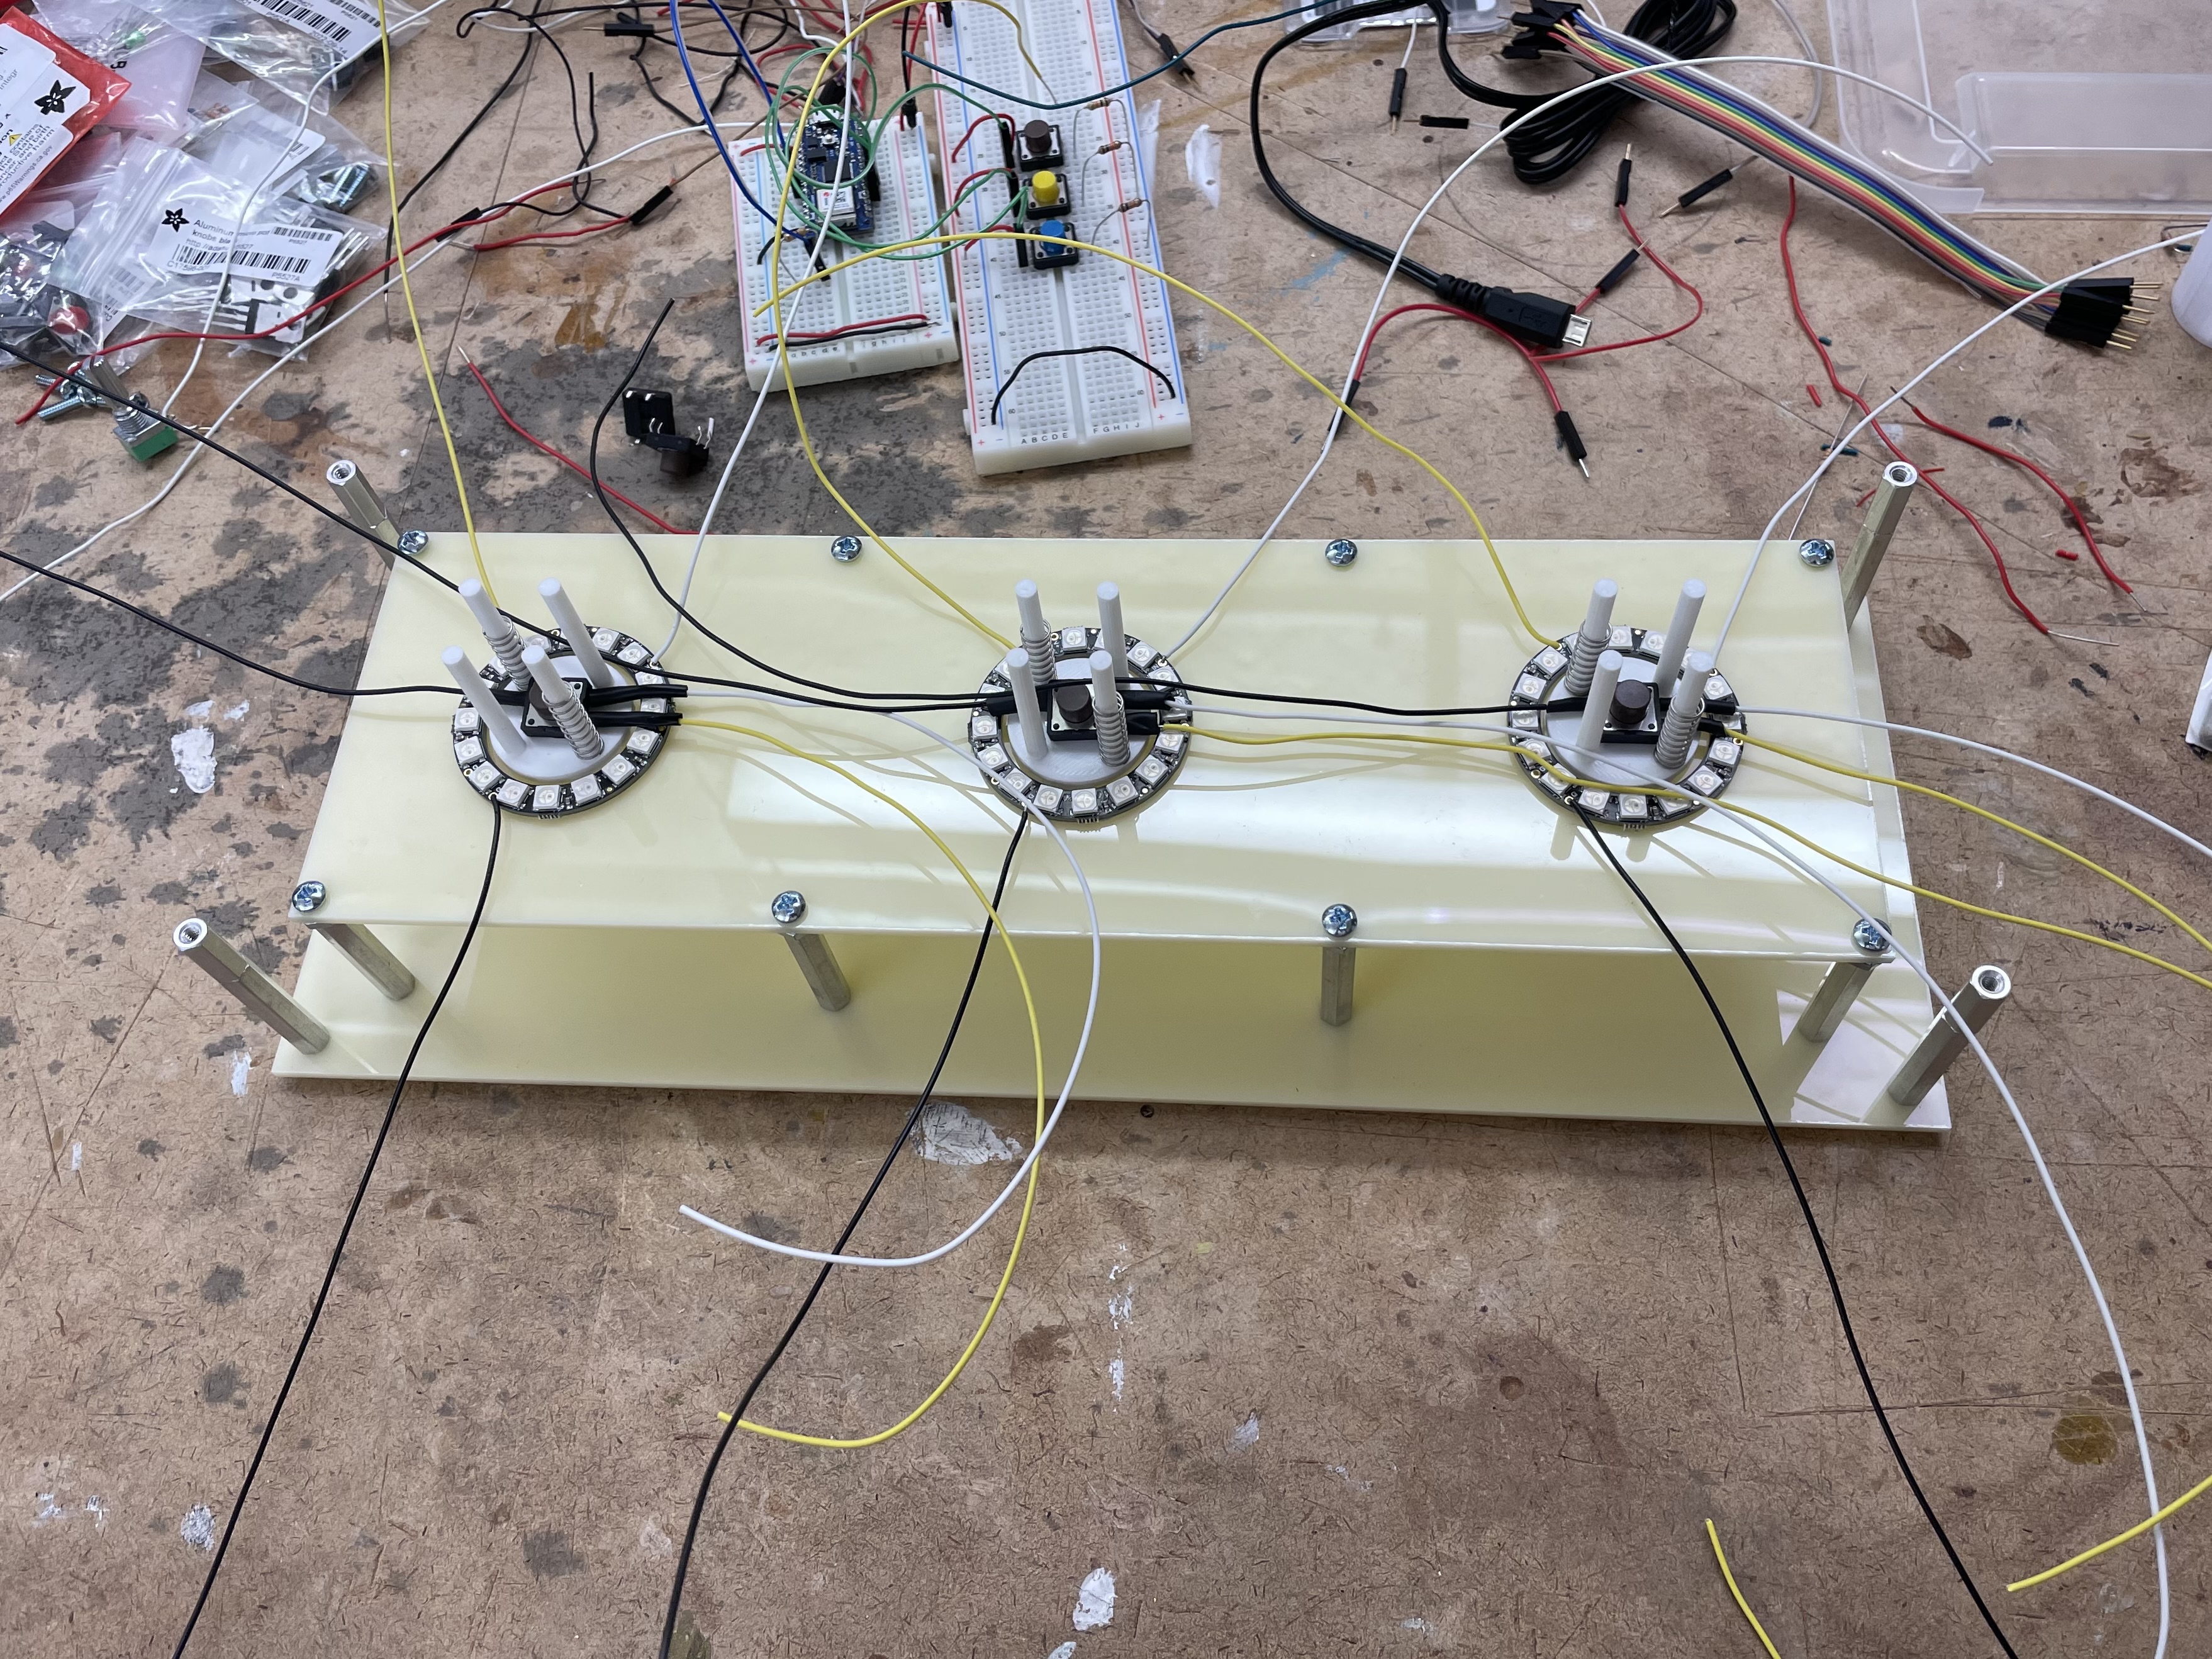
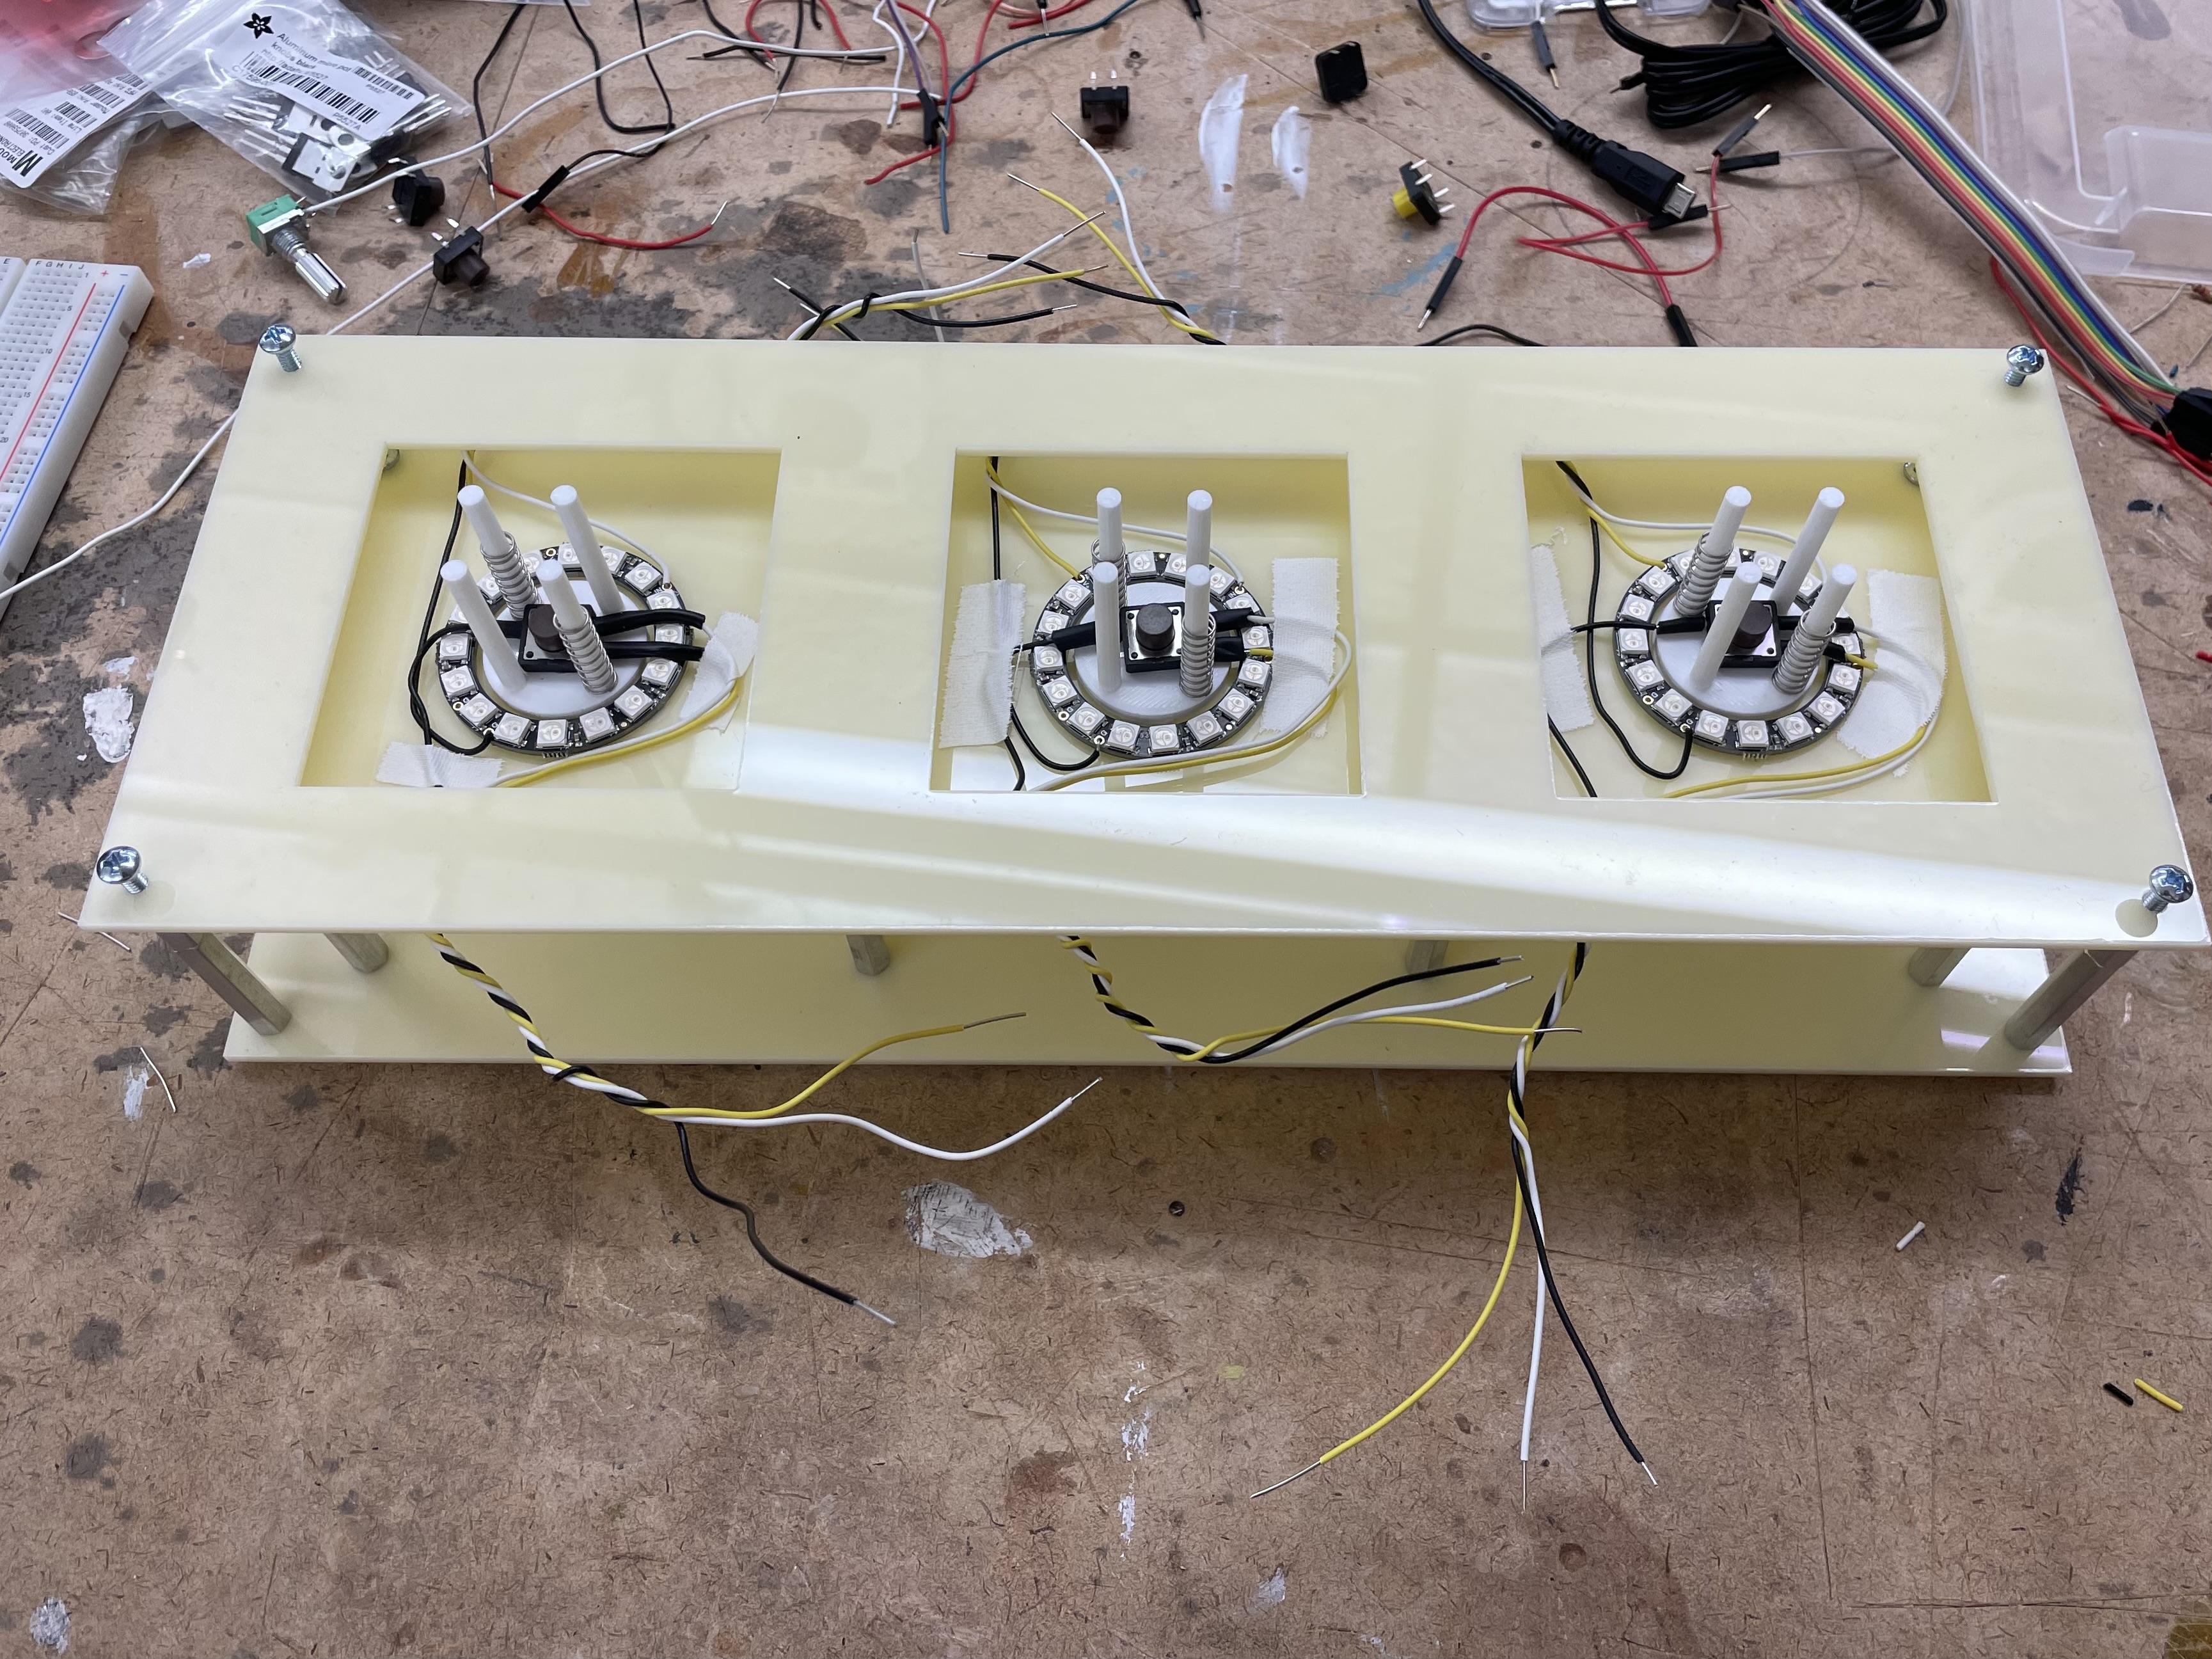
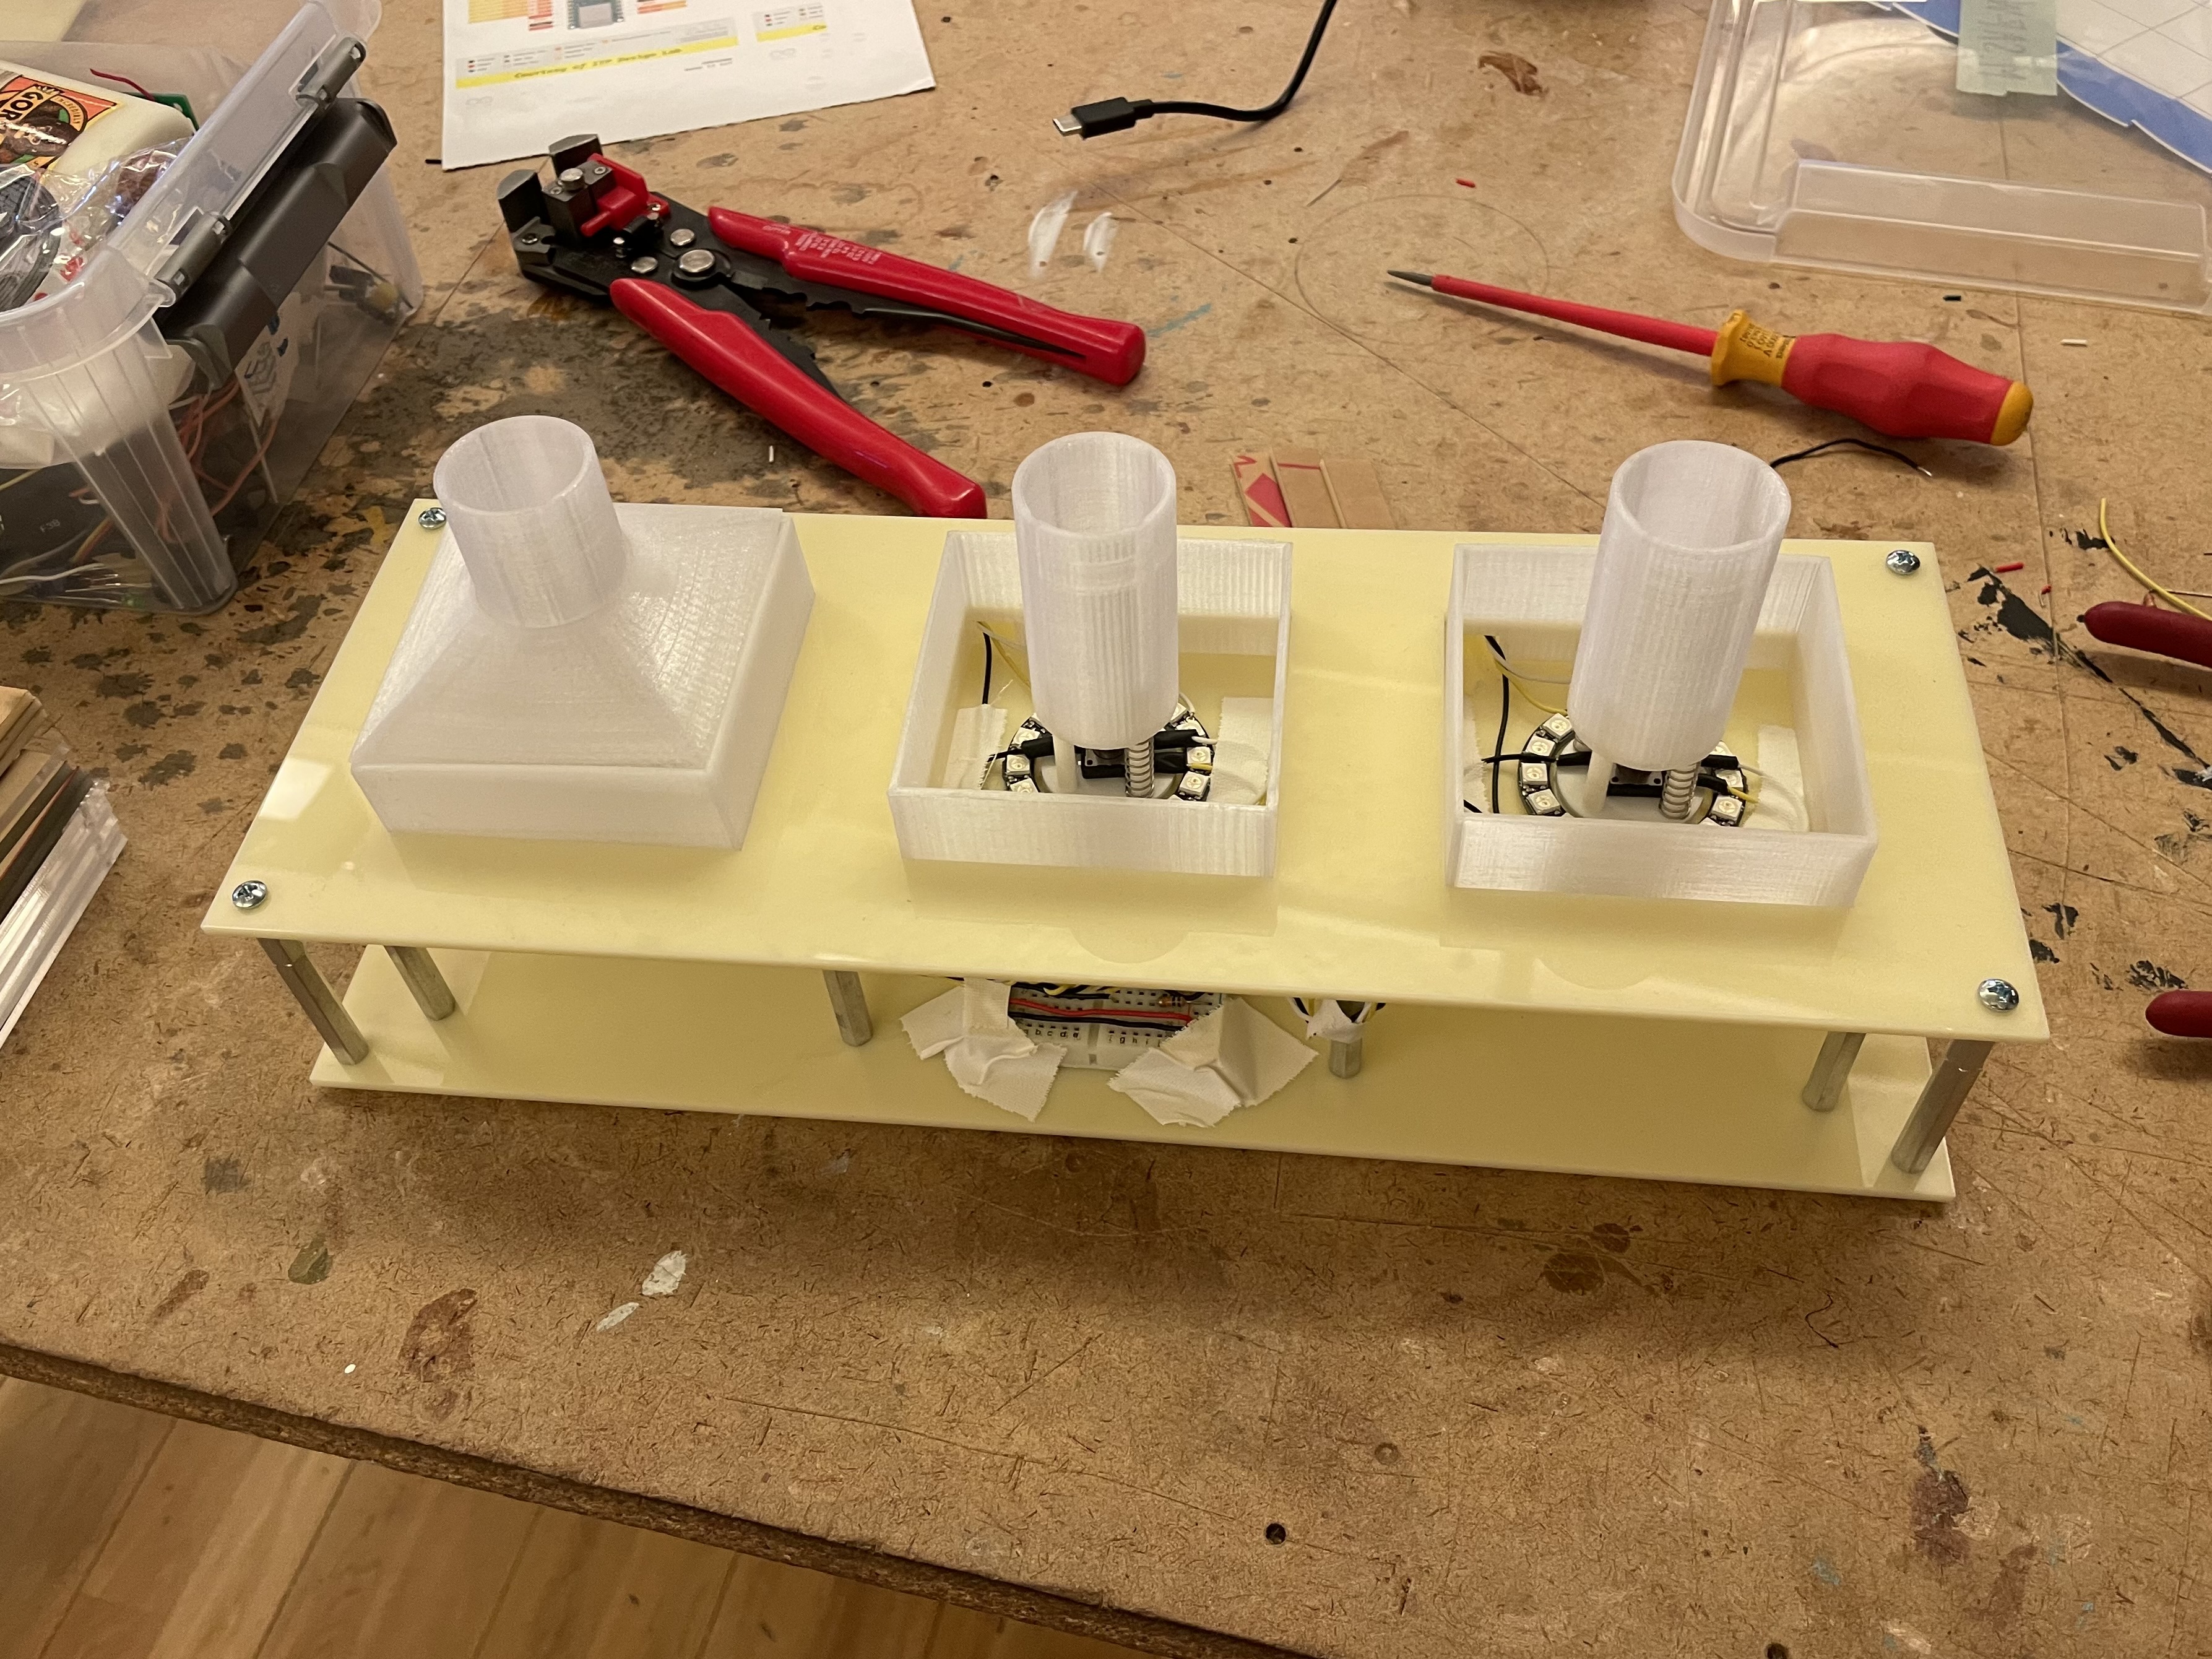
I put together the keys and placed them in their slots to test the push button switch. Since the mechanism has 4 legs, I started with 4 springs with 1 for each leg. This arrangement felt slightly stiff, so I decreased it to 2 springs for a lighter and more bouncy feel.
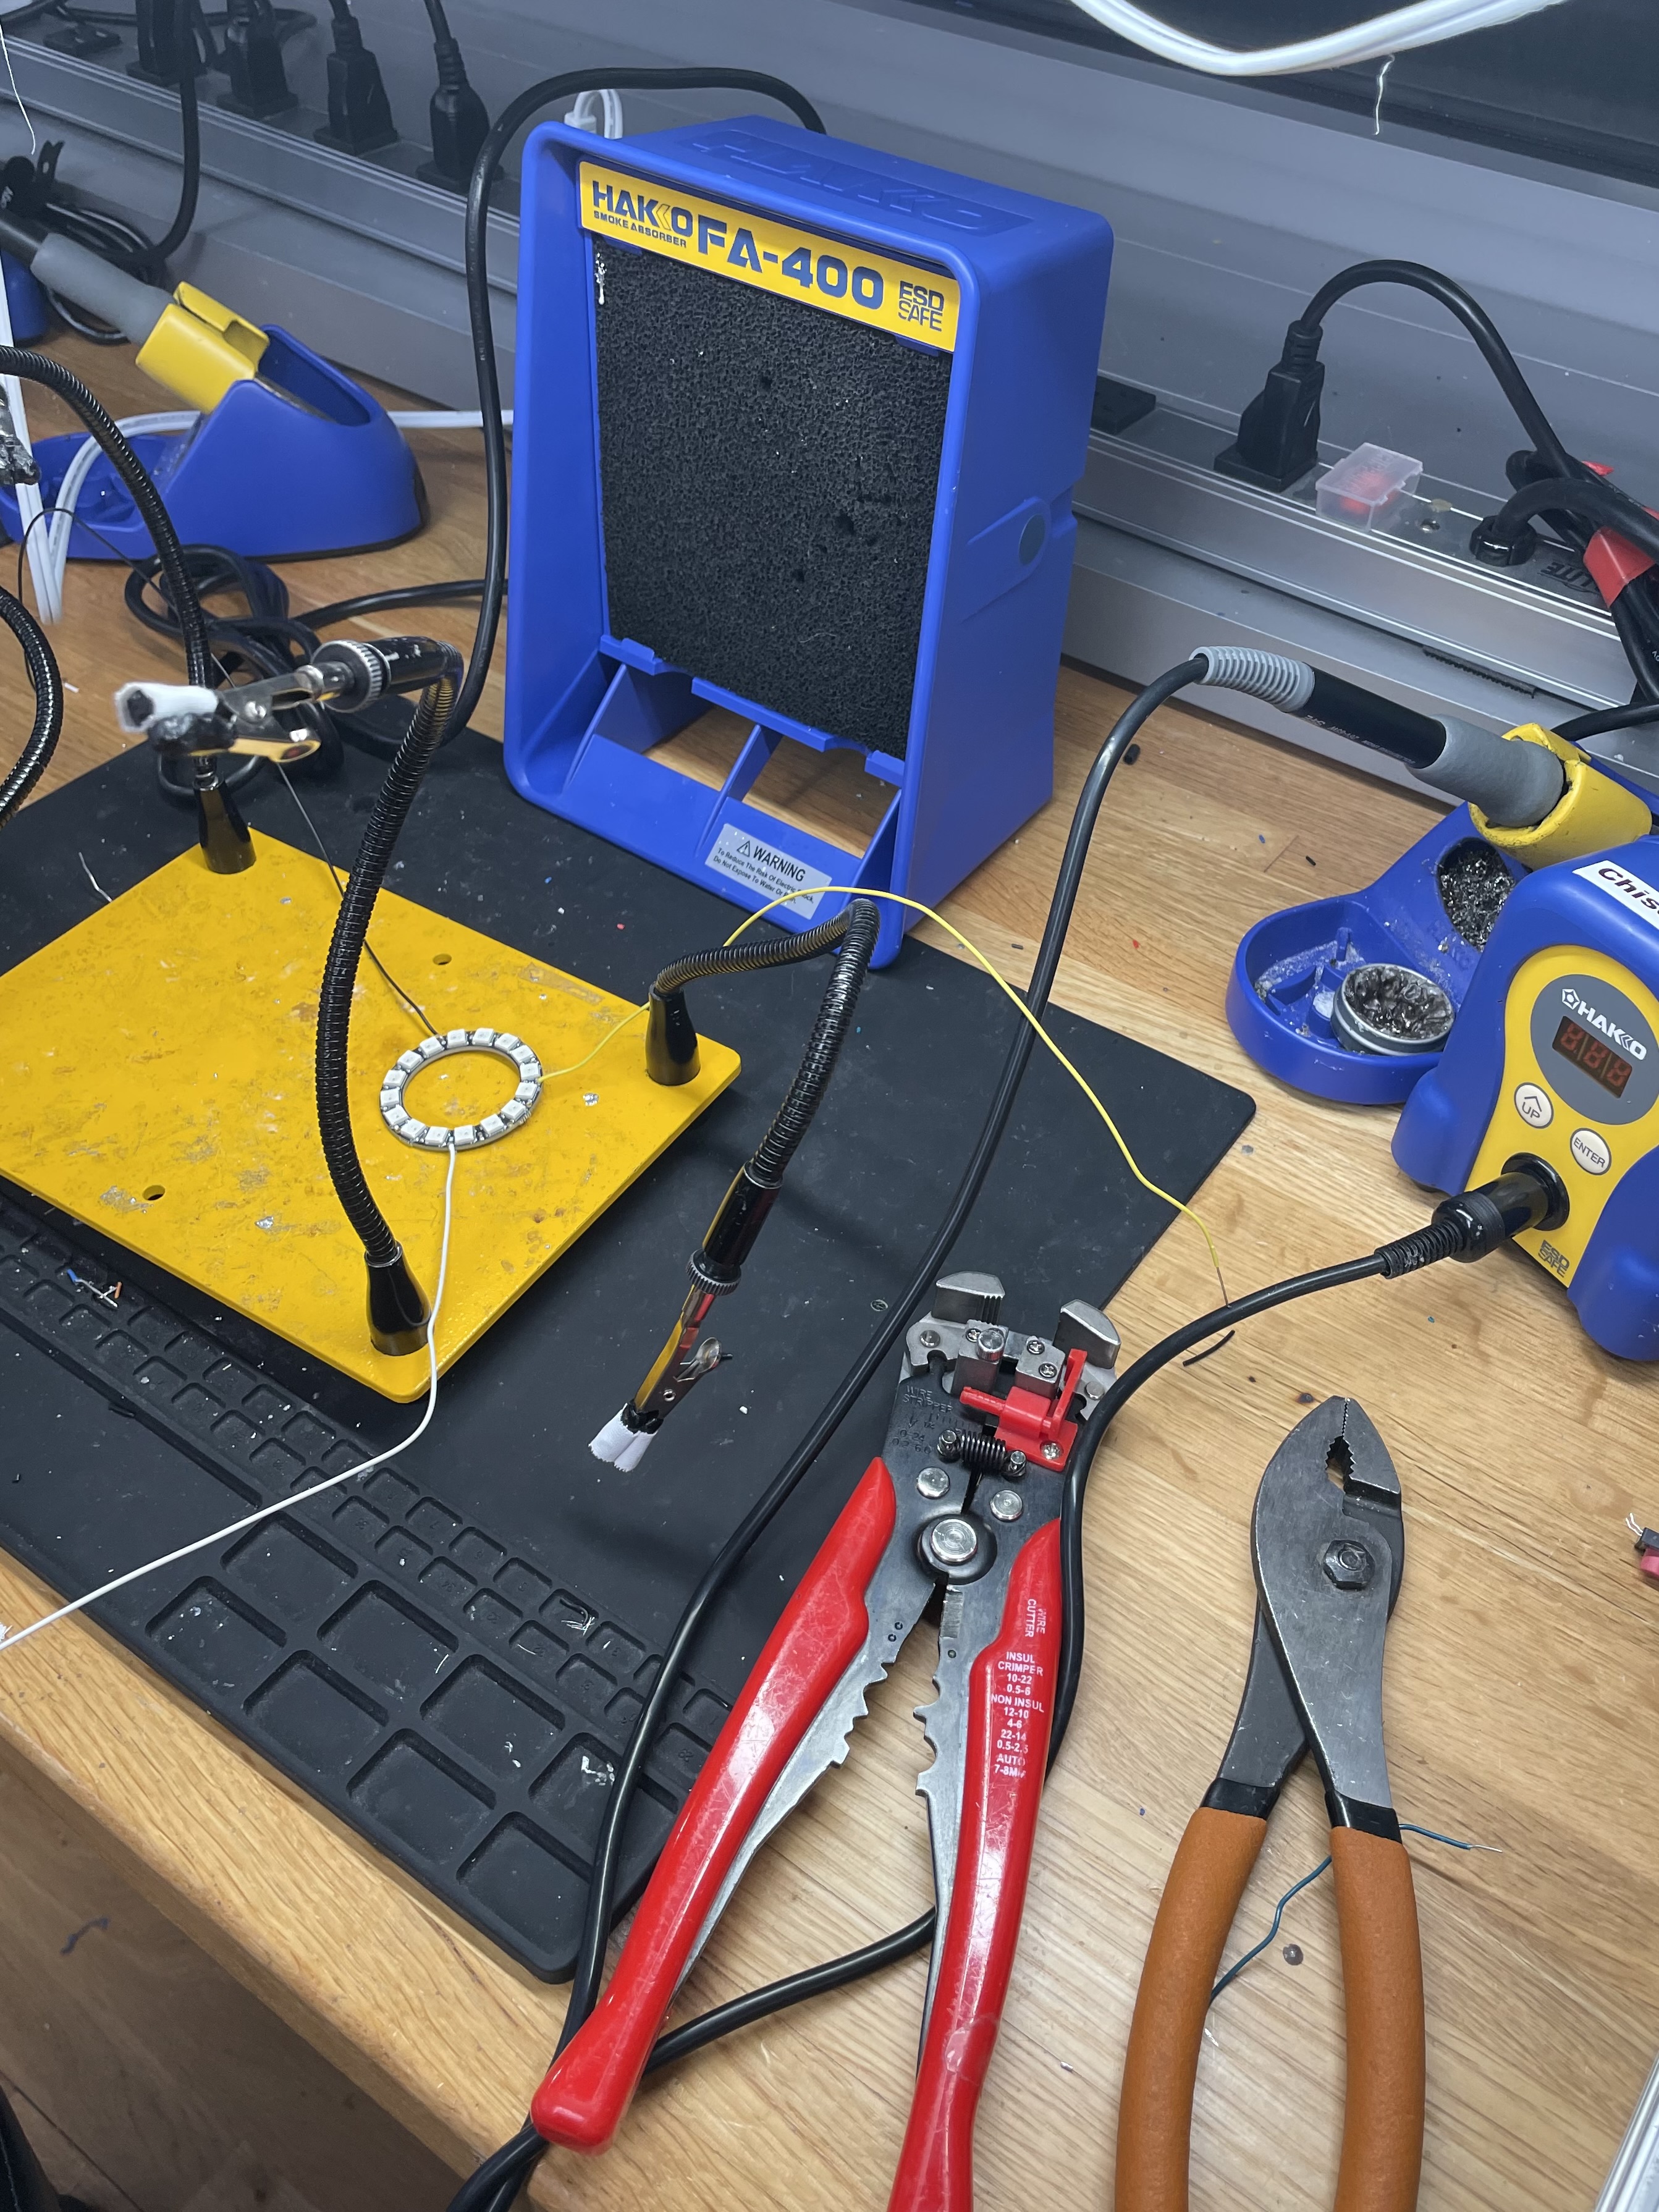
I brought in the physical computing elements and soldered where necessary once the wire length and placement were set. I also added magnets to the back of the box so that the cover is easily removable to access the inside.
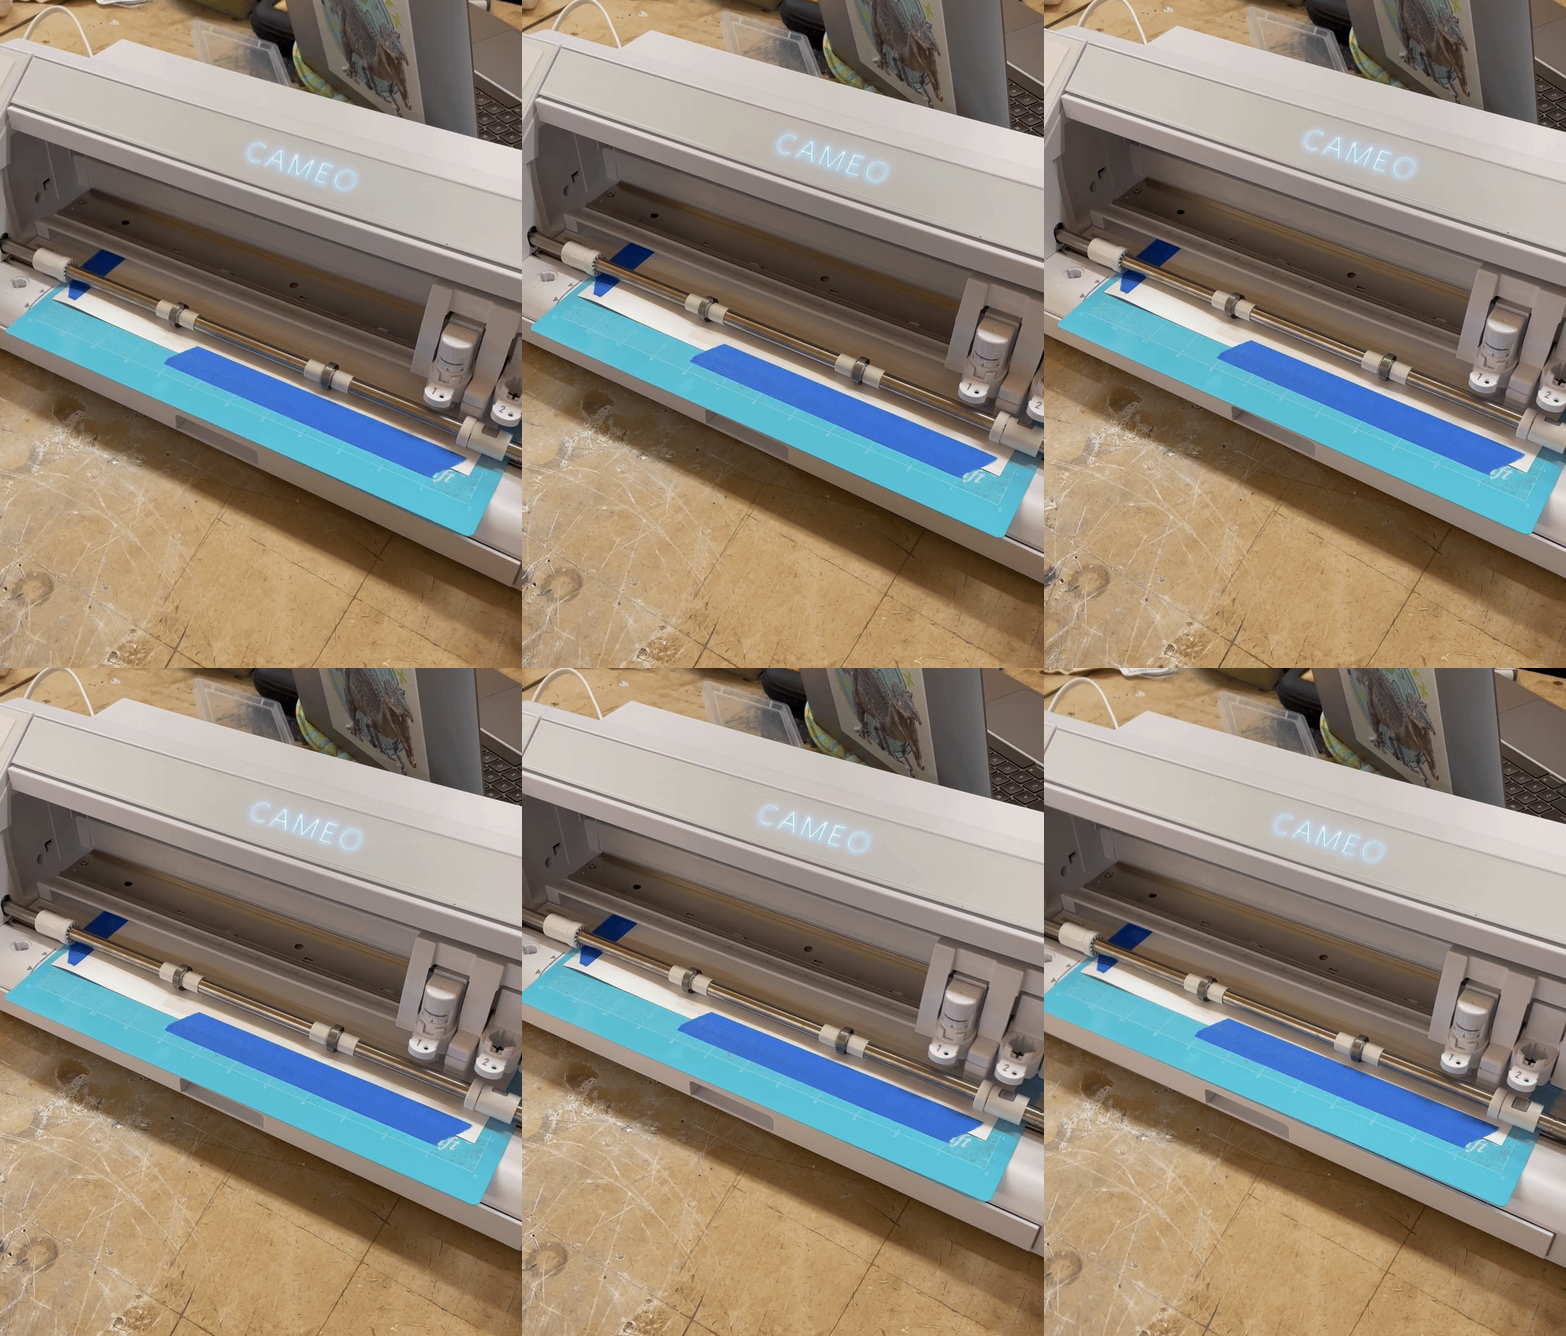
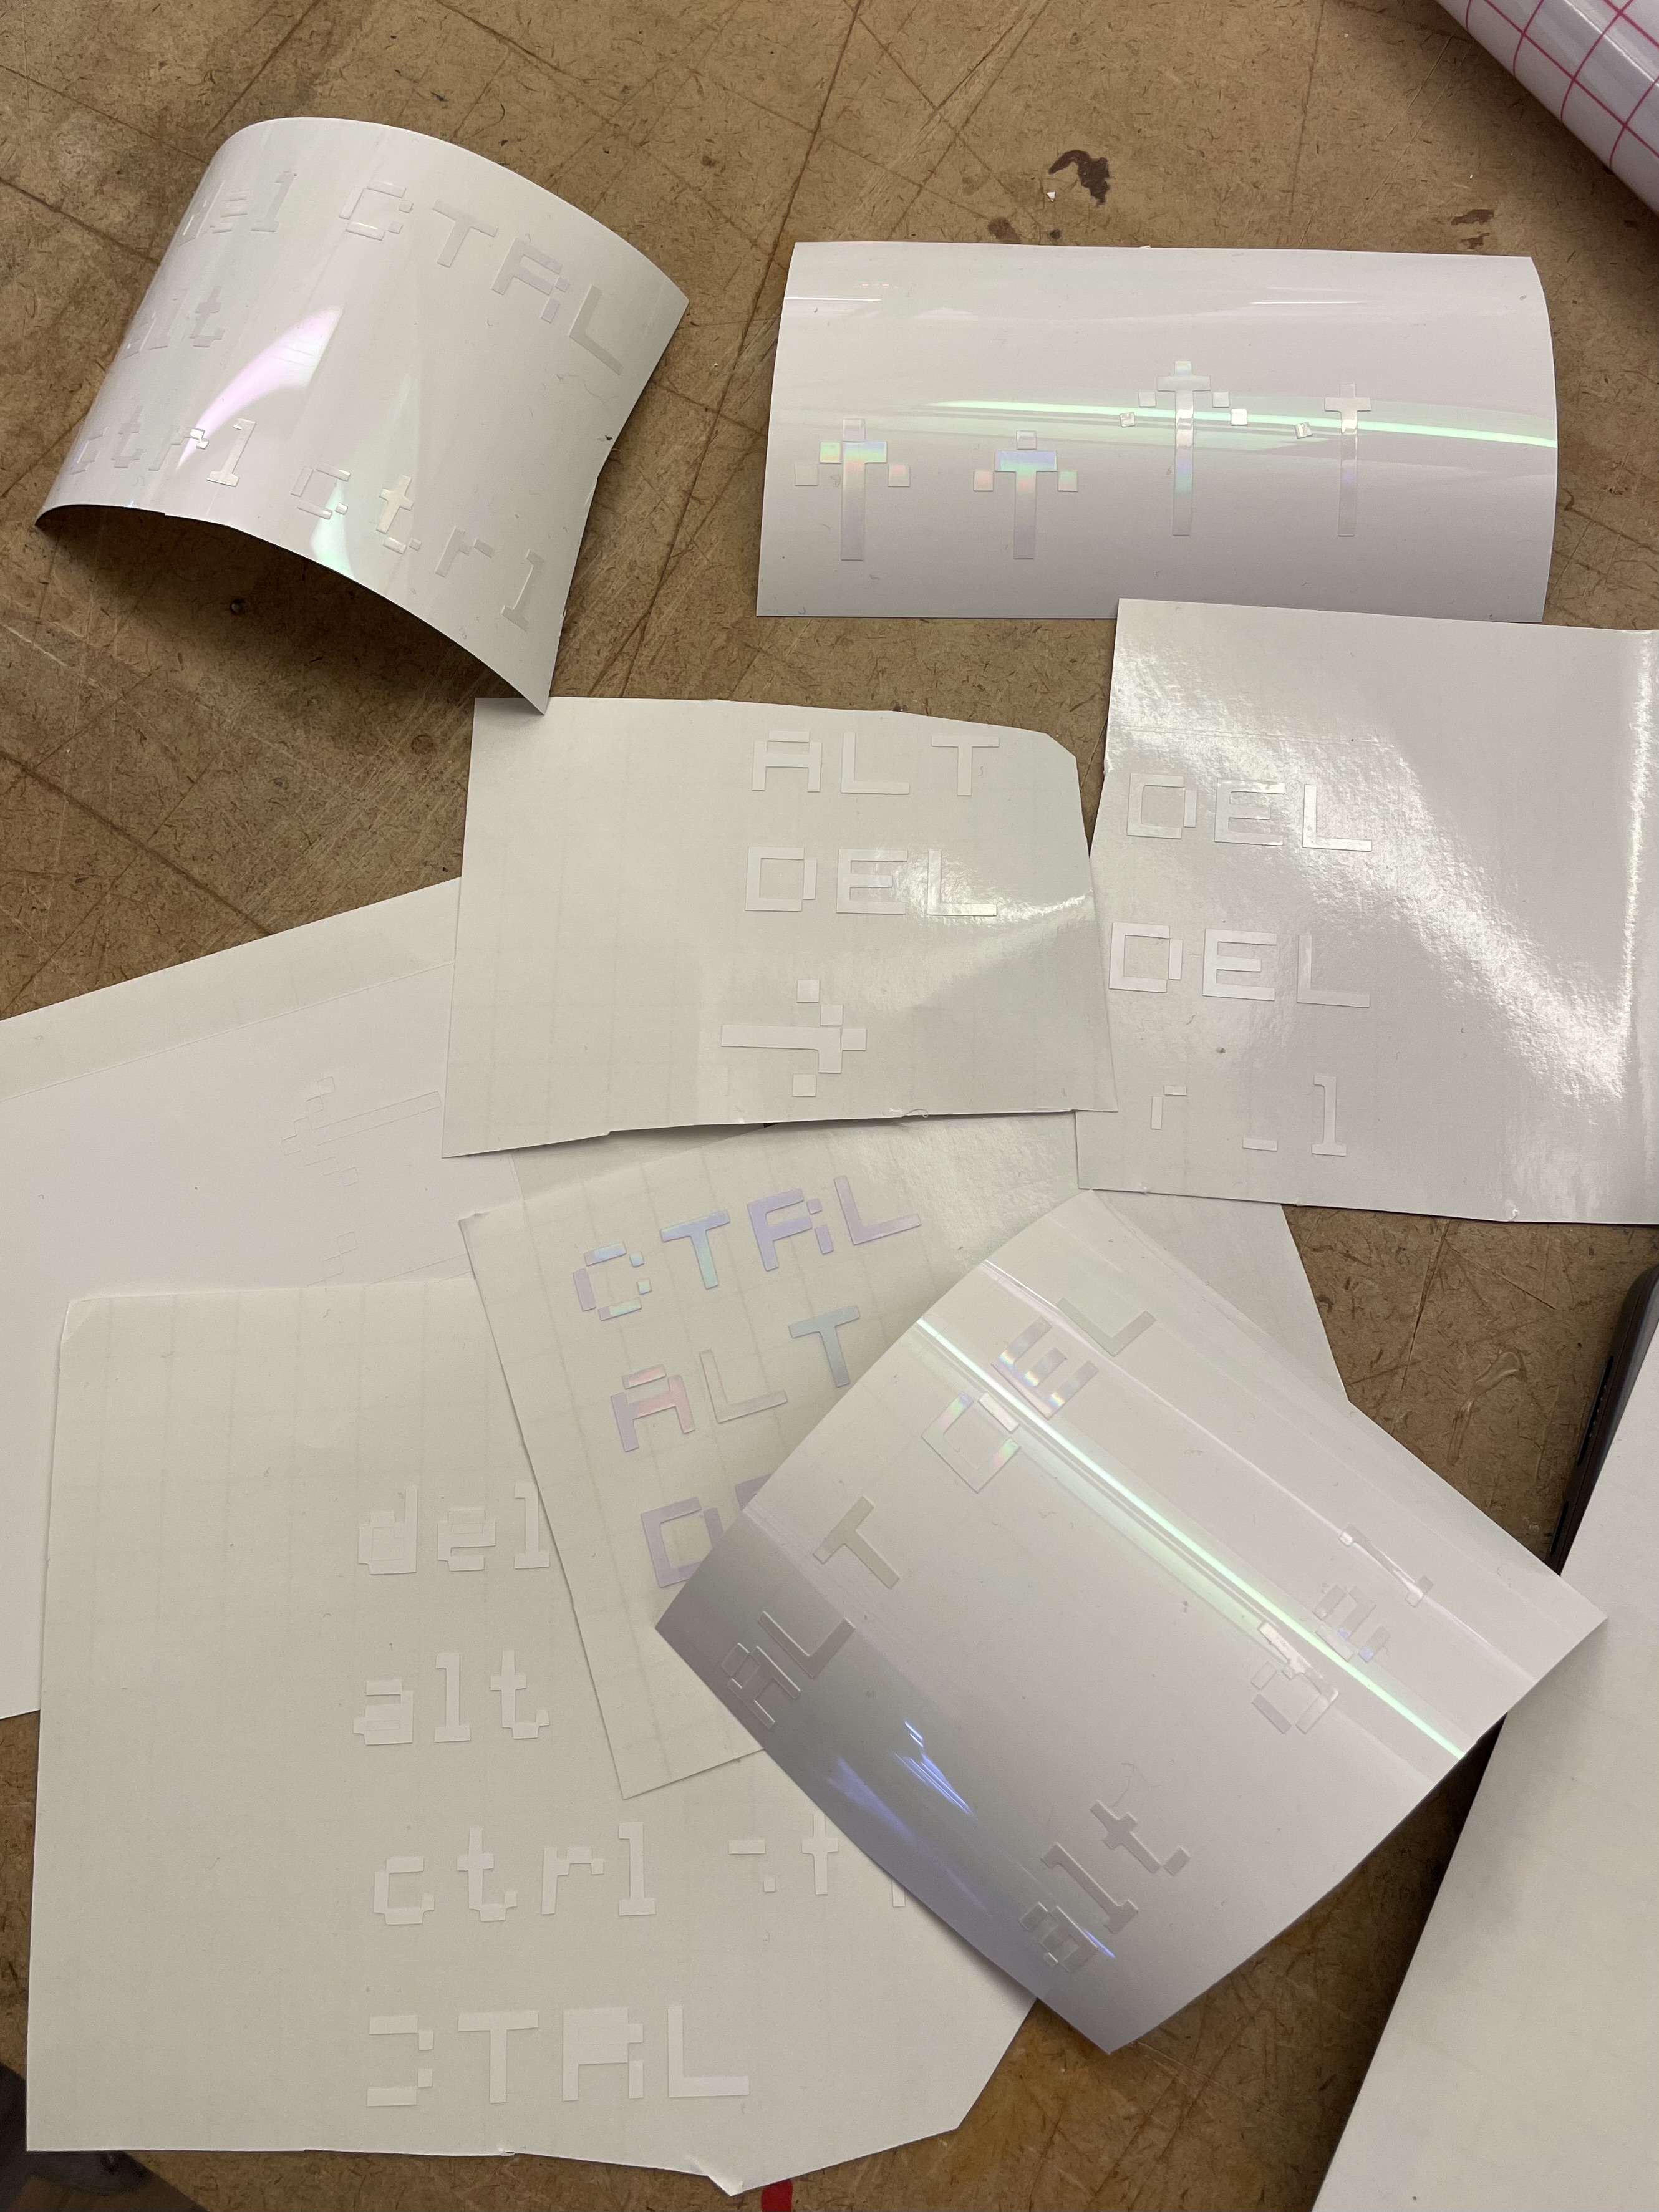
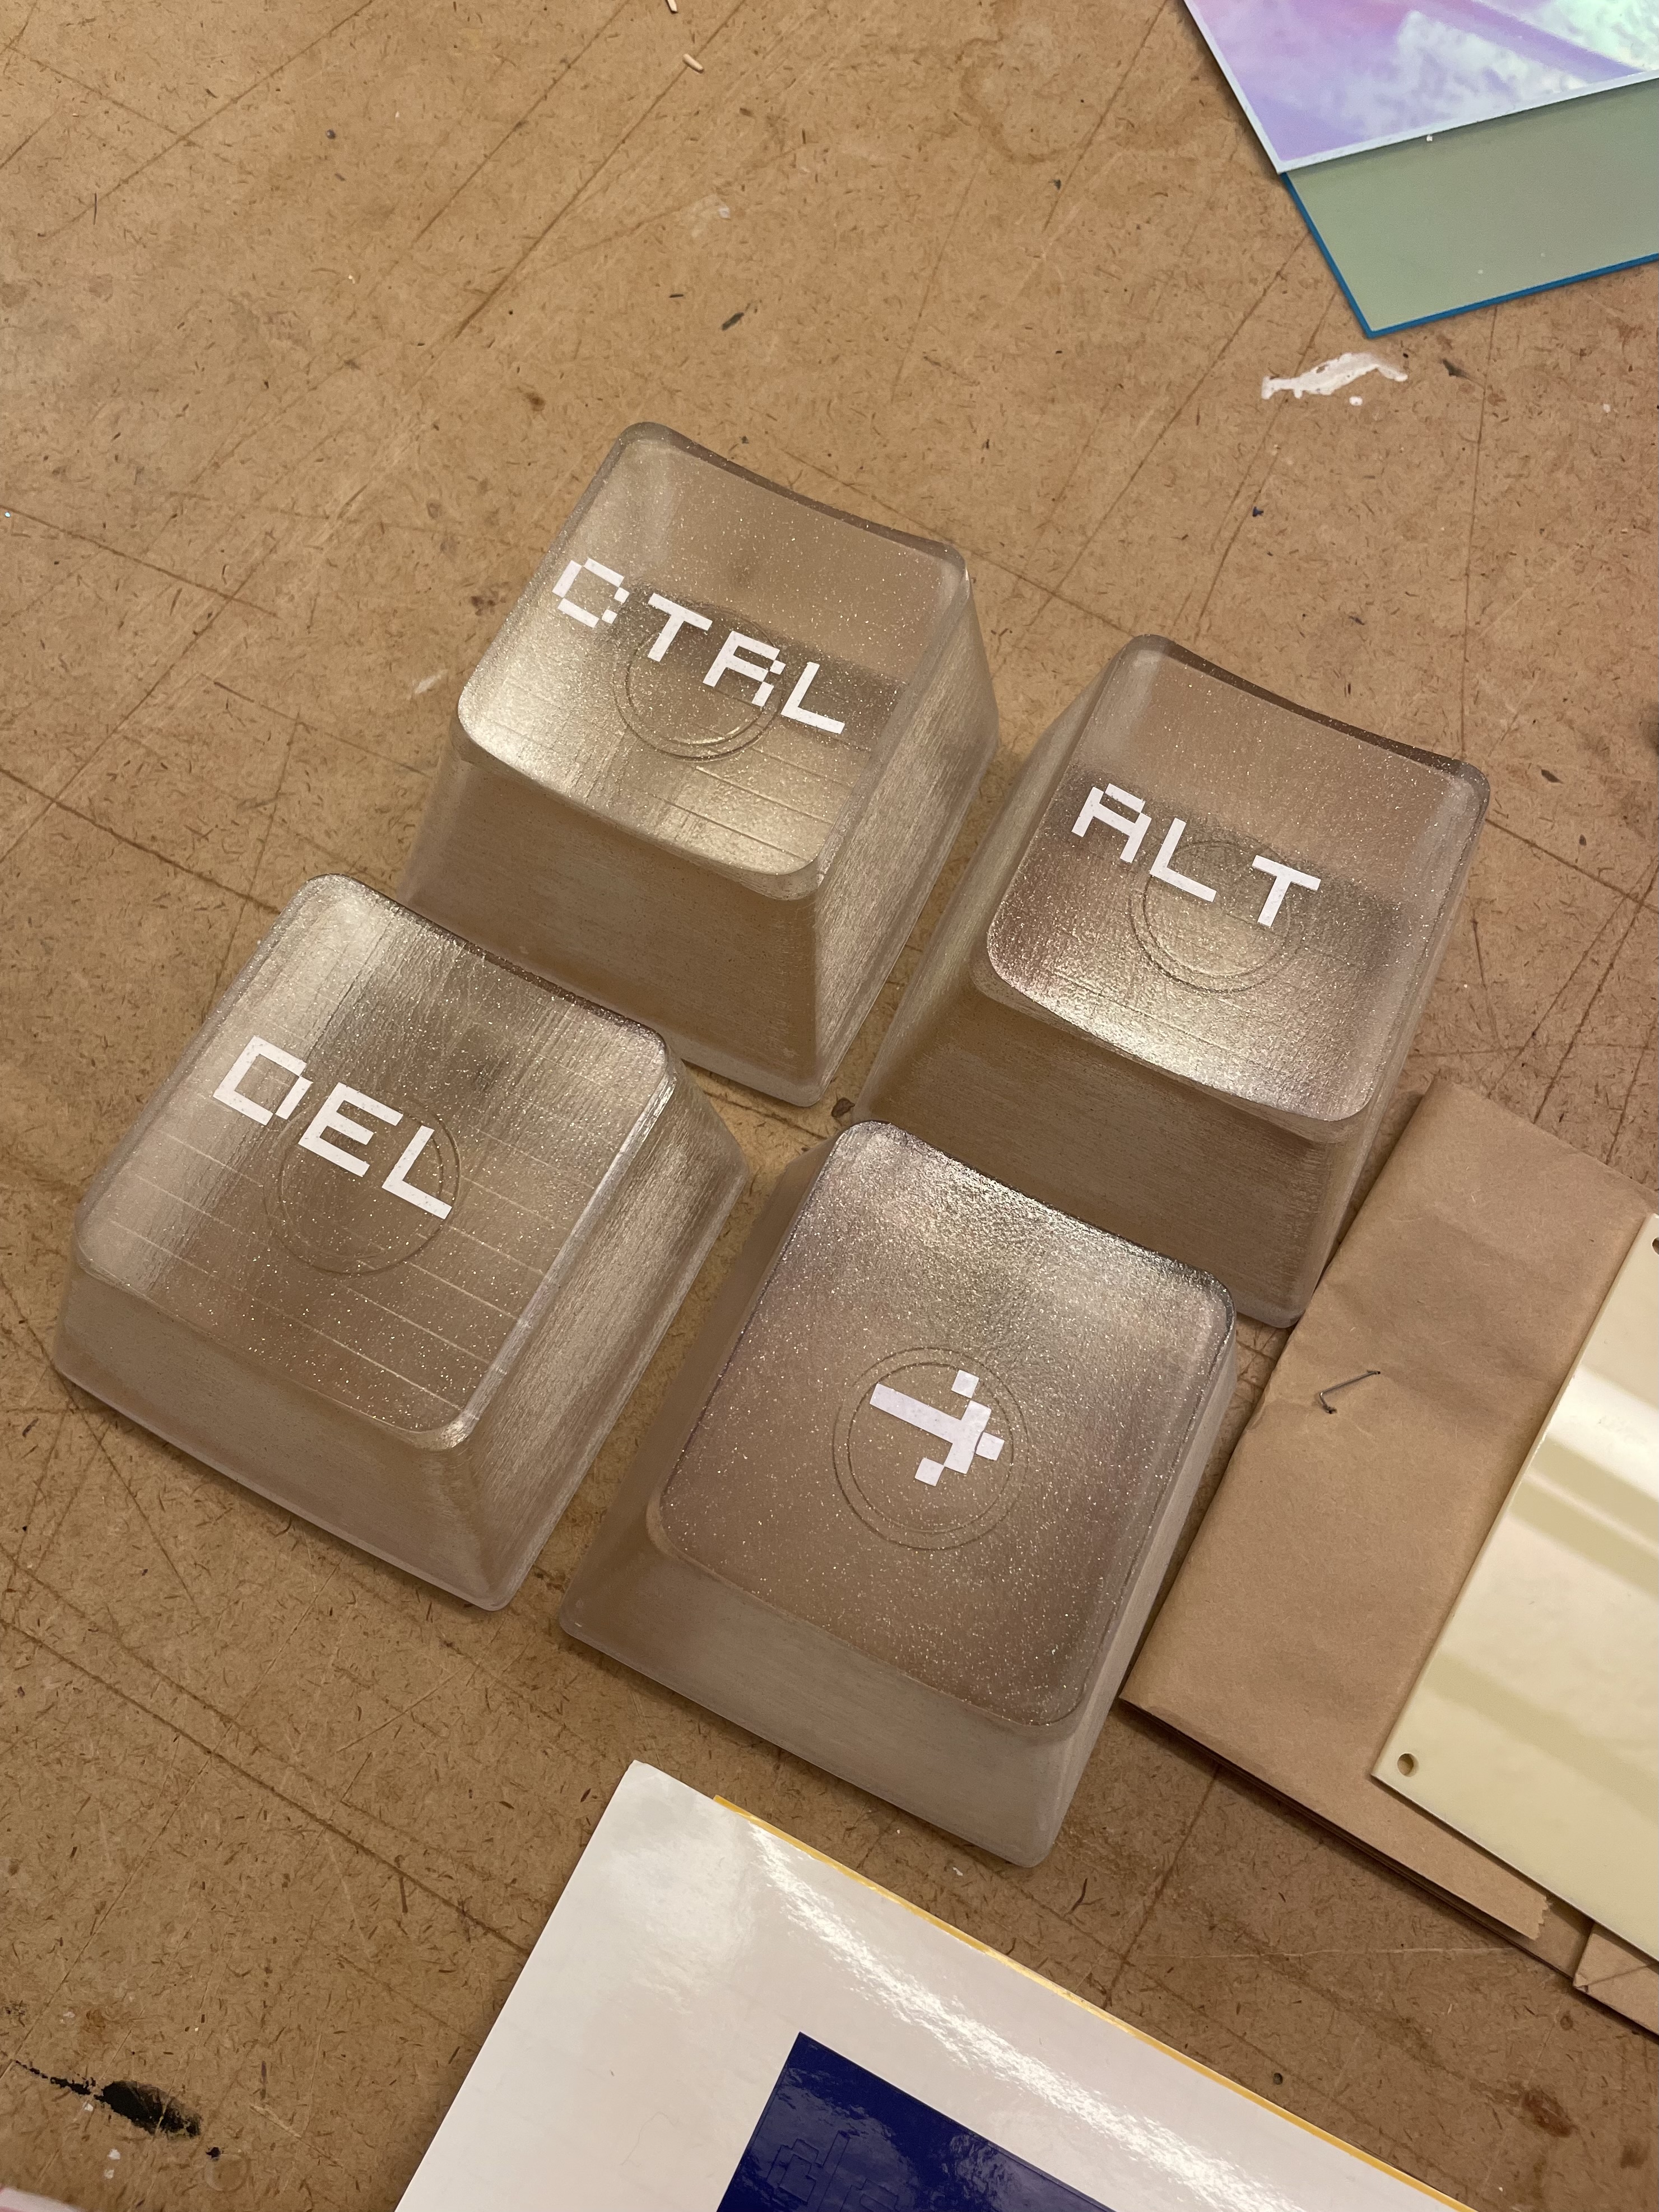
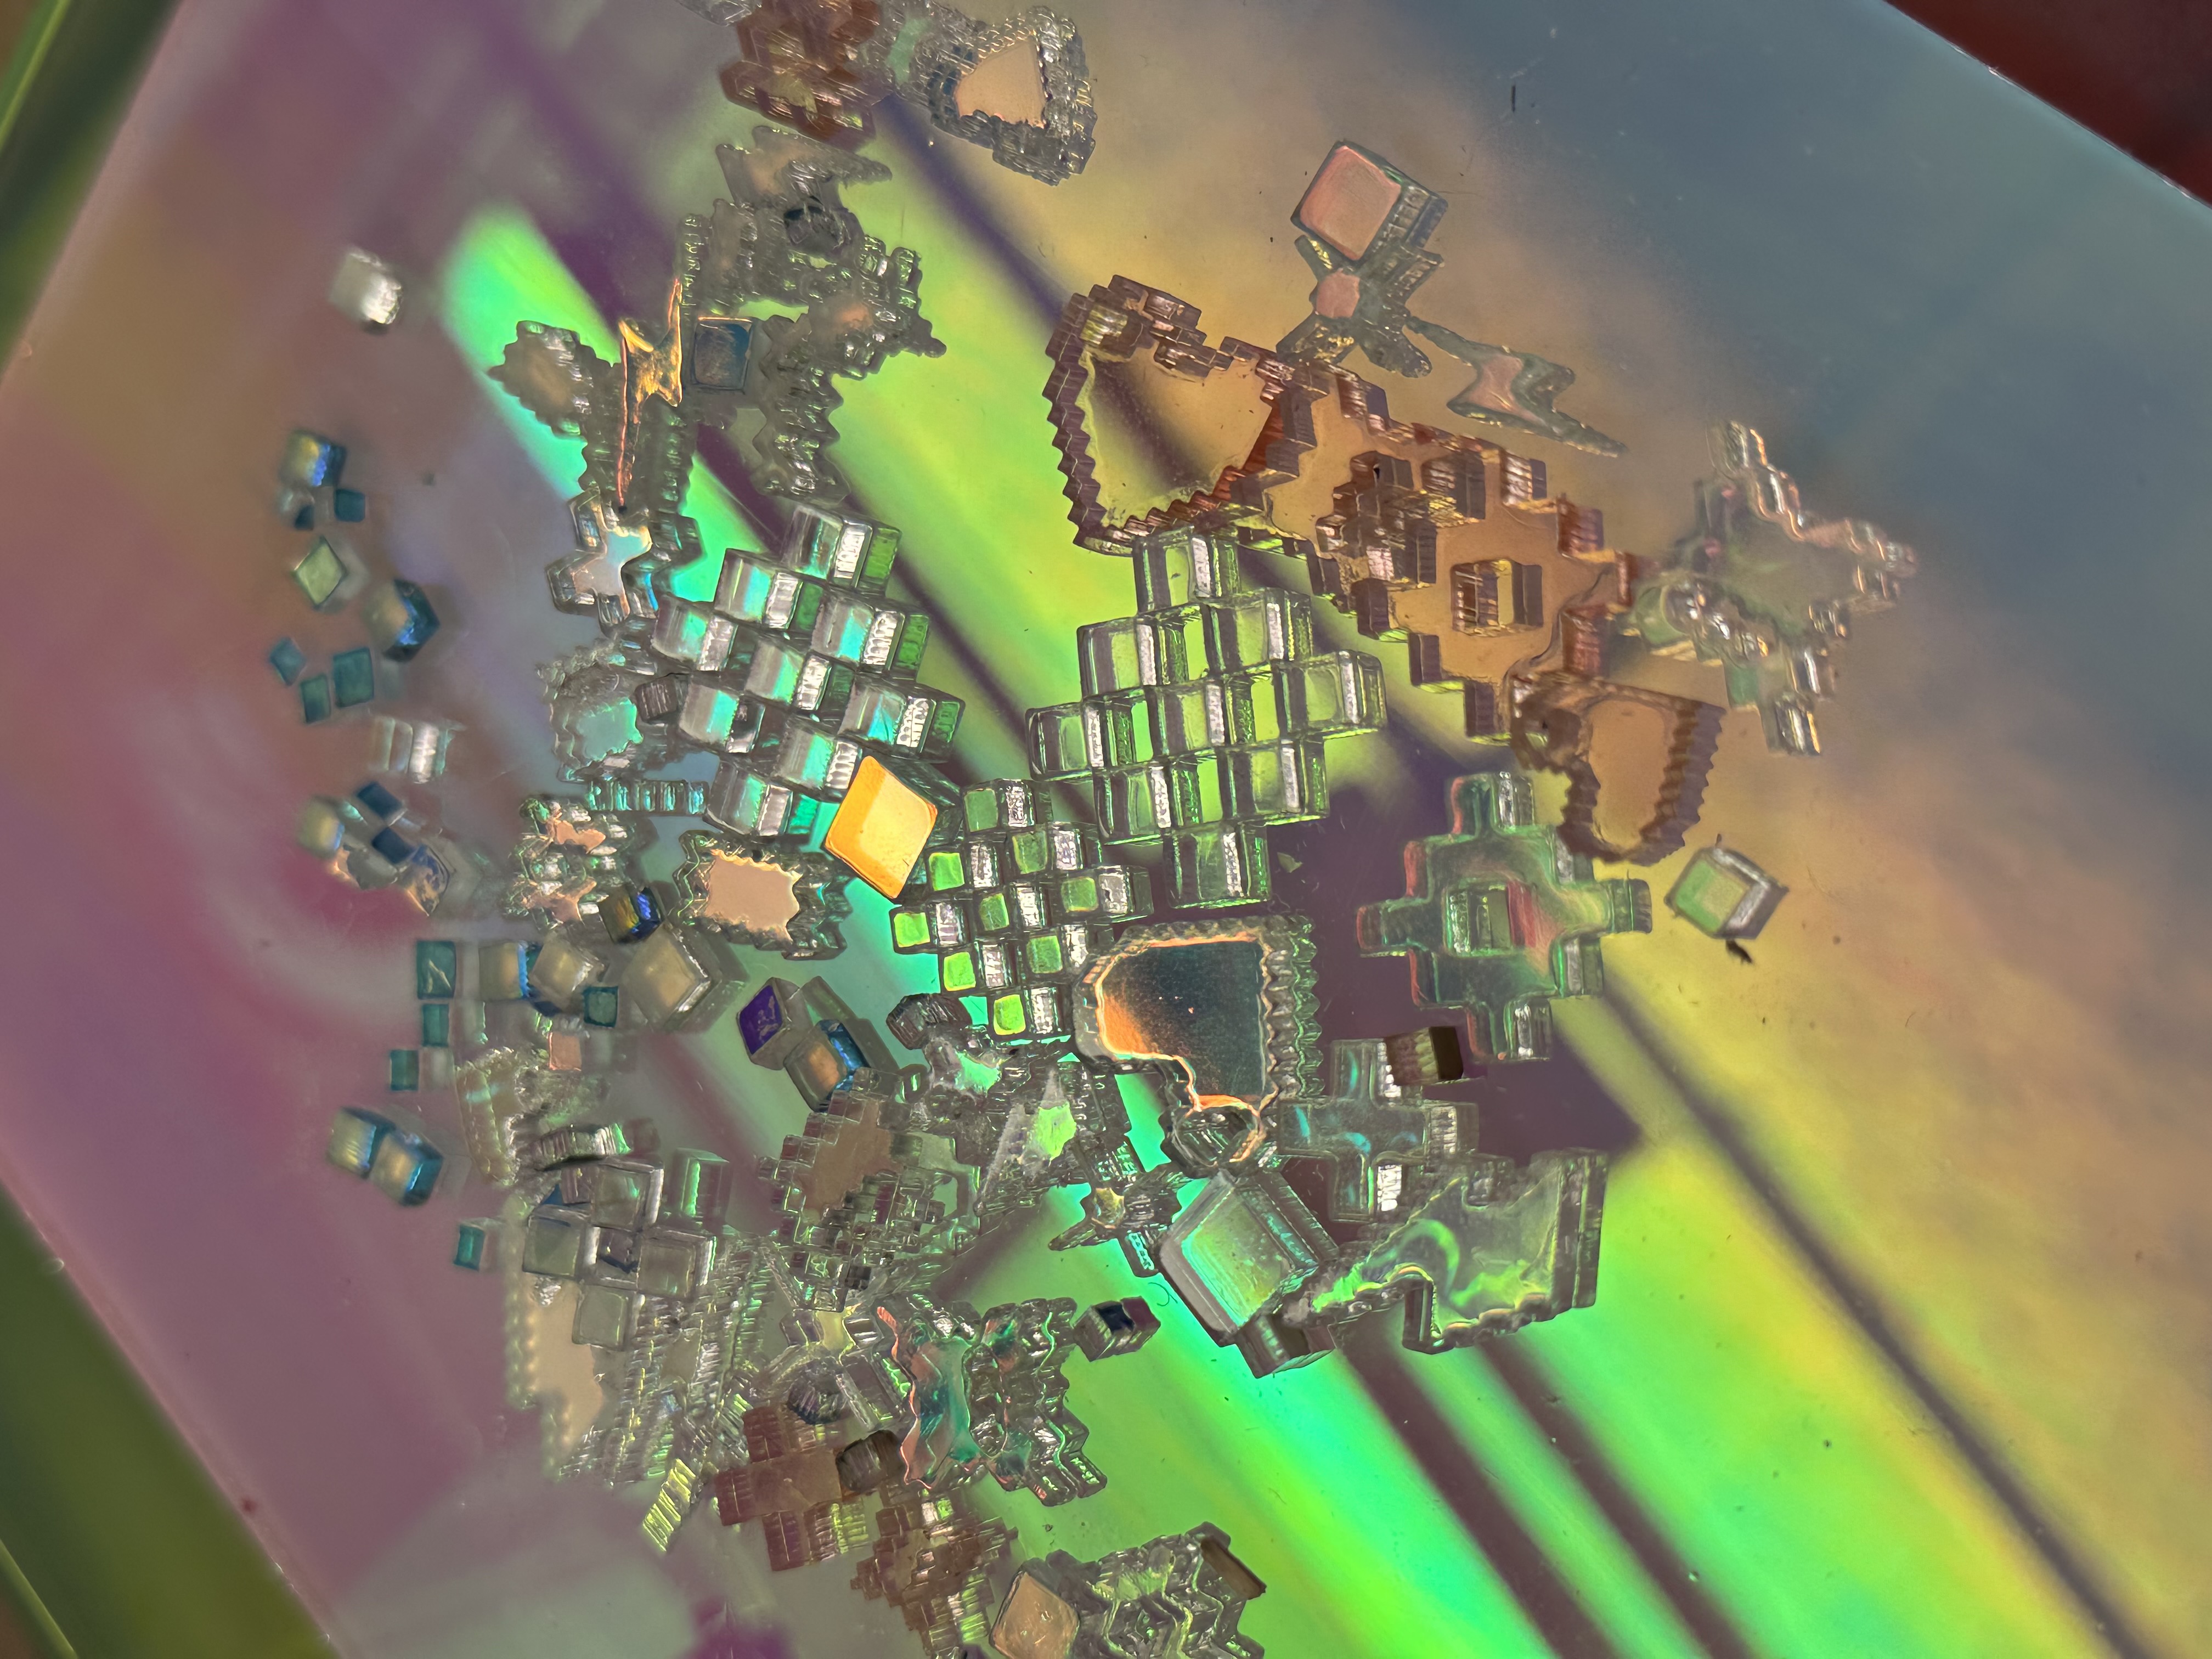
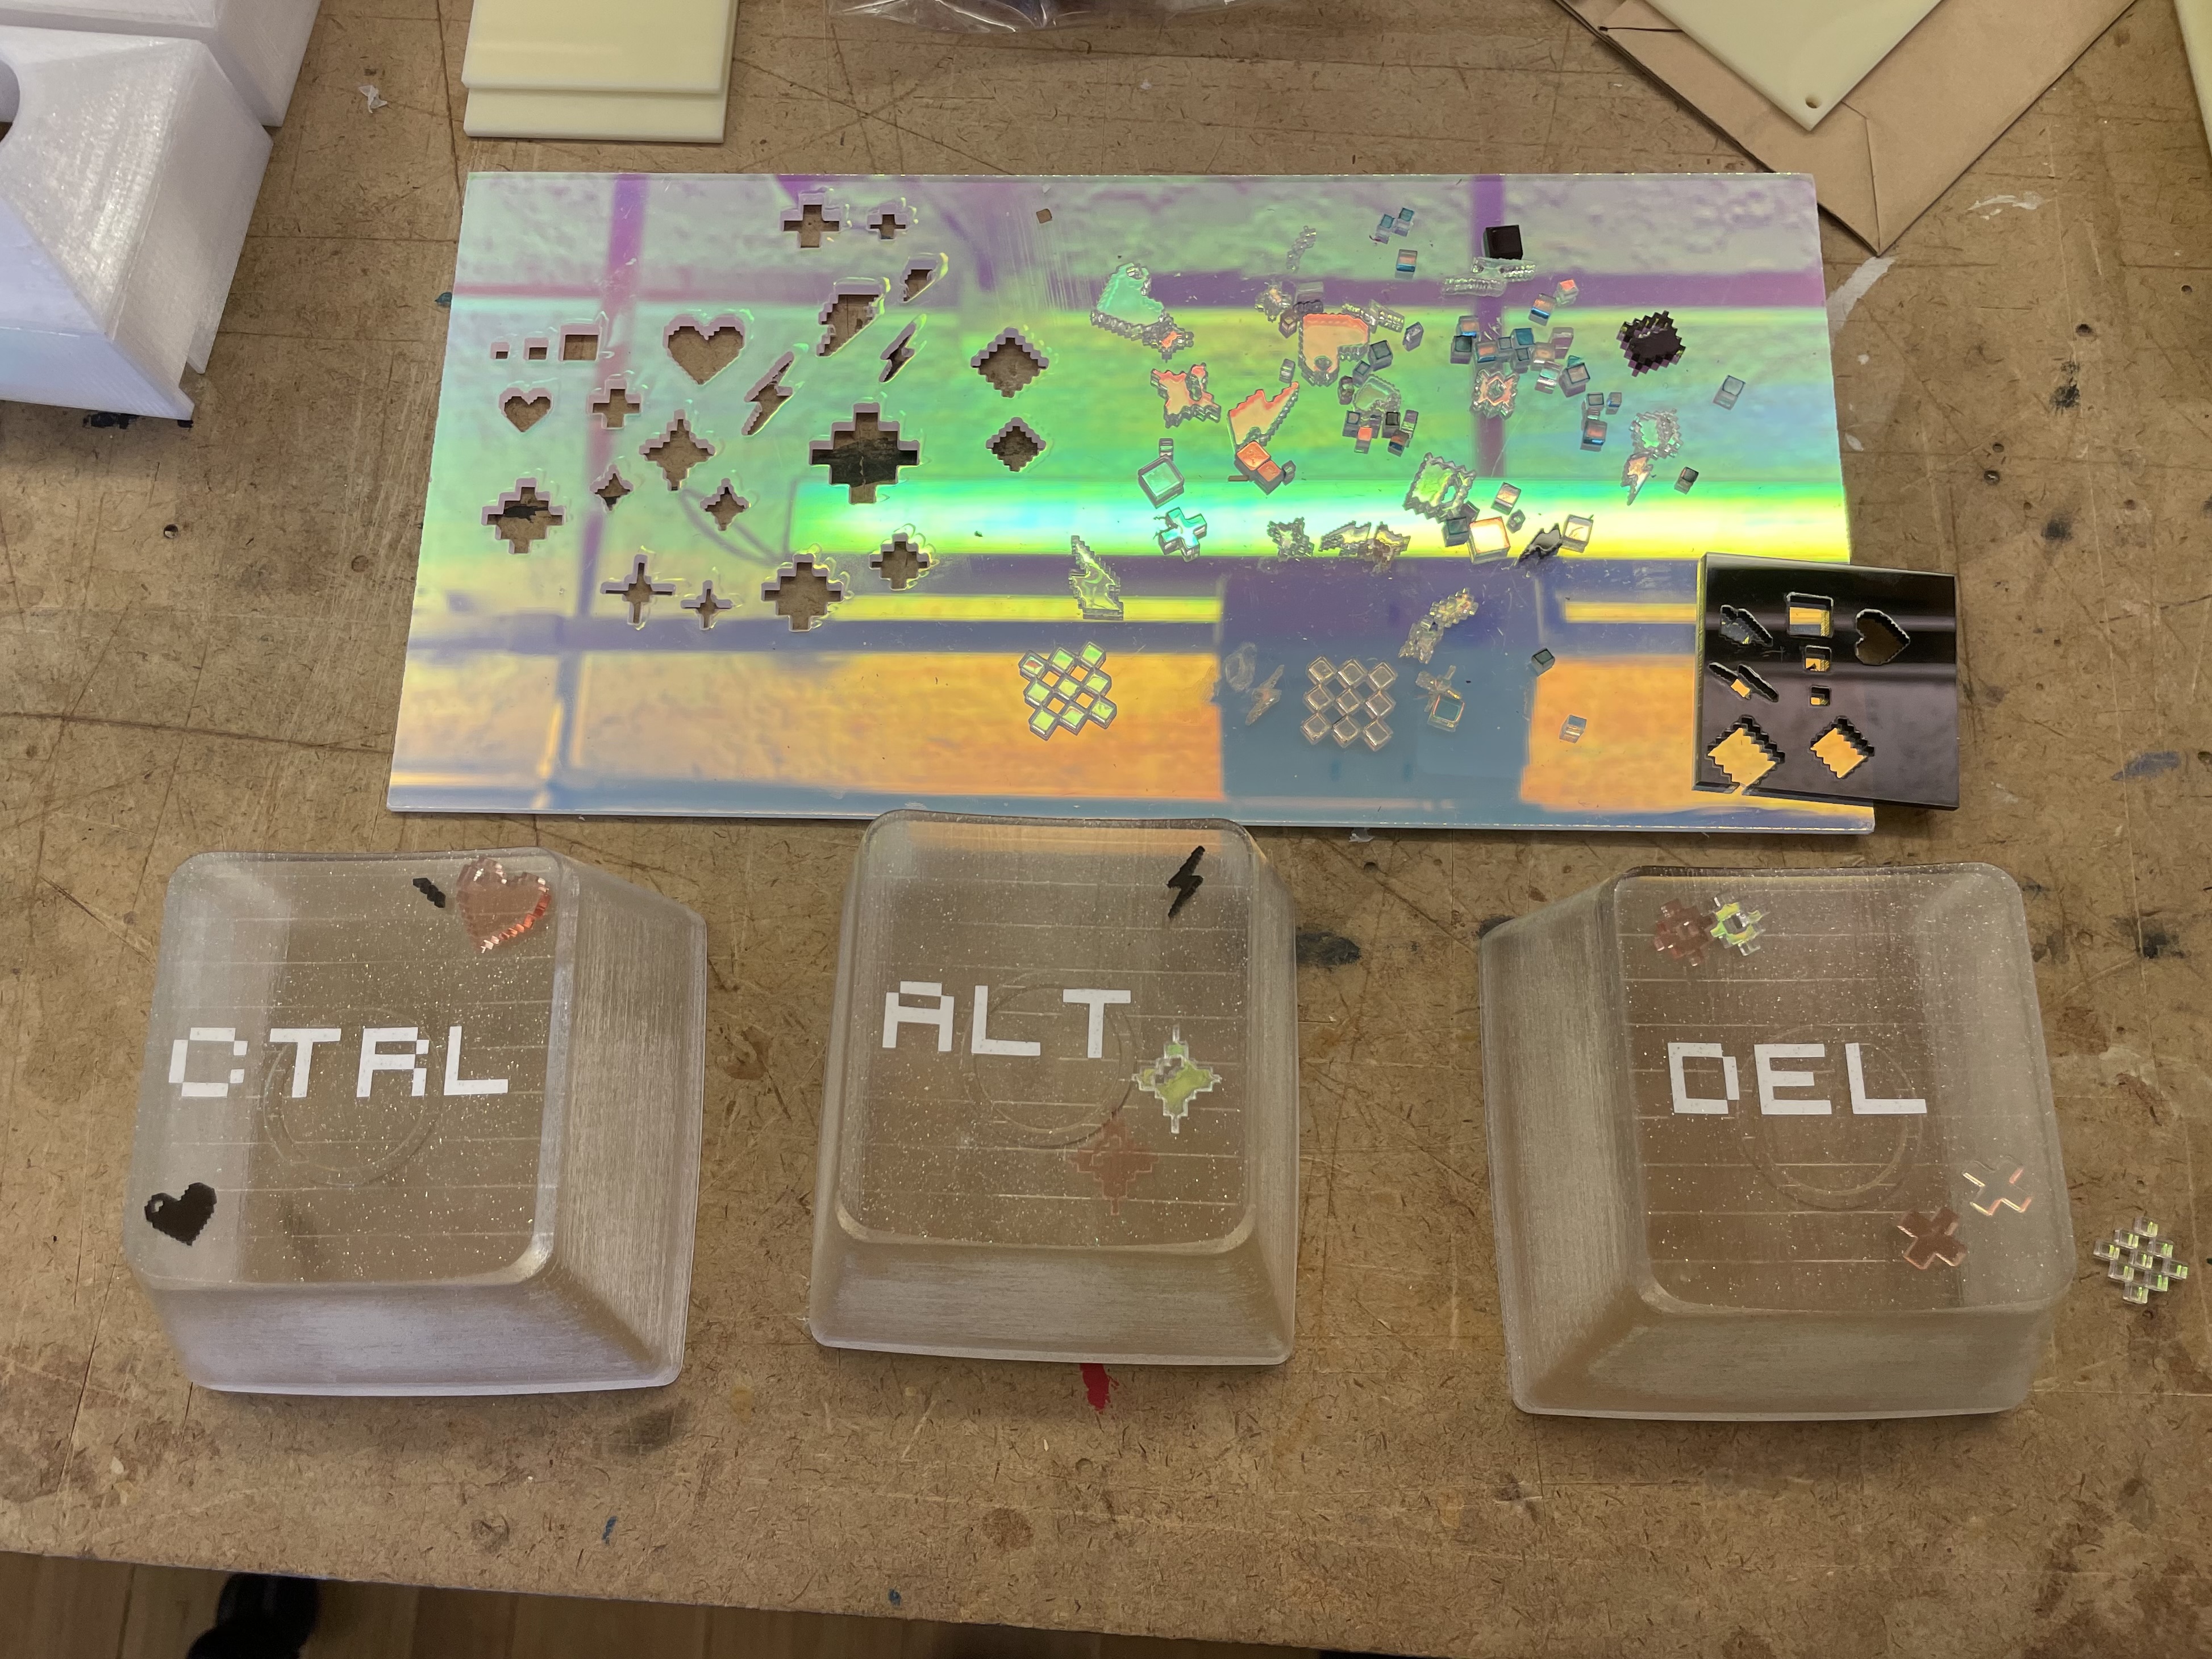
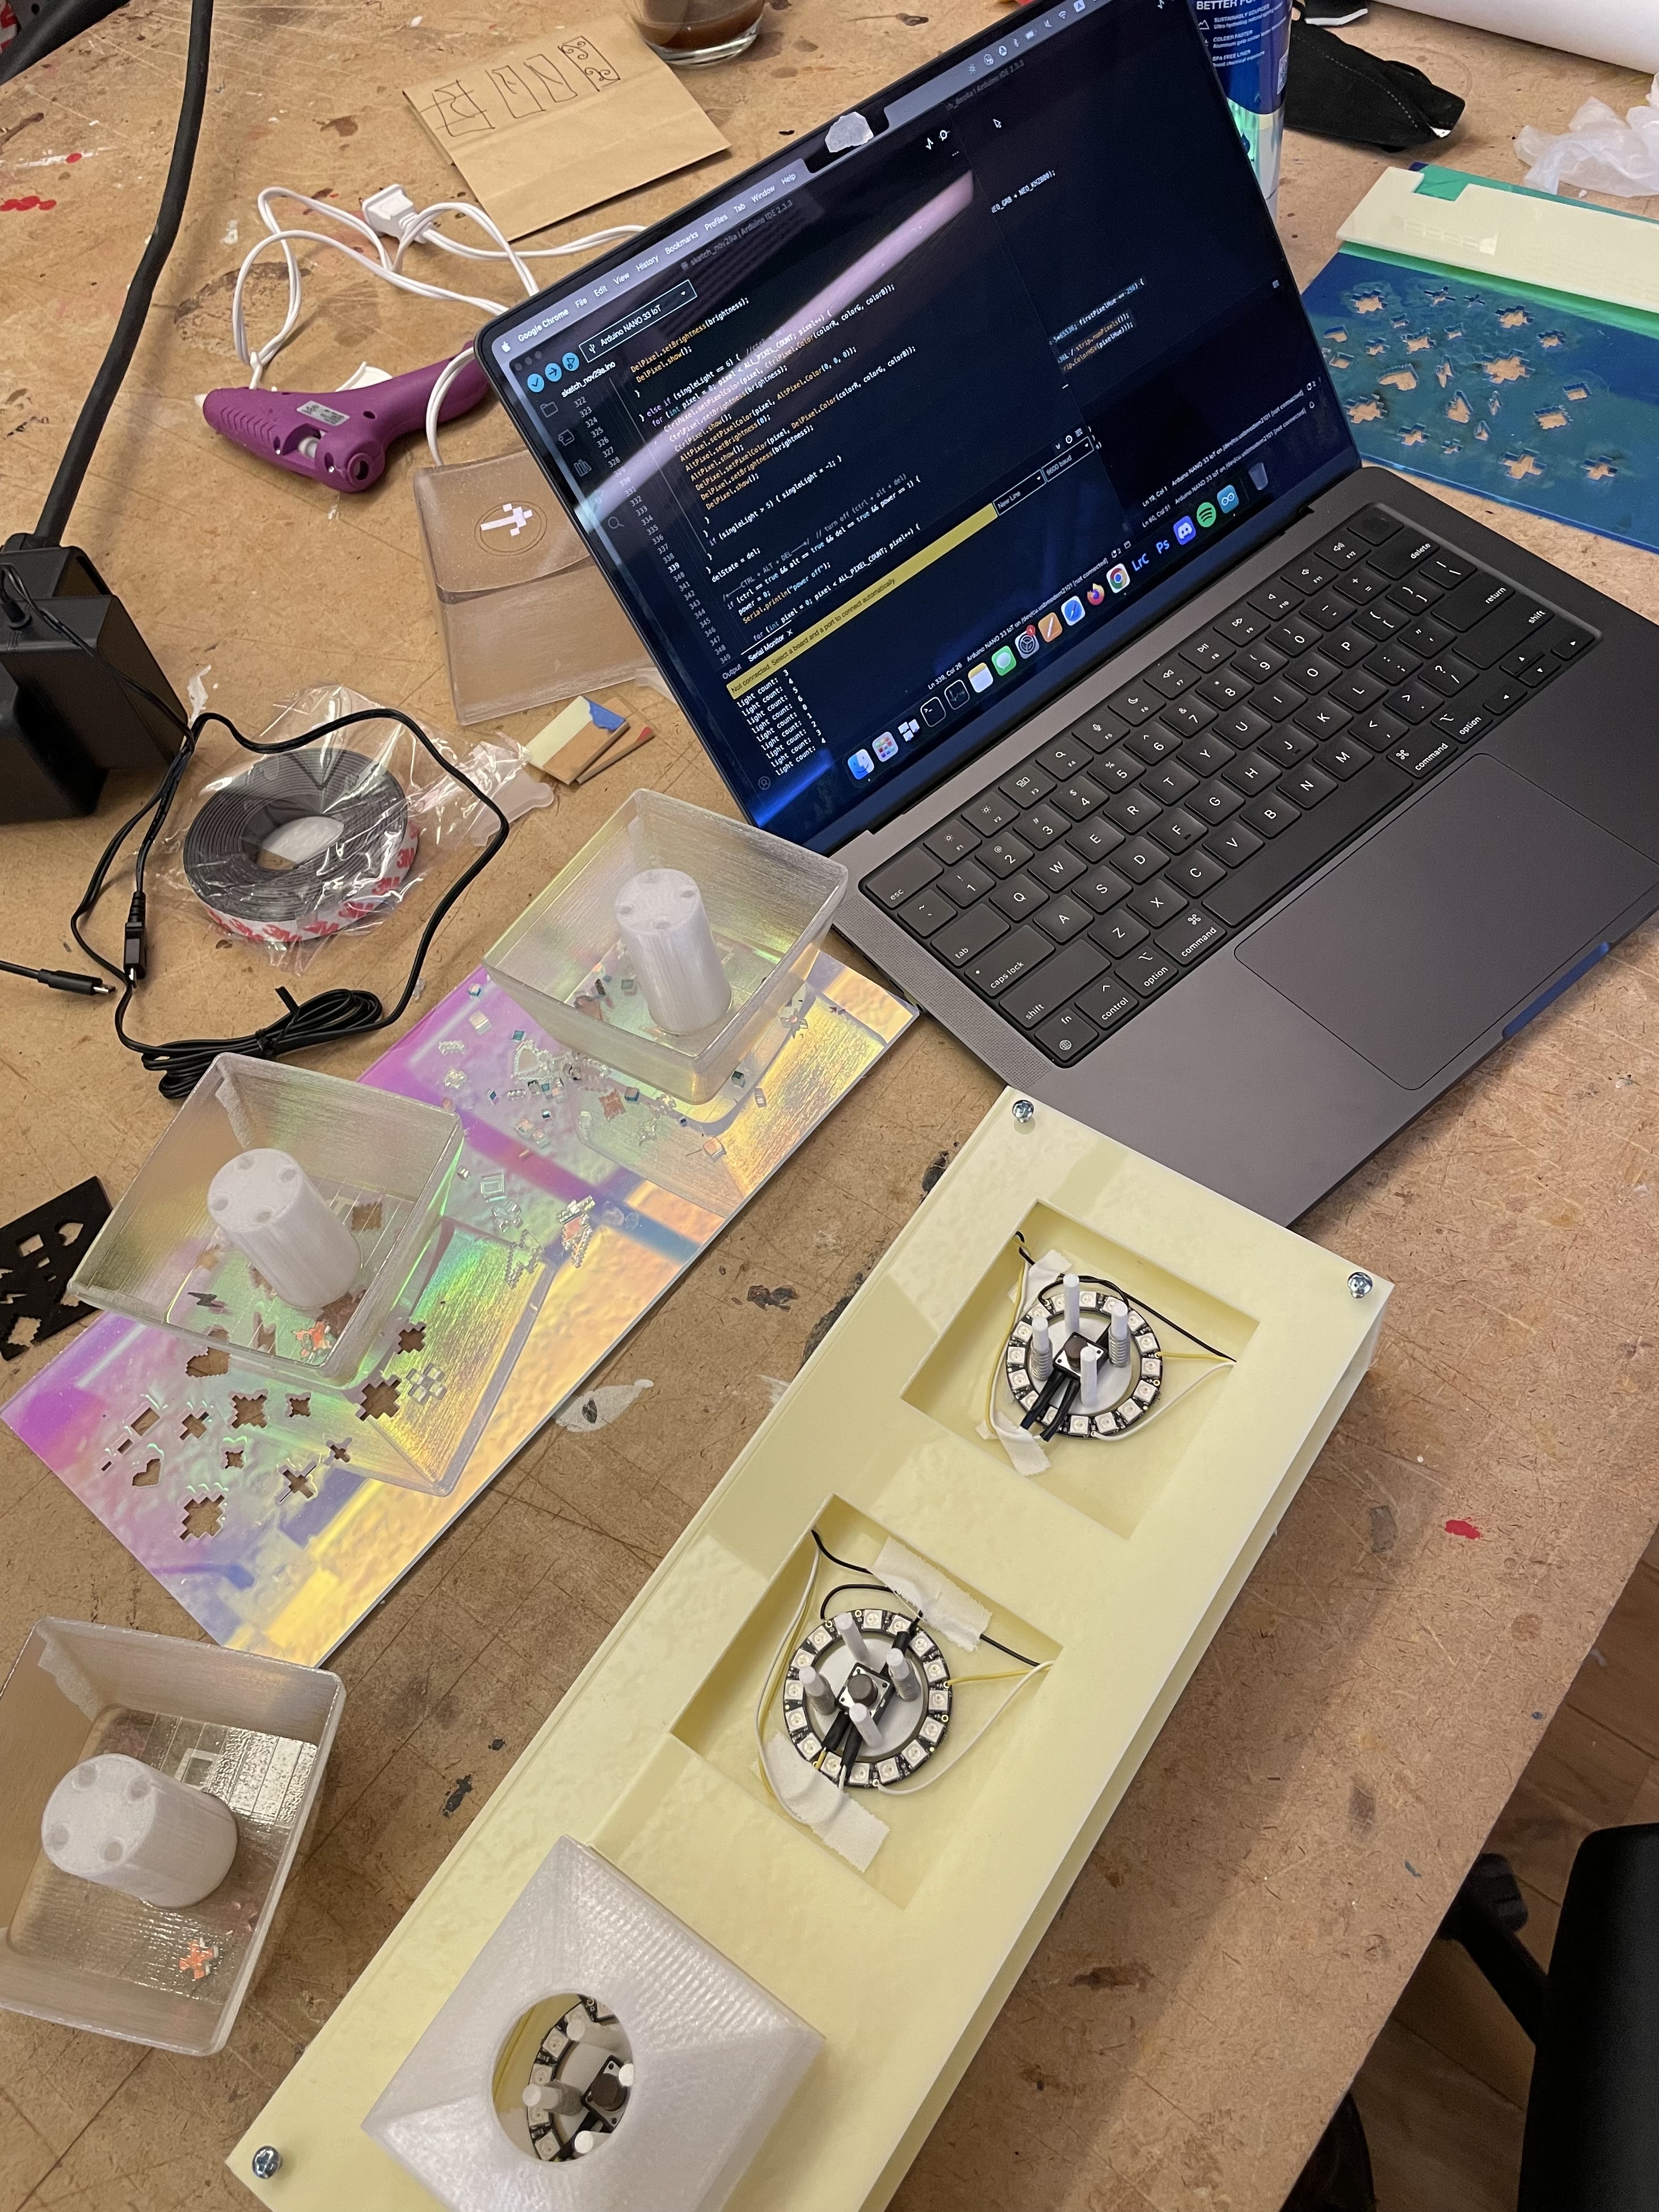

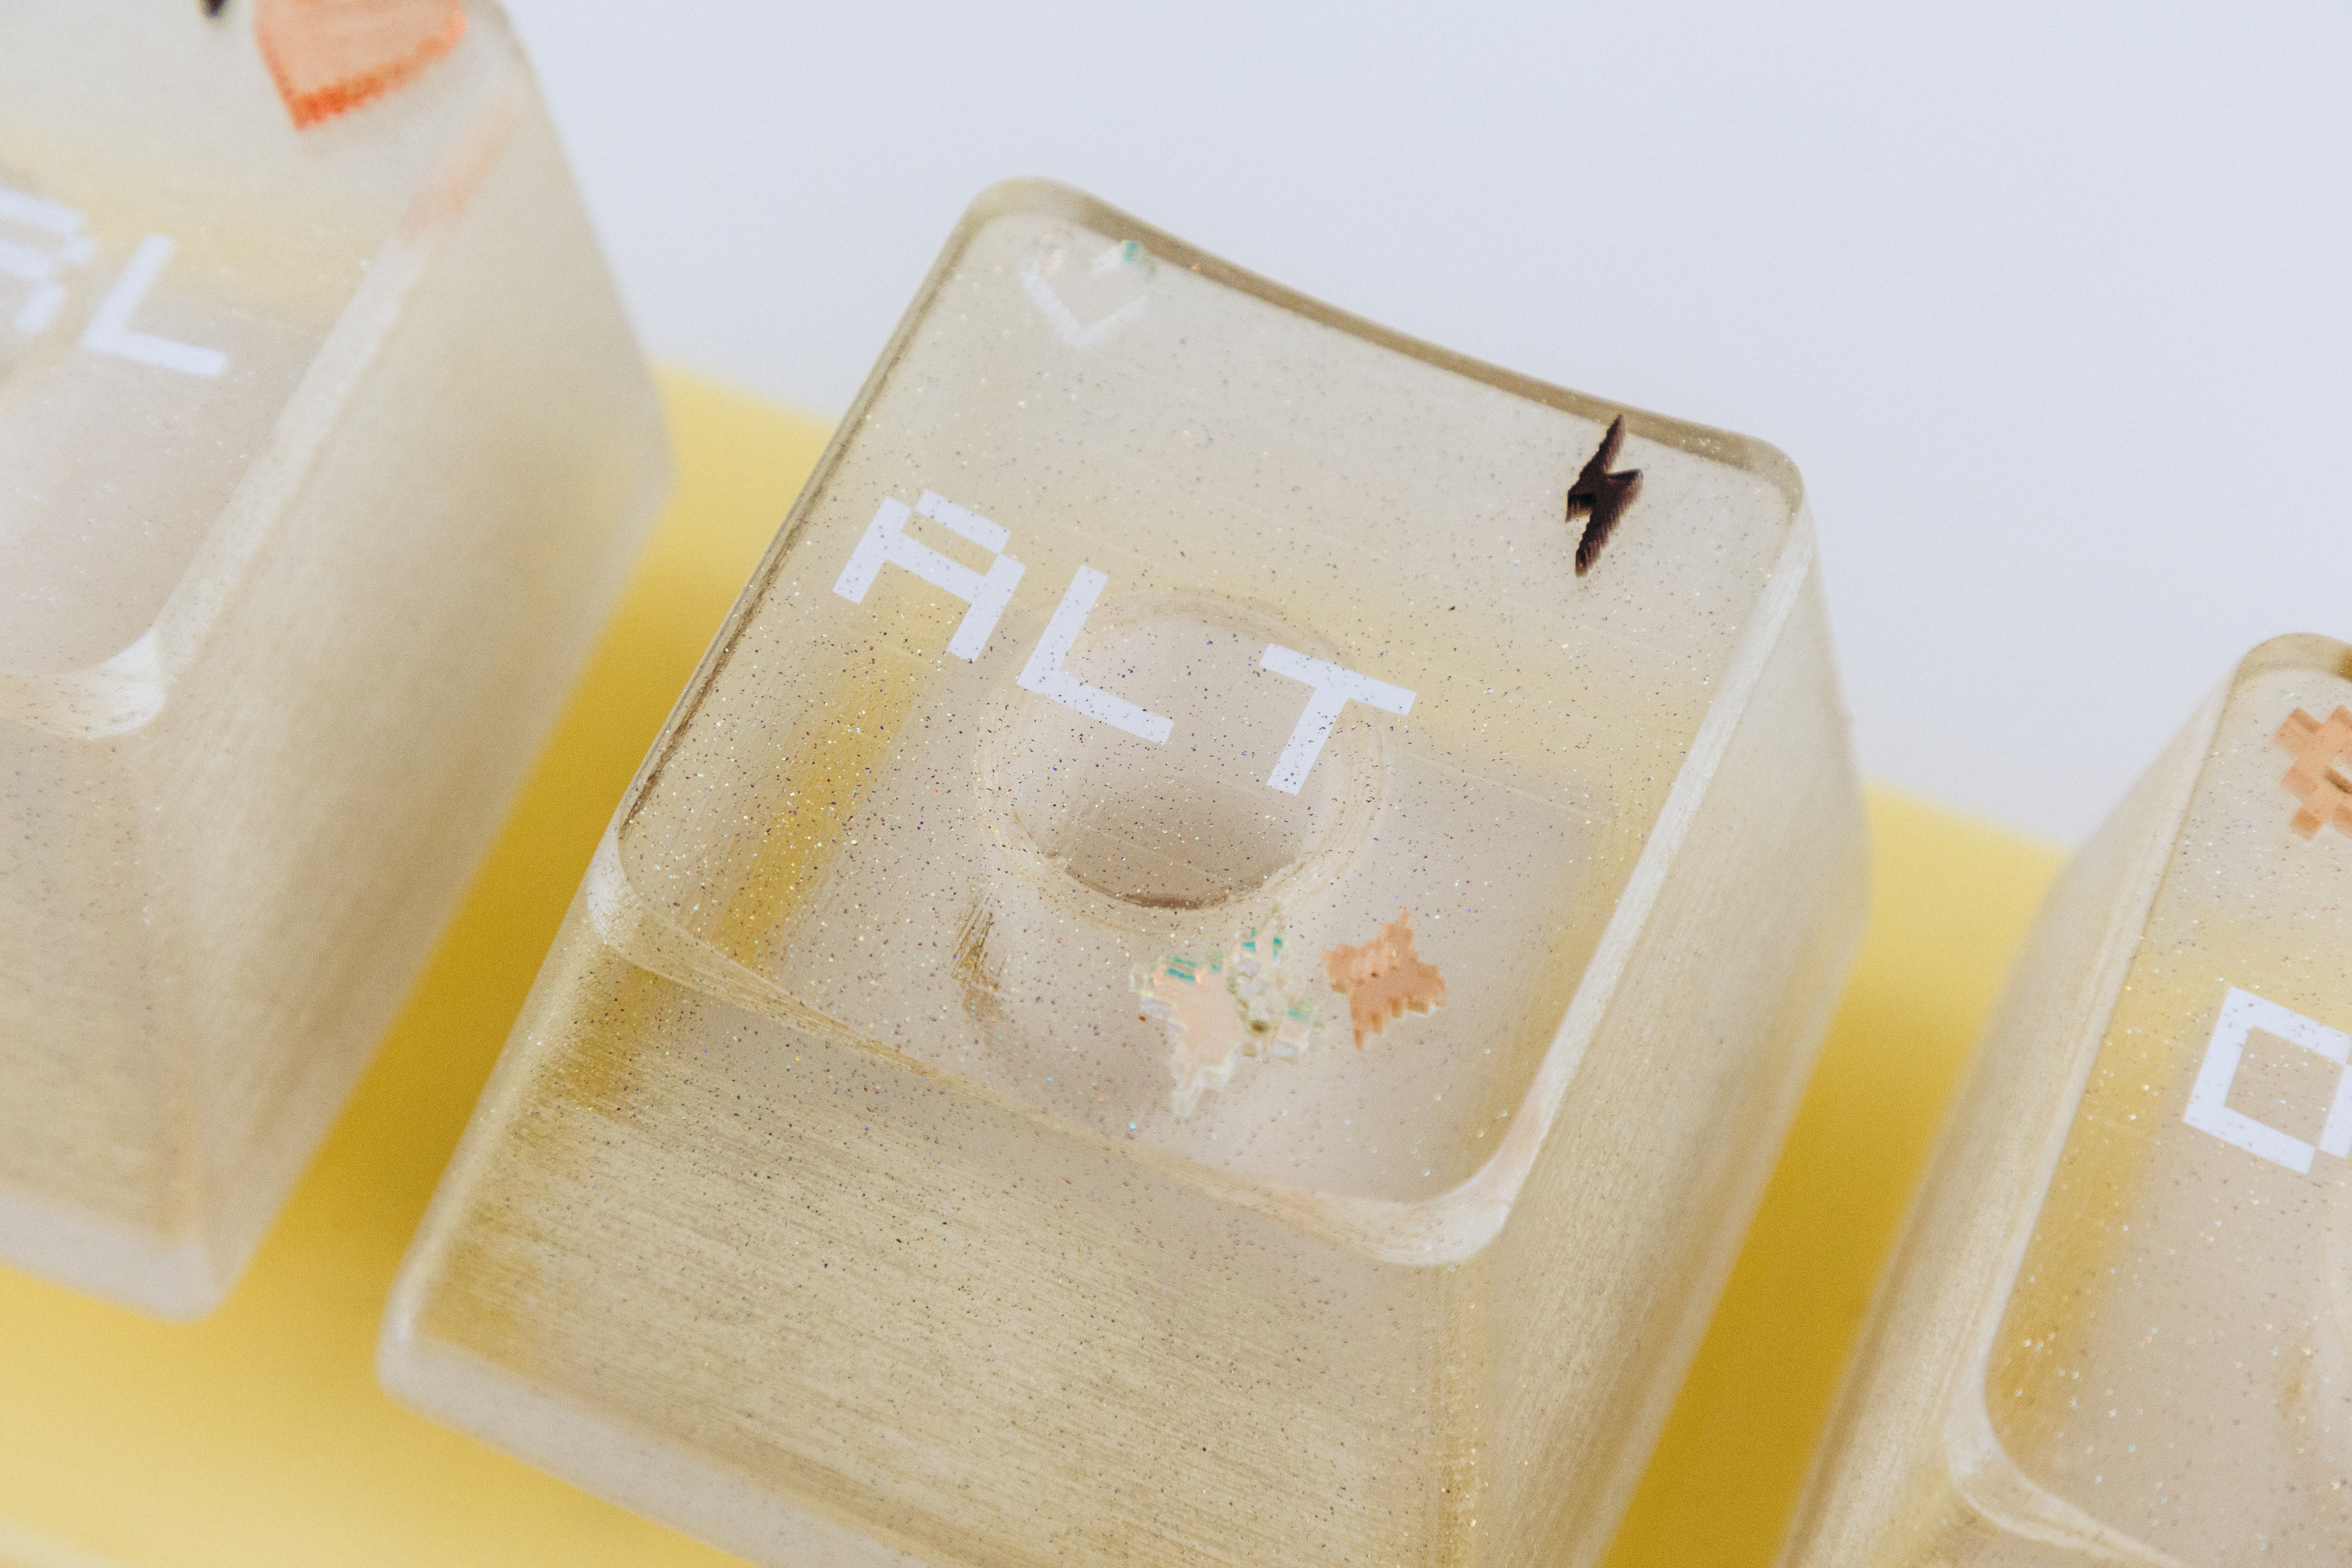
The last step was to add the key’s labels and other decorative pieces. I took a sheet of white adhesive vinyl, added a holographic layer to it, and then cut the text out using a Silhouette Cameo machine. To add a matching shine to the keys, I added one layer of an iridescent glitter sealer, placed the vinyl text, and then did two more layers of the sealer to set it. Small, pixel-style shapes were laser cut in transparent rose gold, bronze, and iridescent acrylic and then glued onto the keys and box.
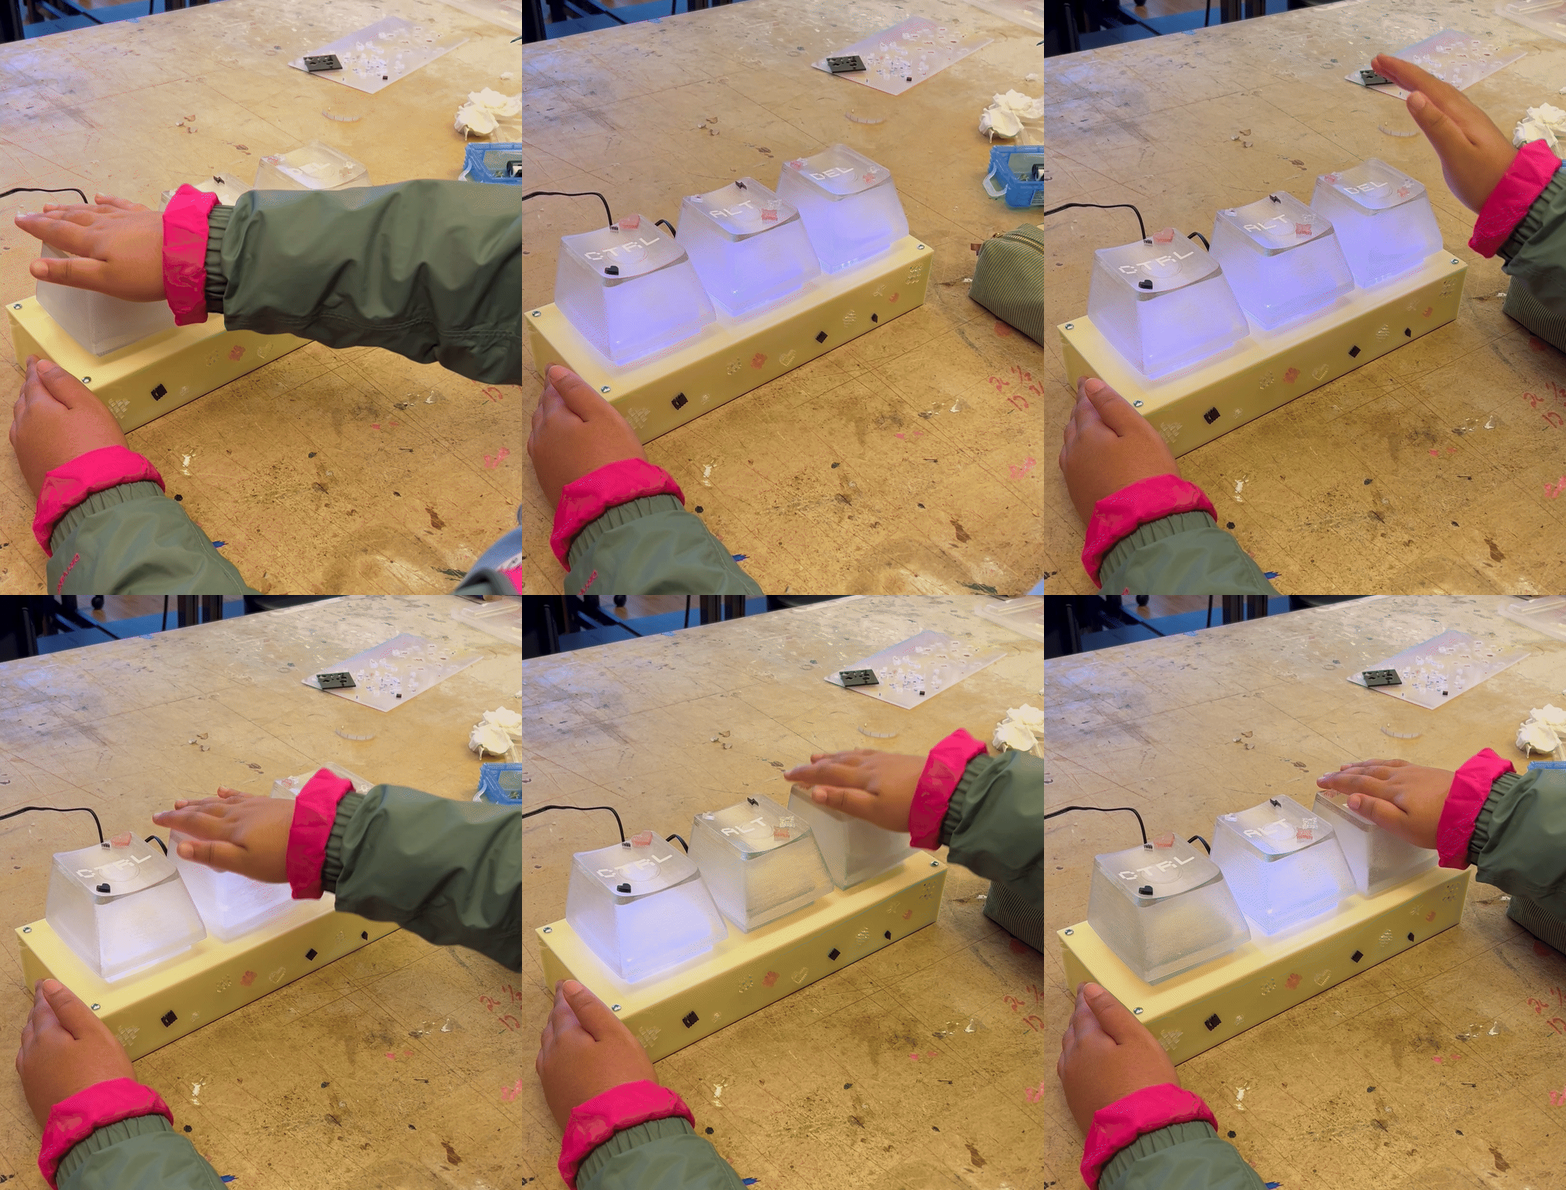
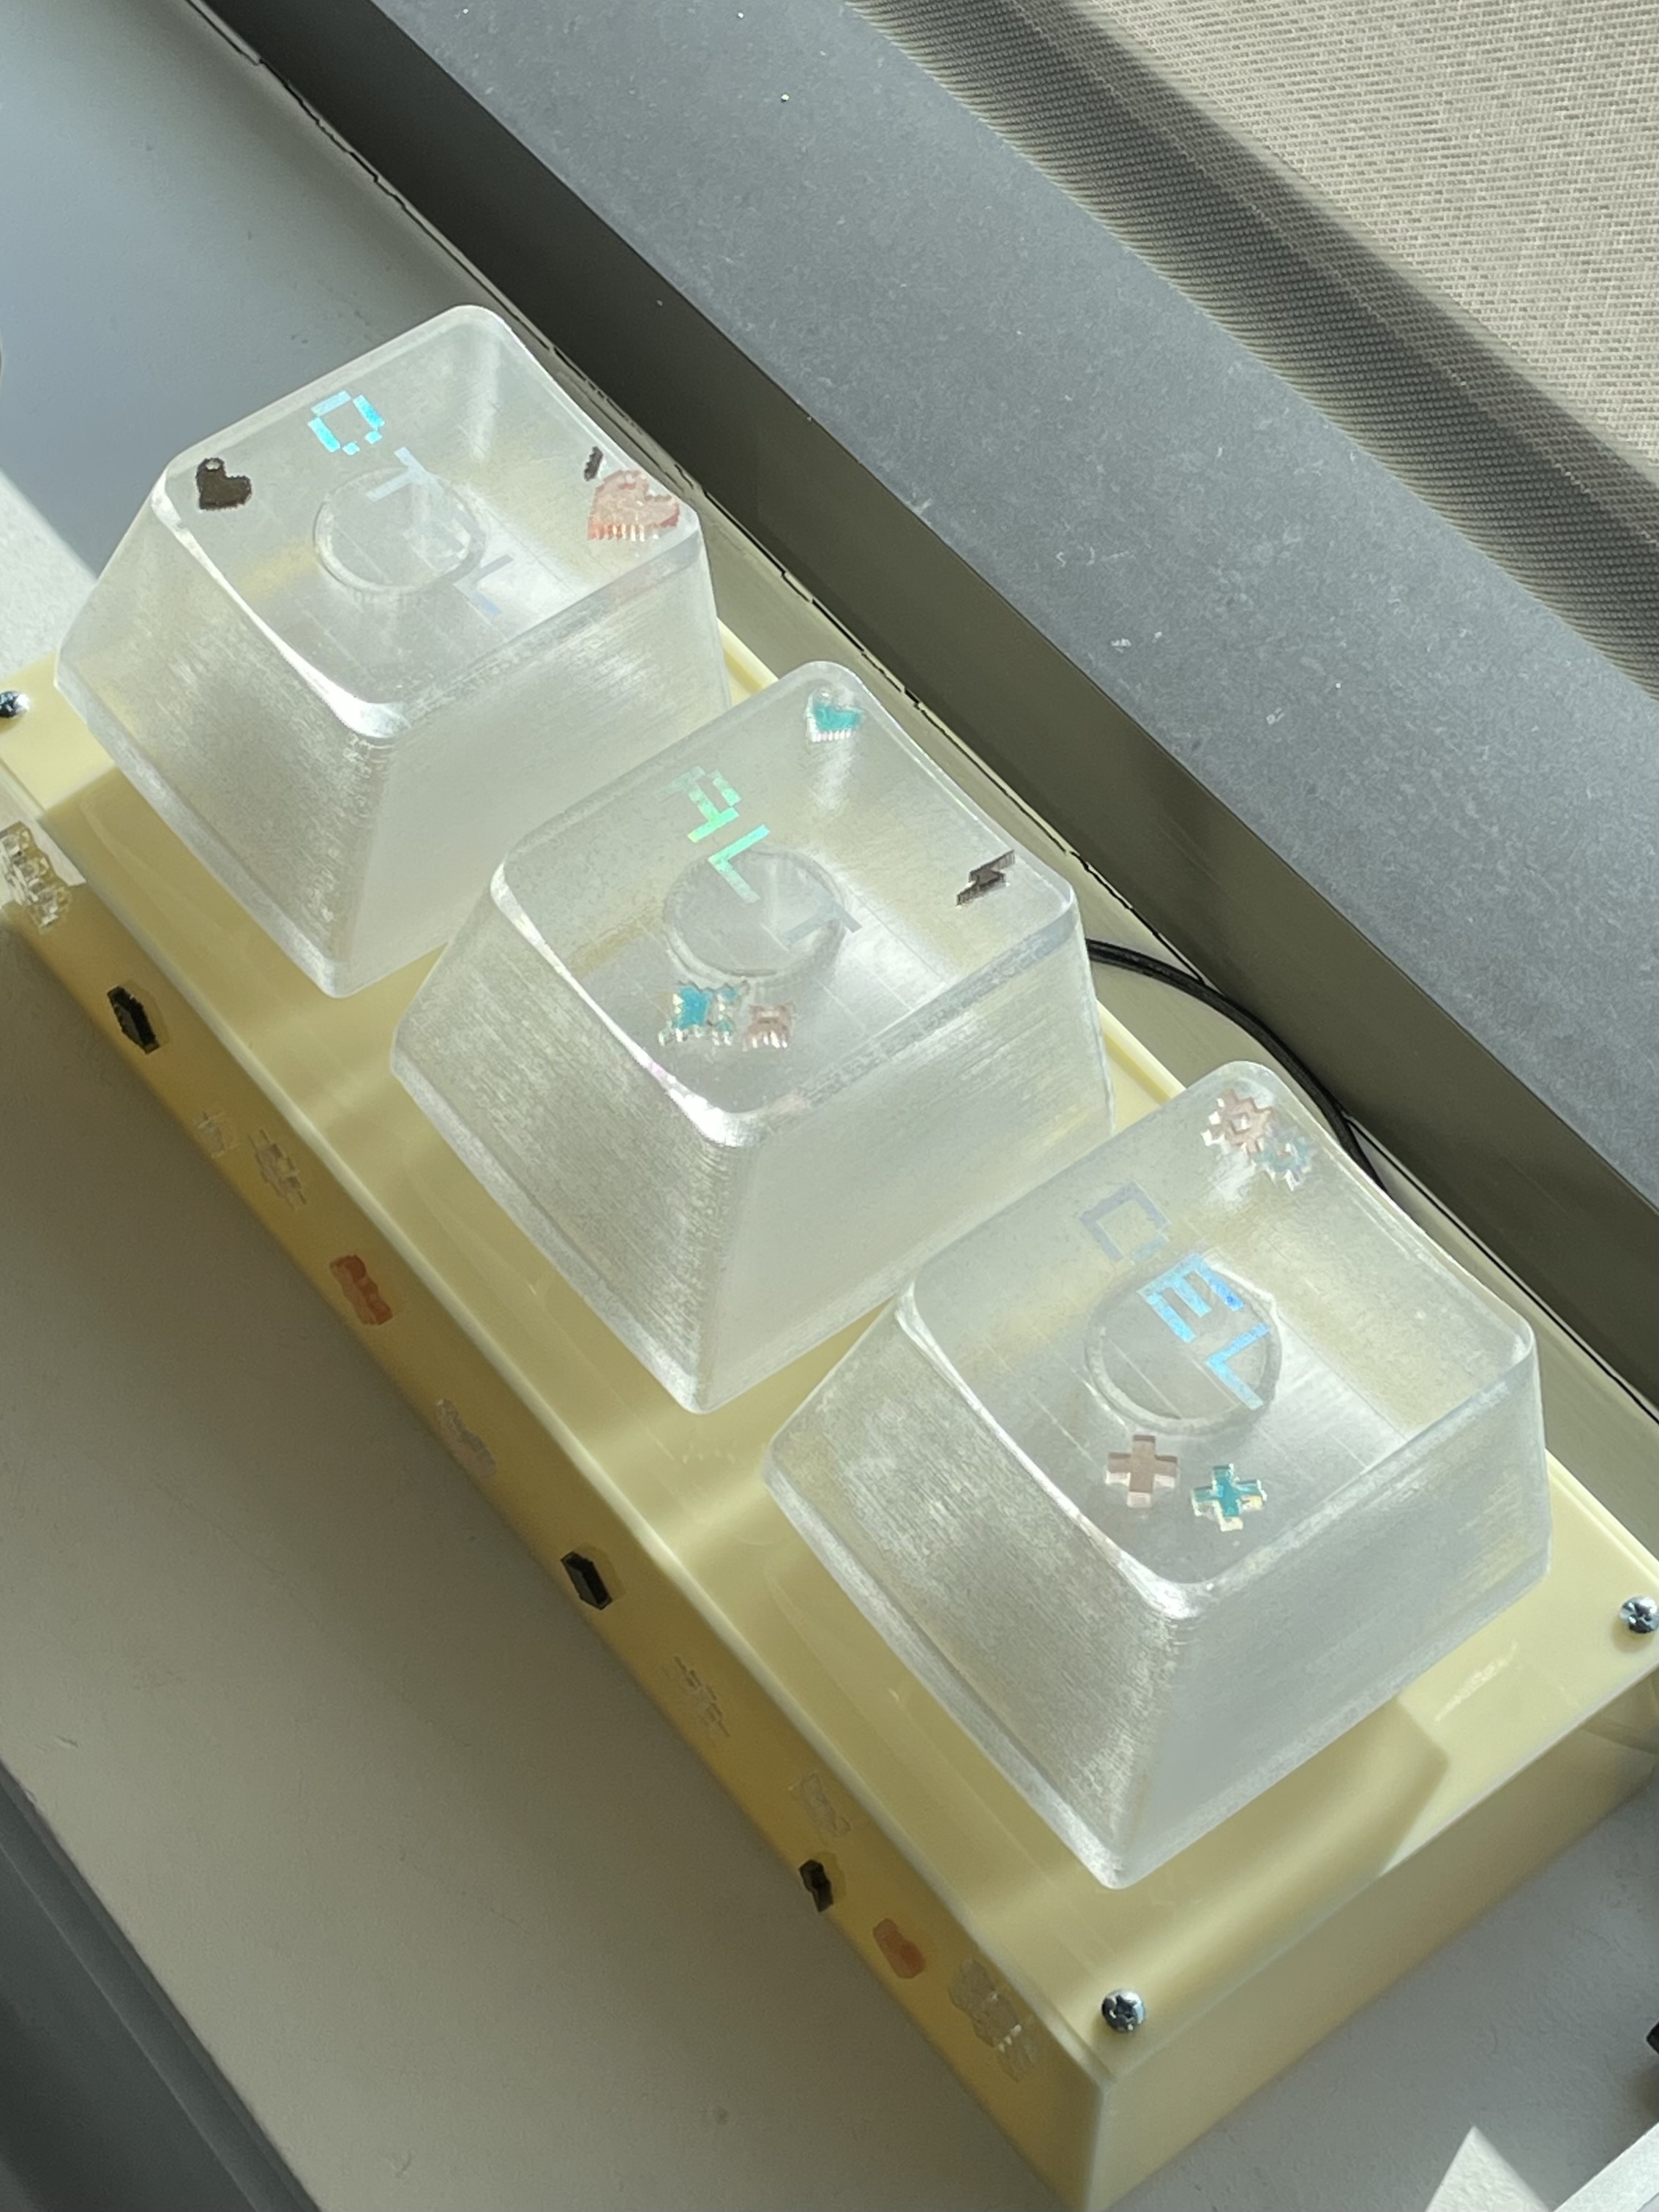
All done! Final working version + photo to show holographic effect in daylight.